Maintain Work Area, Tools and Machines
Unit Objectives
At the end of this unit, you will be able to:
1 Practice the machine safety and maintain machines properly
3 Maintain tools and equipments and handle them safely.
5 Carryout running maintenance within agreed schedules
6 Carry out maintenance and/or cleaning within one’s responsibility.
7 Work in a comfortable position with the correct posture
8. Use cleaning equipment and methods appropriate for the work to be carried out.
9 Dispose of waste safely in the designated location
10. Store cleaning equipment safely after use.
11 Carryout cleaning according to schedules and limits of responsibility.
Introduction
Machines are essential to modern production. However along with accrued productivity, they have brought hazards into the tailoring shop proper management of machine hazards has traditionally been seen as expenses and a constraint on productivity In general, the garment manufacturing trade is considered to be less dangerous than alternative industrial sectors and, therefore, safety policy is a low priority in several enterprises for example it has been ascertained that some workers remove guards protective belts from sewing machines, and manual cutting machines are operated with naked hands
Machine breakdown is a common reason behind production delay affecting delivery schedules. Considering the importance of meeting delivery dates, a competitive enterprise cannot afford penalties for delay due to machine breakdown therefore, proper maintenance of machines to prolong their economic life, reduce breakdowns, prevent defective outputs and guarantee safe operation ought to be additional importance protective stat against pollution from the frequent use of solvents for cleaning and the existence of cotton or other fibers within the surroundings ought to also be taken into consideration. Maintenance and safety measures to eliminate these hazards and increase machine productivity, beside affordable techniques for environmental control, are mentioned below
Maintain Machines Properly
A poorly maintained machine is inefficient, if not dangerous it will also have frequent breakdowns and quality issues, proper maintenance isn’t lost production time, it’s an investment for higher productivity and lower repair prices, nonetheless in several corporations, machines are maintained only if they break down this can be as a result of a number of reasons:
Machines are owned by the contractors or they’re leased.
No maintenance personnel are available.
No time to maintain machines is allotted under production time.
There is a powerful belief that maintenance means cost.
Some machines are not simple to maintain.
Machine down-time affects production and causes delays. Defects are also made inflicting quality and product issues Machine maintenance ought to, therefore, be planned and coordinated with supervisors and employe employees ought to be involved in machine maintenance and should be equipped a basic tool kit to includ tweezers, small screwdriver, machine brush, oil can and material wipes one of the basic training skills is to tr employees to do routine machine maintenance such as:
. Removing lints
.Cleaning the tension assembly
.Cleaning the feed dog assembly
.Cleaning the bobbin area
.Lubricating the machine
Removing Lint
Lint: With proper care, a sewing machine can last for many, many years. Fabric and thread are a combination that is going to produce lint Lint can build up in unseen areas of machine leading to wear and tear To keep the sewing machine running smoothly, good quality thread should be used and simple maintenance should be performed regularly One of the most important things is to clean out the pieces of lint leftover from bits of thread and furry fabric Sewing with thick, furry fabrics (such as polar fleece), will need cleaning of the sewing machine frequently One should open all areas that can be cleaned and clean the lint out of the machine Usage of brush should be done to remove lint in cracks and crevices and from under the bobbin case.
Requirements: Sewing machine.
.Lint brush
.Small soft brush
.Clean lint free cloth
.Compressed air (optional but helpful)
.Light source
.Screw drivers
Cleaning the Bobbin Area
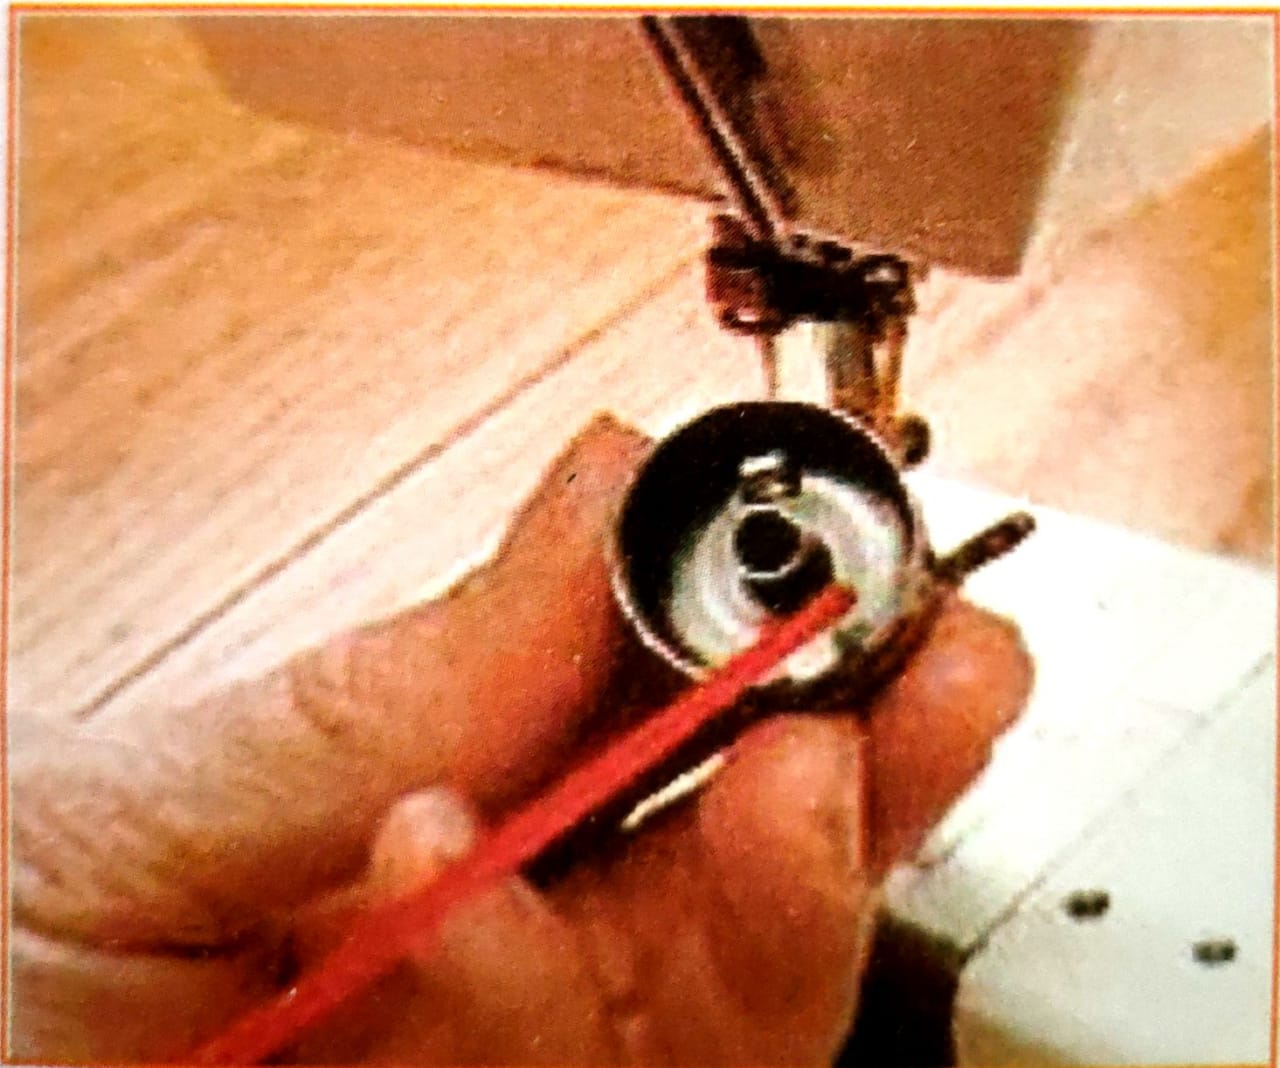
Step 1. Turn off and unplug the sewing machine.
Step 2. Remove the bobbin cover and the bobbin.
Step 3: Using a small lint brush (many machines come with one), carefully remove any lint from the bobbin area. Be especially sure to remove any lint from crevices and tight places, since compacted lint can actually stop the machine from running.
Step 4: Using the lint brush or canned air, remove the lint from the area around the needle, the presser foot and the thread guides.
Step 5: Remove any lint from the inside of the doors and lids of the sewing machine.
Step 6: Replace the bobbin and the bobbin cover.
Step 7: Plug the sewing machine back in and turn it on.
Note: Make sure to check that after cleaning all the machine parts are properly placed and tightened. It should be safe for using it the next time.
Cleaning the Tension Assembly
Maintaining the machine is important to keep it in good condition and to avoid unnecessary service costs. Keeping the tension assembly clean is one of the maintenance procedures that, if performed on a regular basis, can help ensure that your stitching is accurate and precise. The following steps assist the cleaning of the sewing machine tension assembly Step 1 Clean your machine often. Each stitch is precise and even a bit of lint collected on the tension assembly.
Step 1: Clean your machine often.Each stitch is precise and even a bit of lint collected on the tension assembly
can cause problems Make it a habit to clean your sewing machine after any large project.
Step 2: Raise the pressure foot to release the tension on the disks. Gently run the folded edge of a clean piece of lint free cloth through the tension disks. Compressed air will also dislodge any bits of thread or lint.
Step 3: Remove all lint along the thread guides using a small brush or clean cloth.
Step 4: Check the bobbin area of the machine. The bobbin controls the lower tension and can be a source of built up lint. Depending on the type of machine you have, the bobbin consists of the bobbin, case and on some models a removable hook race. Remove these according to your instruction manual and clean with a cloth or small brush.
Step 5: Do a final check to make sure the tension is correct and that the bobbin assembly is in place properly
before you begin your next project.
Cleaning the Feed Dog Assembly
The feed dogs on a sewing machine help move the fabric underneath the needle. If they’re not operating properly, damage to the machine or fabric can occur. Feed dog assembly maintenance is essential to smart sewing Use the steps below to guide you through the procedure.
Step 1: Unplug the machine and examine the feed dogs. The newer machines have metal feed dogs, however older models could have rubber ones, which regularly need replacement. Examine the feed dogs and check for damage.
Step 2: remove the throat plate, which is the covering over the feed dogs, and clean it with a soft fabric Use
a small soft brush to wash the feed dogs. ensure to get rid of all lint and thread from the grooves of the teeth
Some machines have an adjustment that lowers the feed dogs for specific sewing procedures. they must be
in the raised position for better viewing during the cleanup method
Step 3: Clean the area around the feed dogs with a soft brush, compressed gas could be a sensible choice to use in the small tight areas.
Step 4: Wipe down all areas with a clean, lint free fabric before replacing the throat plate.
Step 5: Prepare to clean the feed dogs and all other areas that lint could accumulate on, after each project. Your sewing machine will last longer and need fewer repairs if kept clean and lint free.
Lubricating the Machine
in order to make sure that your sewing machine enjoys the tong life it was engineered for, it is important to repairs it regularly using proper maintenance techniques one of the best things you can do to keep your sewing machine running smoothly is to lubricate it using sewing machine oil sewing machine oil isn’t something you borrow from the garage it is clear white oil make sure to use the night oil refer to your owner’s manual for the right spots to oil some of the older machines have these areas marked.
After oiling your machine run stitches on some scrap cloth before you tackle your project this enables oil to escape on to the scraps, if it’s going to, rather than the project you’re working on Oiling the machine not only lubricates your moving elements, to prevent wear, it reduces the chance of rust Rust forms rapidly with any moistness, even just the humidness in the air. Surface rust will act just like loose sand grain in your machine, and make excess wear.
Step 1: Purchase a high-quality brand of sewing machine oil from a sewing store or other specialty merchandiser. Higher quality typically comes with a higher price tag, however the value of good sewing. machine oil is favourable to the prices involved repairing or replacement an entire sewing machine.
Step 2: unplug your sewing machine check that its power switch is set to ‘off.’ as a result of you will be
dealing with fluid, it is especially important to make absolutely certain any power supply is disconnected.
Step 3: Drop a single drip of sewing machine oil or to the mechanism that drives the sewing needle. If you bought quality sewing machine oil, more than one drop can usually not be necessary.
Step 4:Repeat Step three, applying one drop of oil to each part of your sewing machine that moves. Consult your sewing machine owner’s manual if you would like instruction on the way to access any moving parts which will be contained beneath the casing of the machine.
Step 5: allow the oil to absorb by letting your sewing machine stand for a few minutes. Most experts counsel that fifteen to half-hour could be a sensible window of time to let your machine stand while the stitching machine oil works its magic.
Step 6: Plug your sewing machine back in. once you have safely done so, turn the power switch to ‘on’.
Step 7: Feed some scrap fabric through the sewing machine, running its moving elements at a slow bout constant rate this may allow the oil to spread equally throughout the parts that need lubrication to maintain best performance.
Tips & Warnings
Never lubricate any electrical part of your sewing machine. This may damage to your sewing machine, and could result in an electric shock.
Machine Guards
There are different safety guards given in the sewing machine that are vital to use and it’s also essential to check that the right safety guard is in place as per the need. Below are given the machine guards of a sewing machine.
Finger guard: while guiding the fabric under the presser foot the fingers may accidently cross into the path of the needle. Hence, finger guard is attached to the presser foot to avoid such accidents. This is very important safety feature.
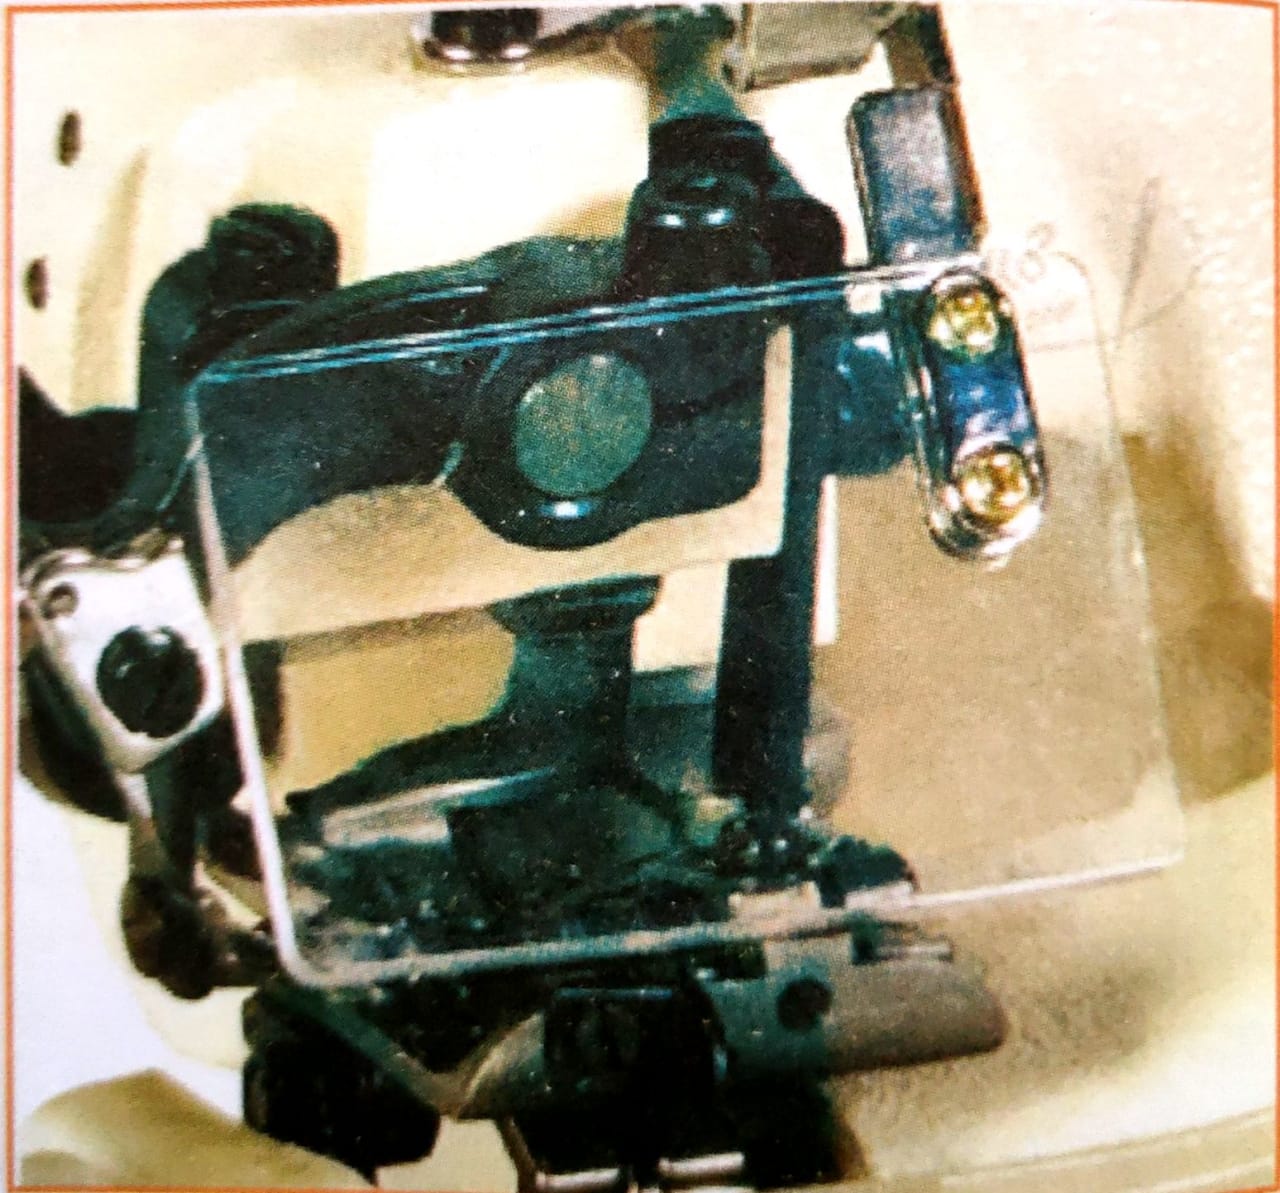
Eye guard: Eye guard is important in cases where the operator is working on the fabric which has many fibers, hence eye guard protect eyes from getting tired. It also helps in protecting them against any little cloth fabric like that of wool or dust fibers. Eye guard is also used as a protection against needle-breakage in high speed sewing machines.
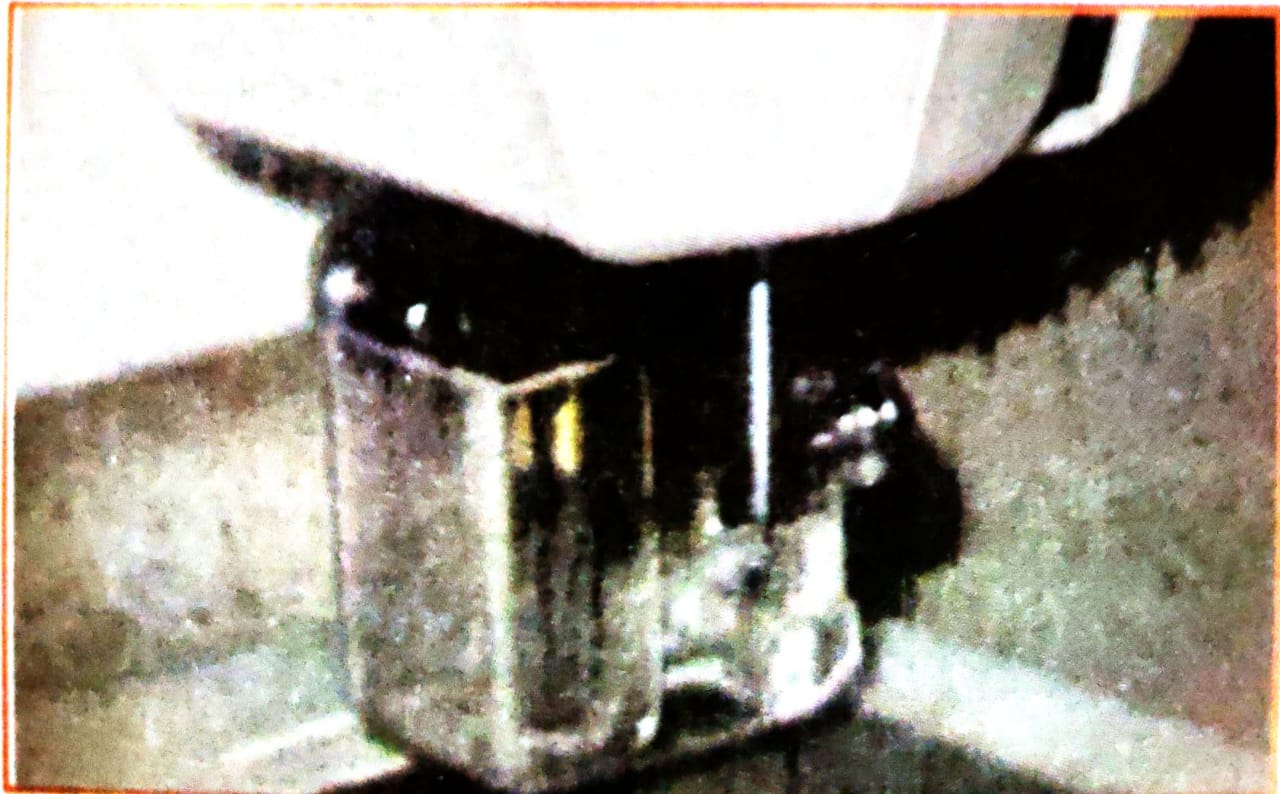
Belt guard: Belt guard is a cover attached to the belt pulley assembly and the ad wheel. In industrial sewing machines the pulley and the belt move at very high speeds. Hence there is always a risk of hand or har getting caught in the belt pulley therefore it is important to have a belt guard as it protects the operator from such accidents.
Motor pulley guard: Motor pulley guard is attached to the motor under the Fig, like the belt guard, motor pulley guard protects our body Parts from getting caught in the wheel and belt attached to the motor below the Fig.