
Fly Making and Attaching
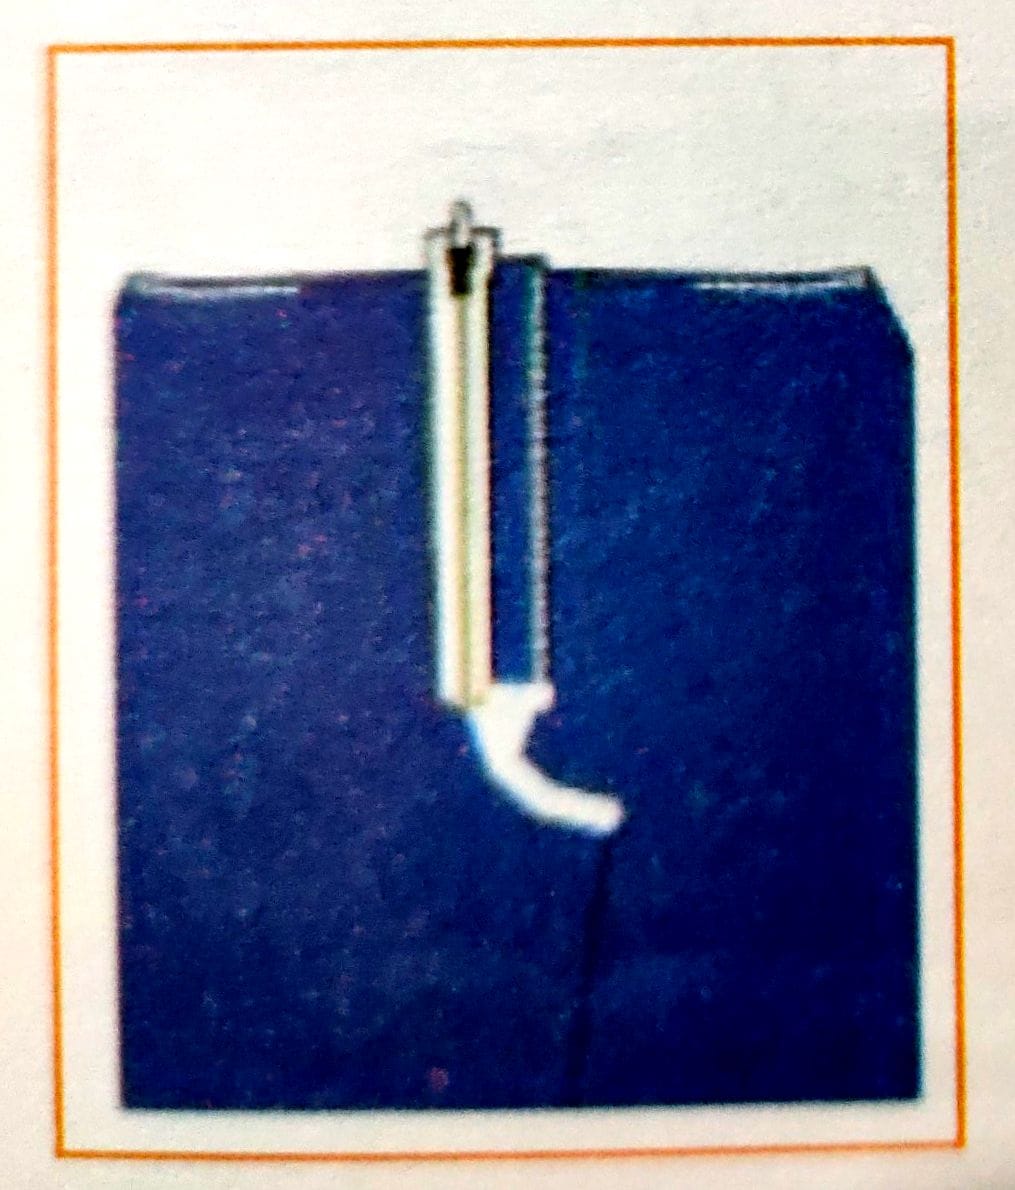
Step 1: Take the fused j-fly piece and put overlock stitch on the face side of the fabric starting from bottom of the curved side till the top

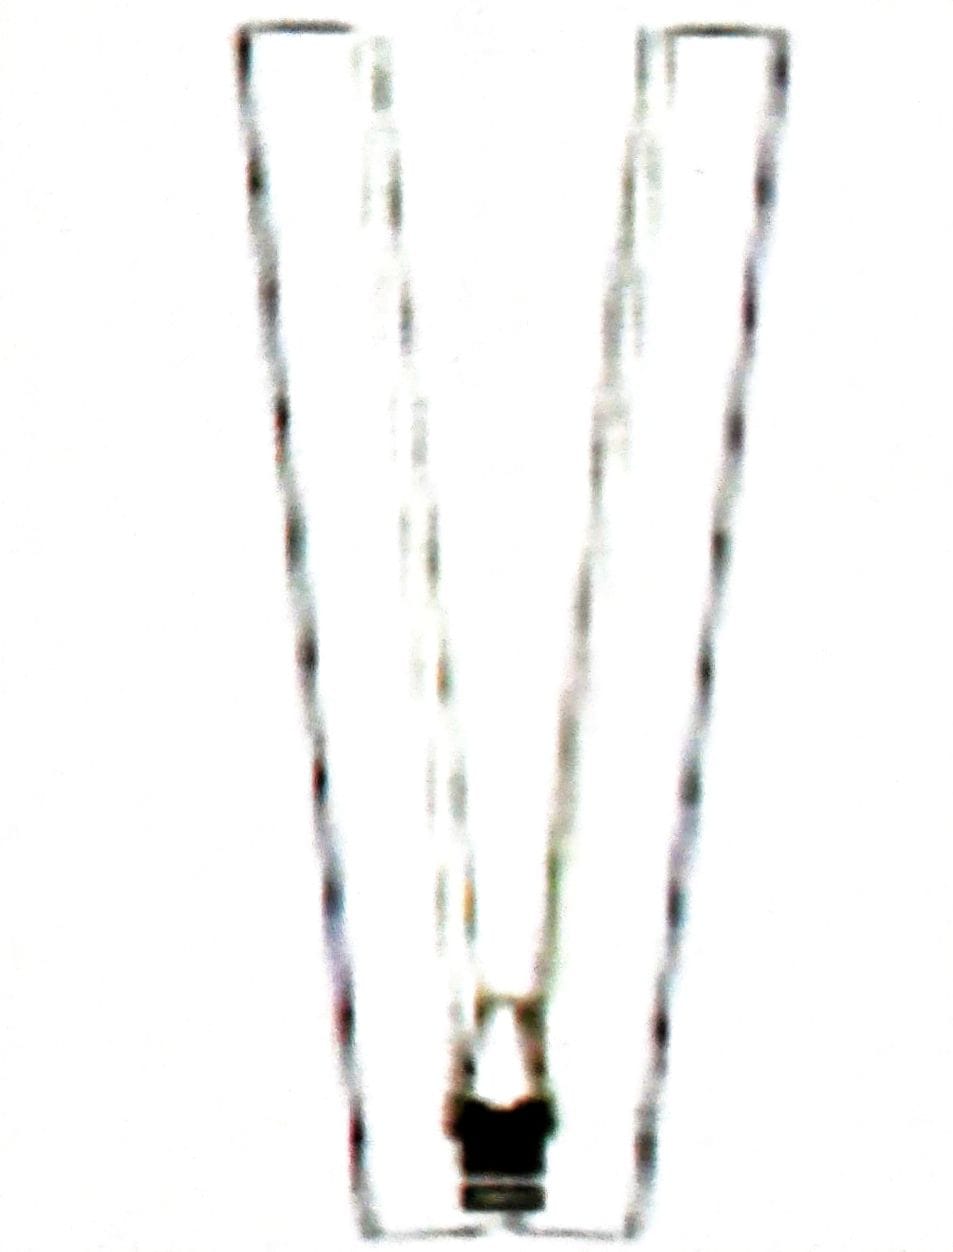
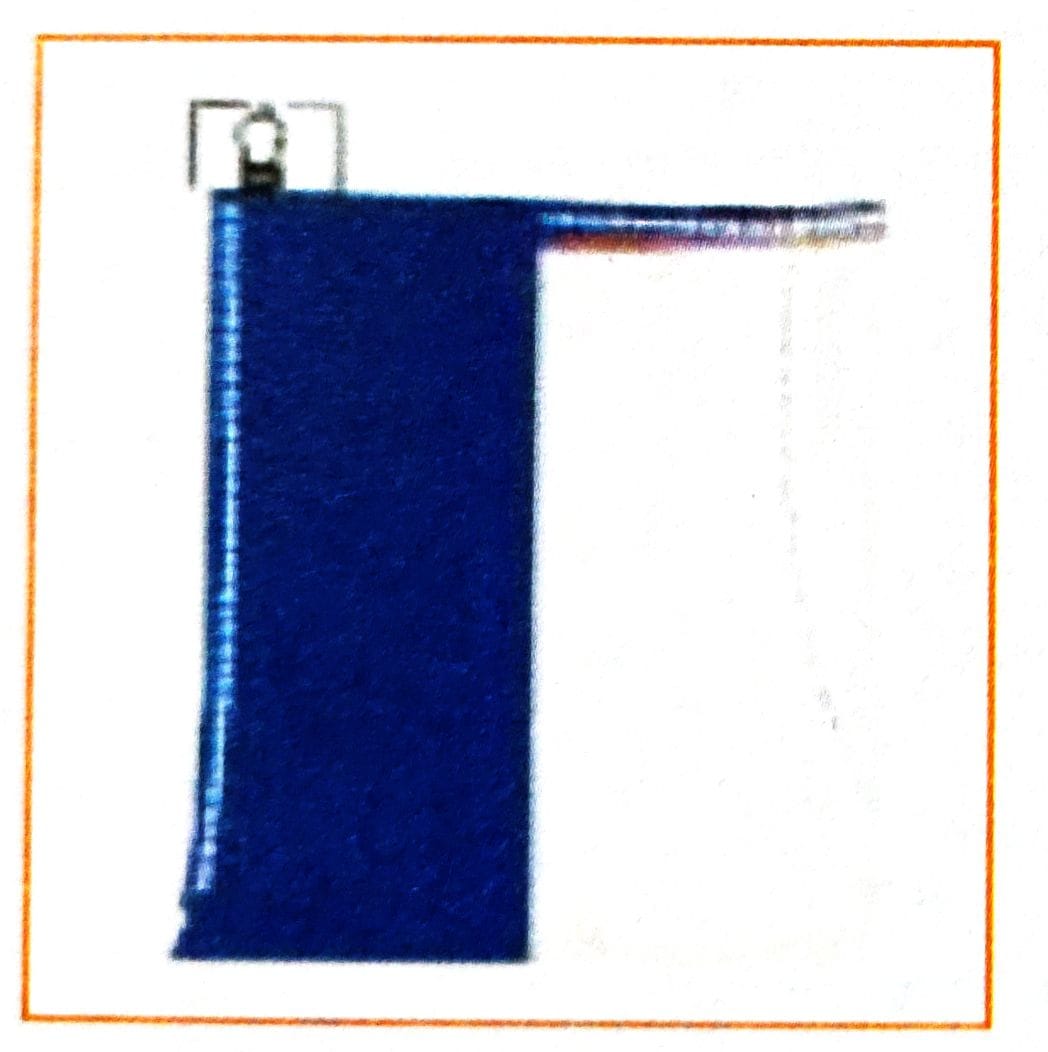
Step 2: Take the fly supportive part. Fold it into two equal parts and put over lock stitch on the long open side and one on the short open sides.
Step 3: Take the fused J-fly piece and put overlock stitch on the face side of the fabric starting from bottom of the curved side till the top.


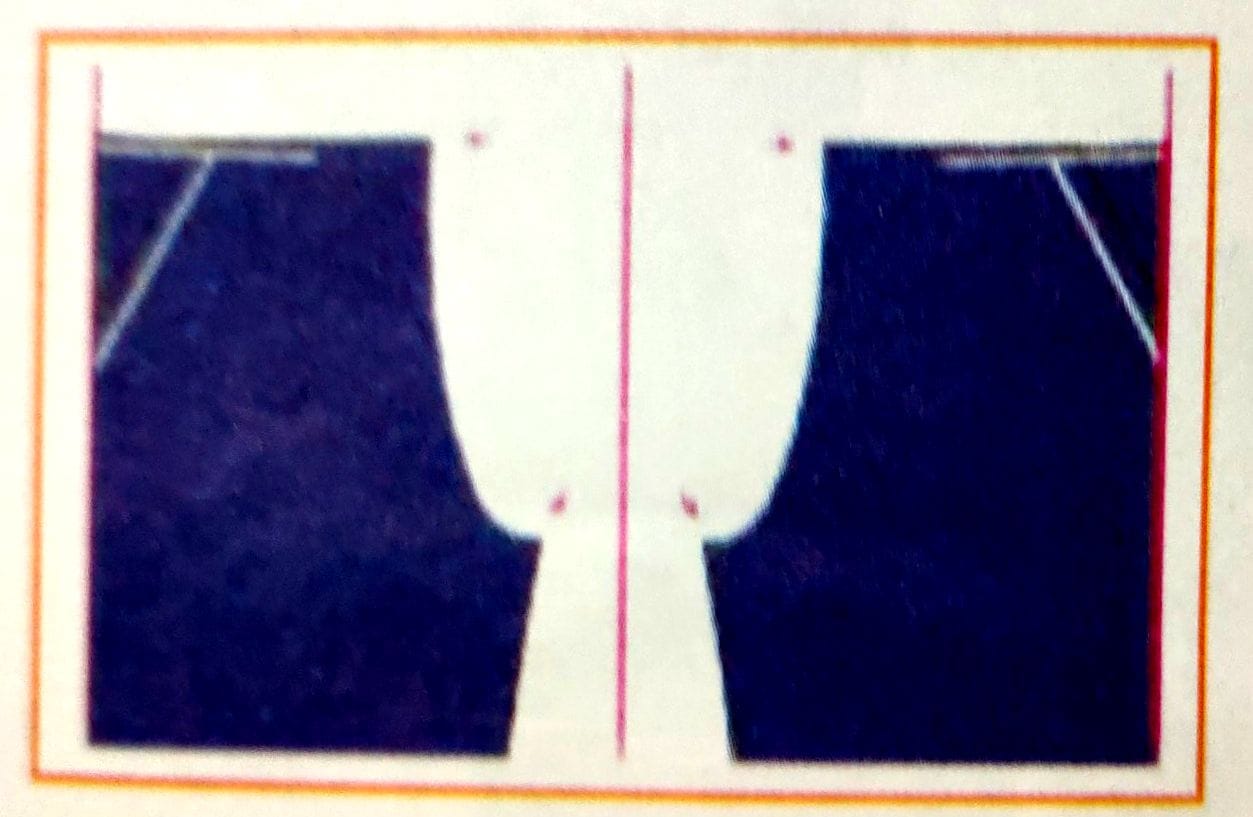
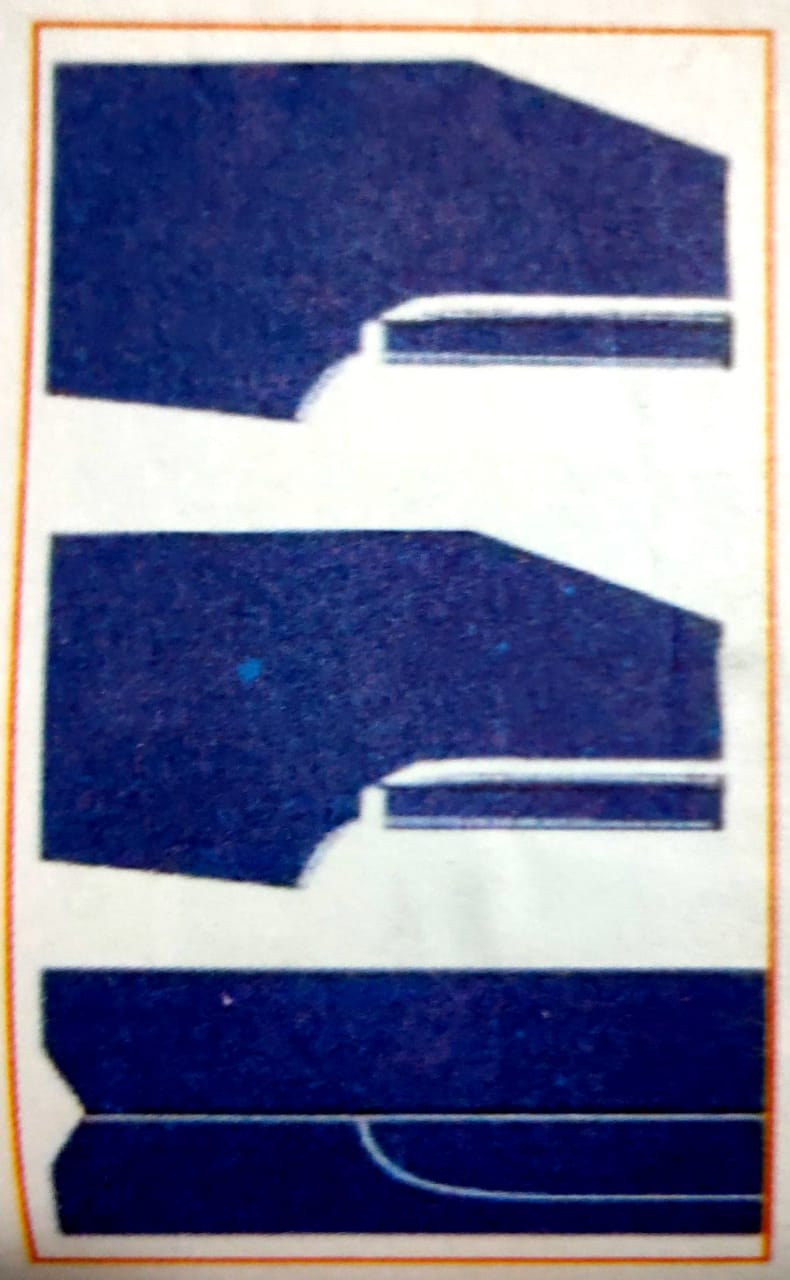
Step 4: Take the left front piece and place the J- fl y piece over the left front piece. Align the straight end of the j j j-fly with the front rise along with the backside of the J-fly facing up.
Step 5: Put a 6 mm lockstitch starting from the bottom to the top (waist line).
Step 6: Turn the J-fl y piece and put an edge stitch on top of the fly from bottom to top. Make sure that the raw edges are facing towards the fly.

Zipper Attaching
Step 1: Take the zipper, open it and bring the slider down.

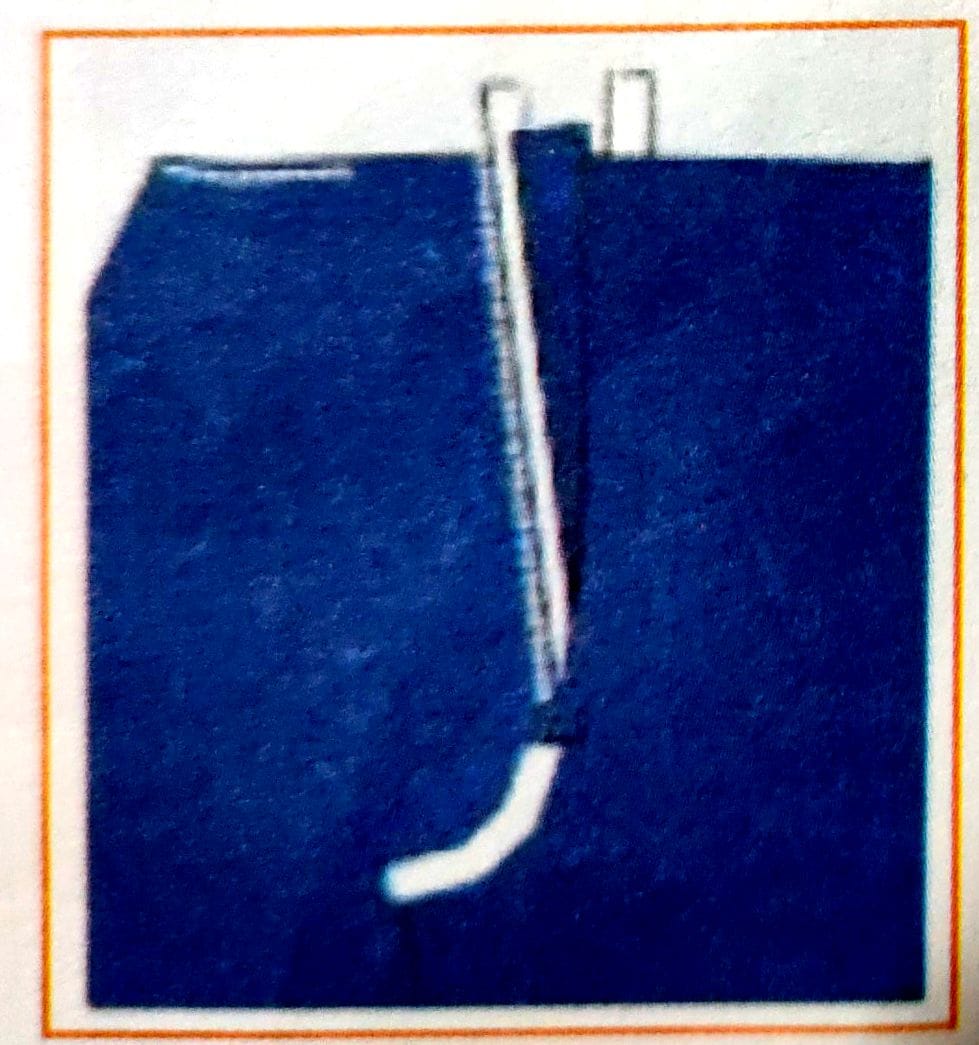
Step 2: Place the zipper with slider facing down over the fly plece at 8 mm from the straight edge at the top and 6 mm at the bottom. Align the bottom edge of the zipper with the curved portion of the fly piece.
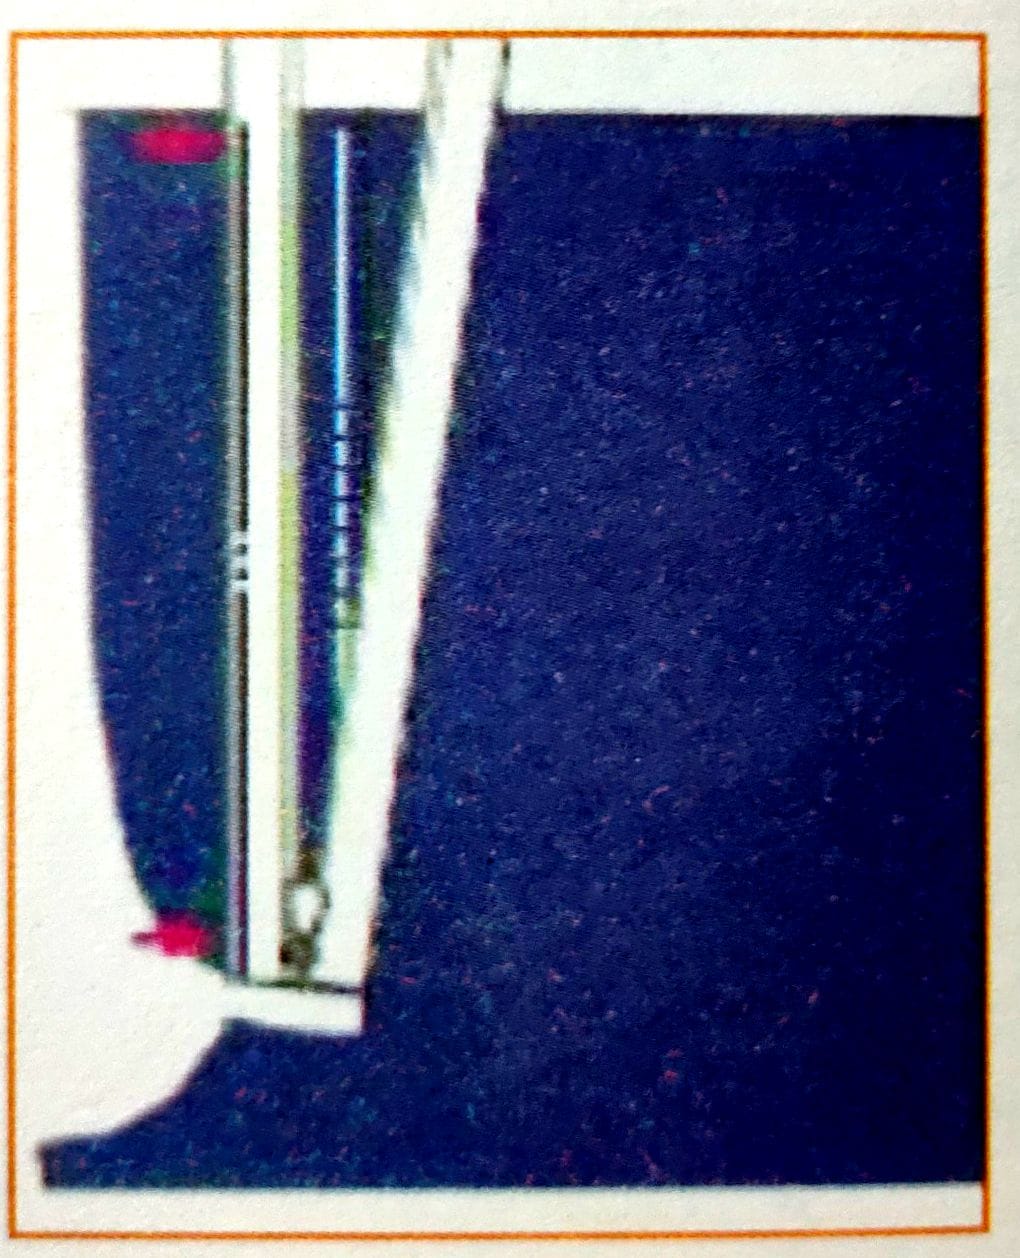
Step 3: Put an edge stitch on the left side of the zipper from top to bottom
Step 4: Close the zipper and turn the piece 1800 clockwise.
Step 5: Now put a 4 mm stitch starting from bottom to top.
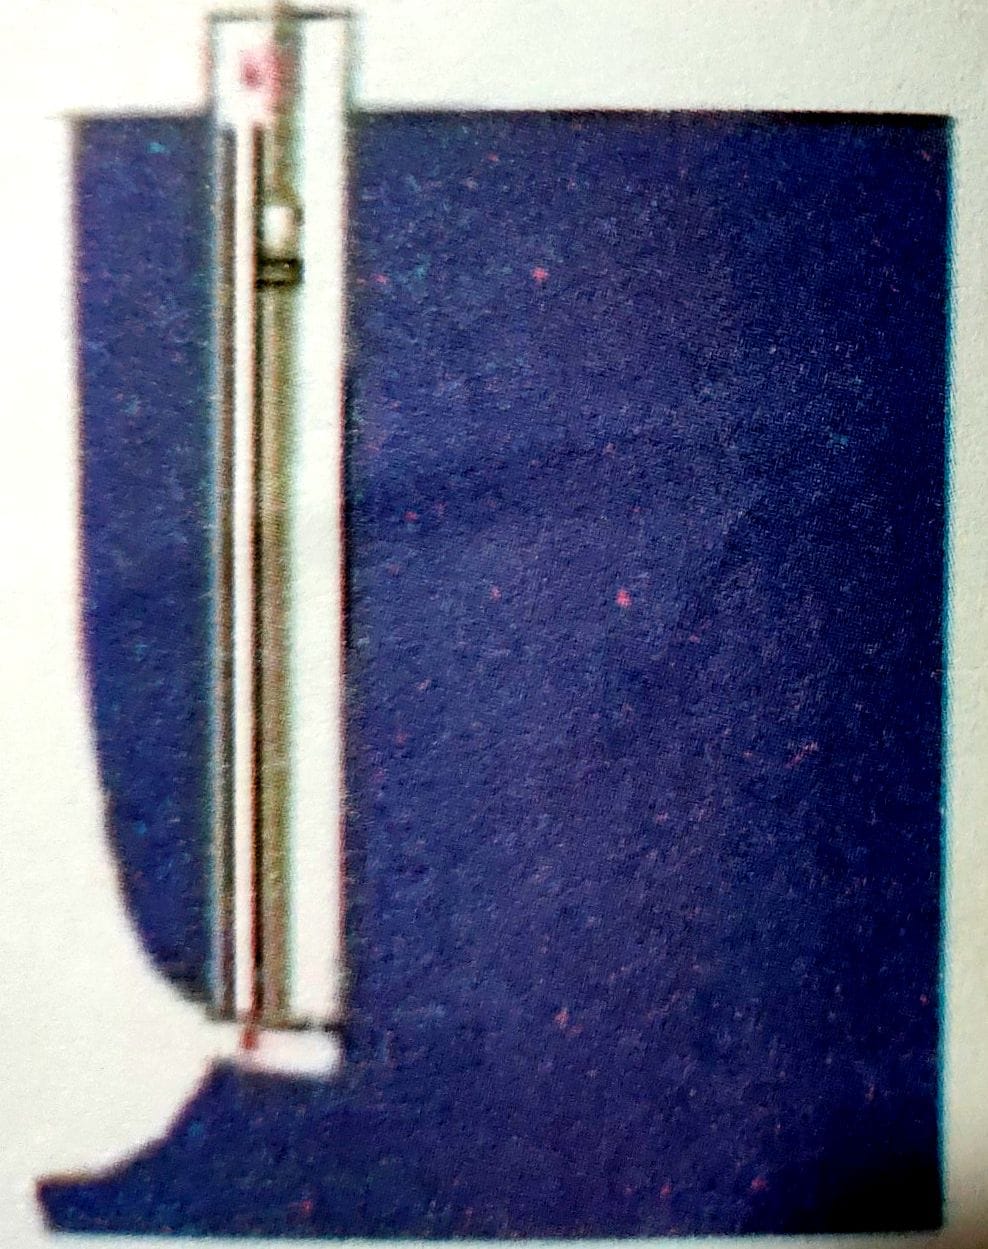
Step 6: Take the fly supportive part. Place the zipper with slider facing up on the fly supportive part. Properly align the zipper end and the overlock side of the fly supportive part.

Step 7: Turn the fabric and put edge stitch on the zipper starting from bottom to top.
Step 8: Take the right front piece and place the front rise side over the zipper Make sure that the waistlines of both the left. and right front pieces match.

Step 9: Put 6 mm stitch starting from bottom to the top.
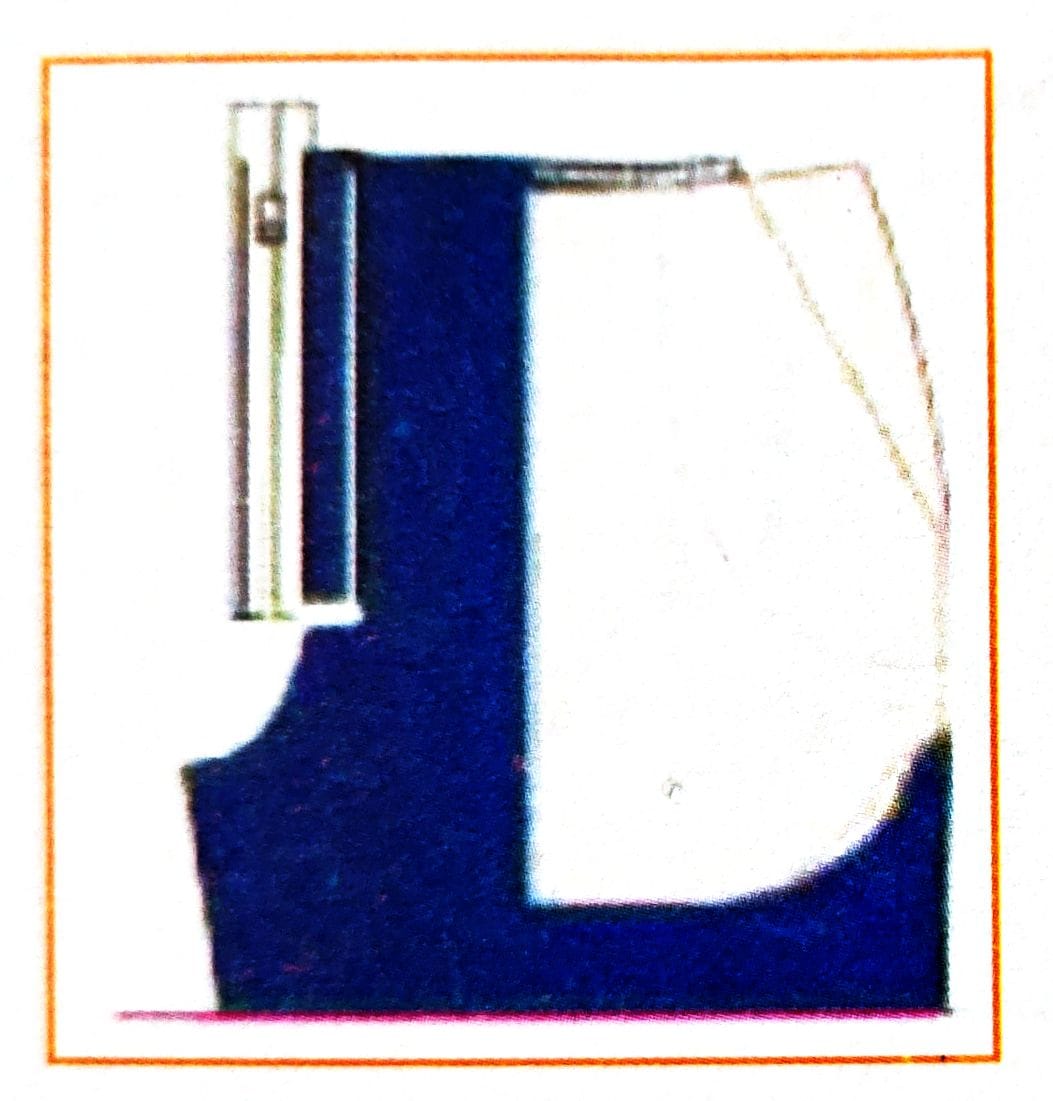
Step 10: Turn the itched panels and bring the face side up.
Step 11: Leave a gap of 1 mm between the zipper teeth and the edge of the fabric and put top-stitch.
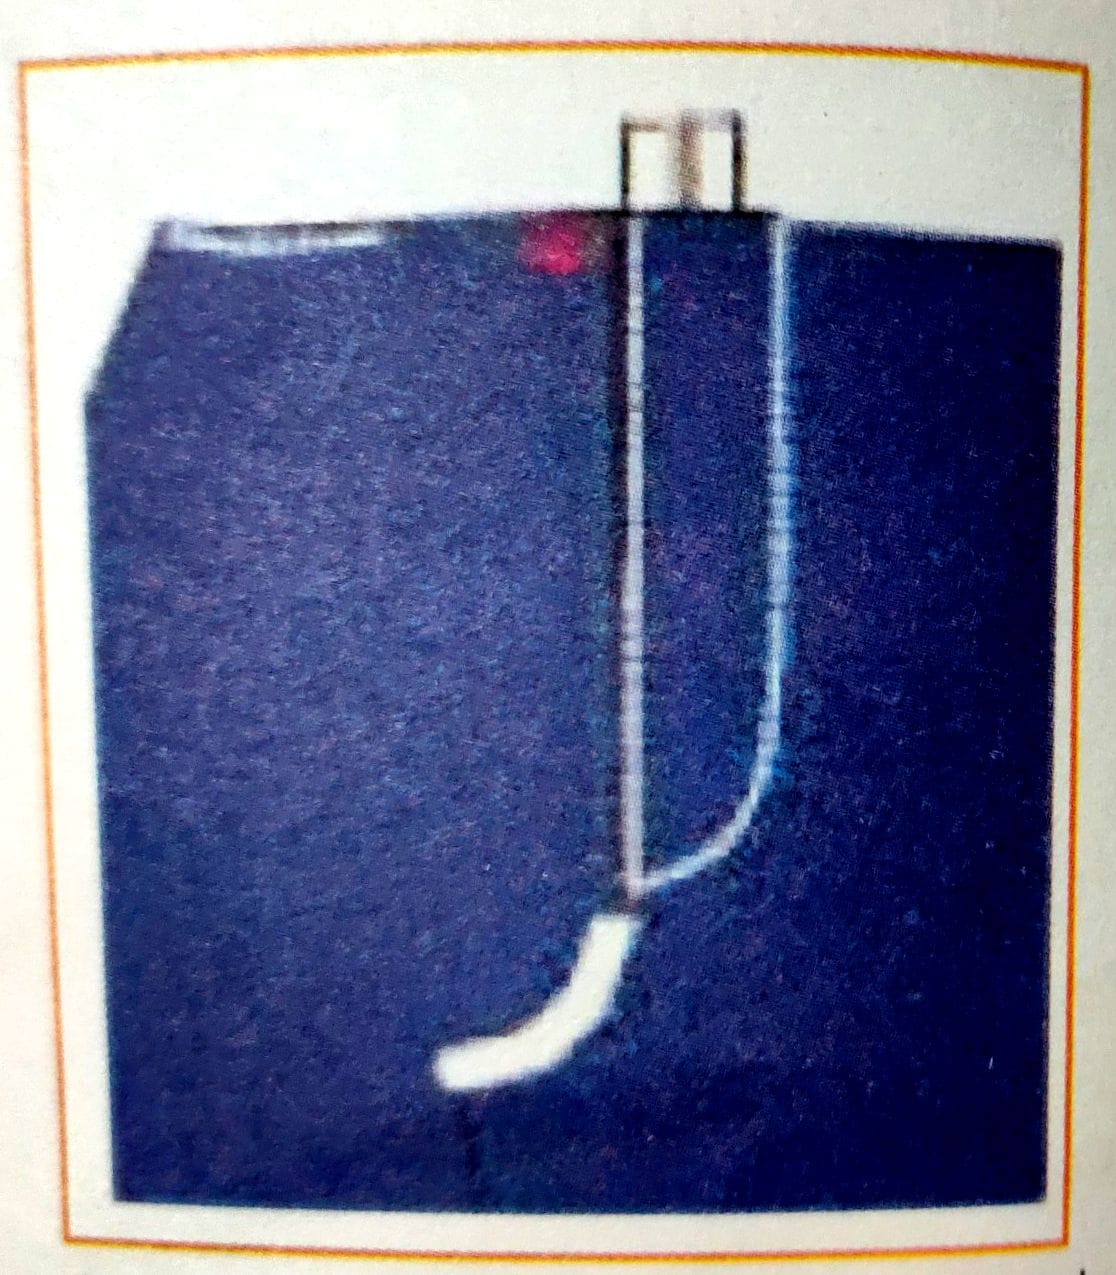
Step 12: Open the zipper.
Step 13: Turn the left side front piece from the zipper side at the point of stitch
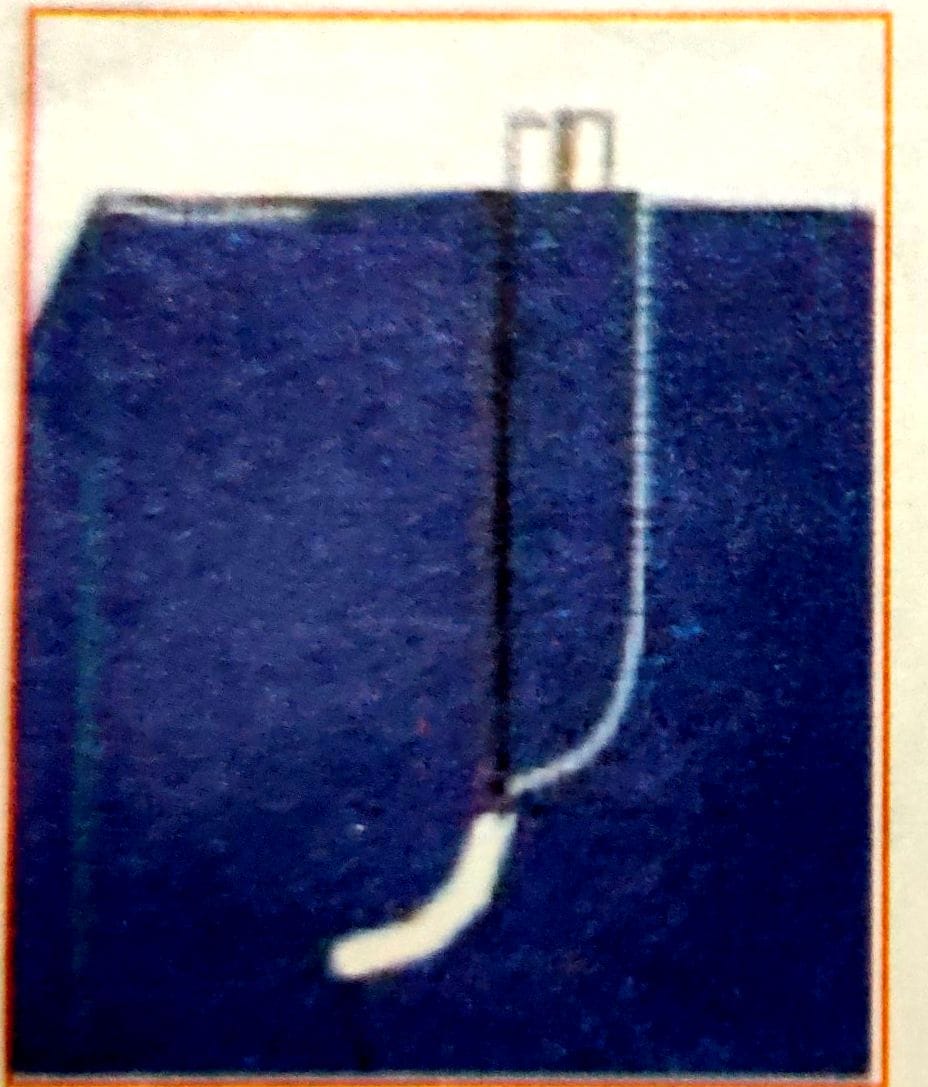
Step 14: Place the ready pattern of fly over the left front piece on the front rise side.
Step 15: Put lockstitch along the ready pattern starting from top to the bottom.
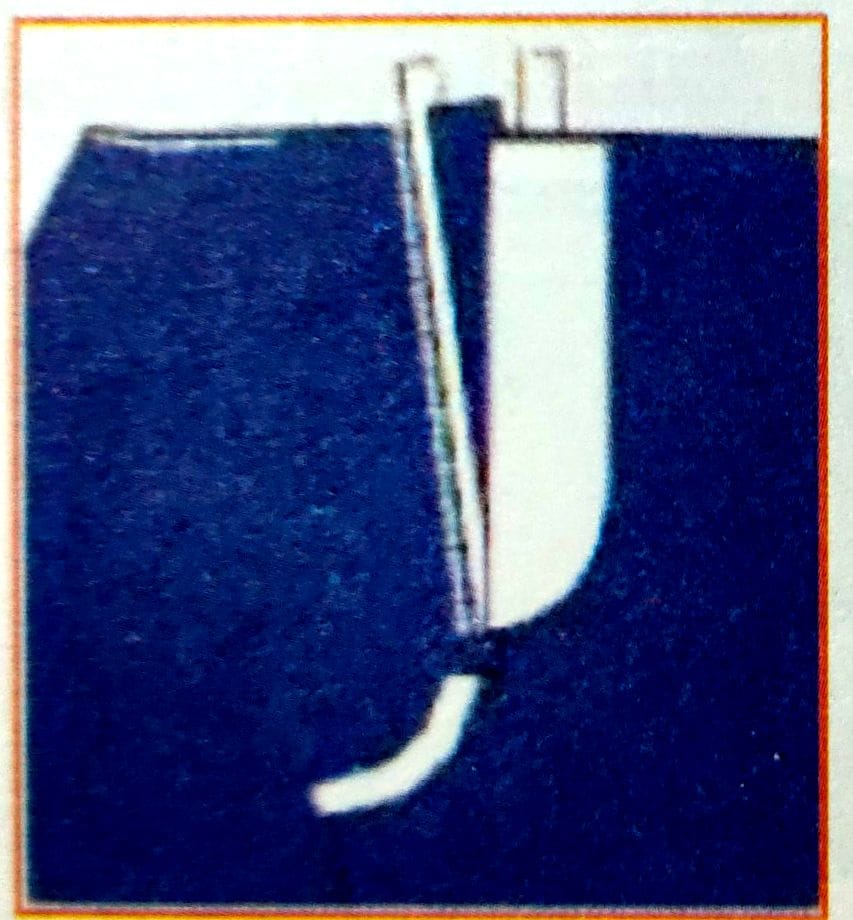
Step 16: Close the zipper and complete the J-stitch along the J-pattern.
Step 17: Put a top-stitch on the edge of the finished J-piece starting from bottom to top.
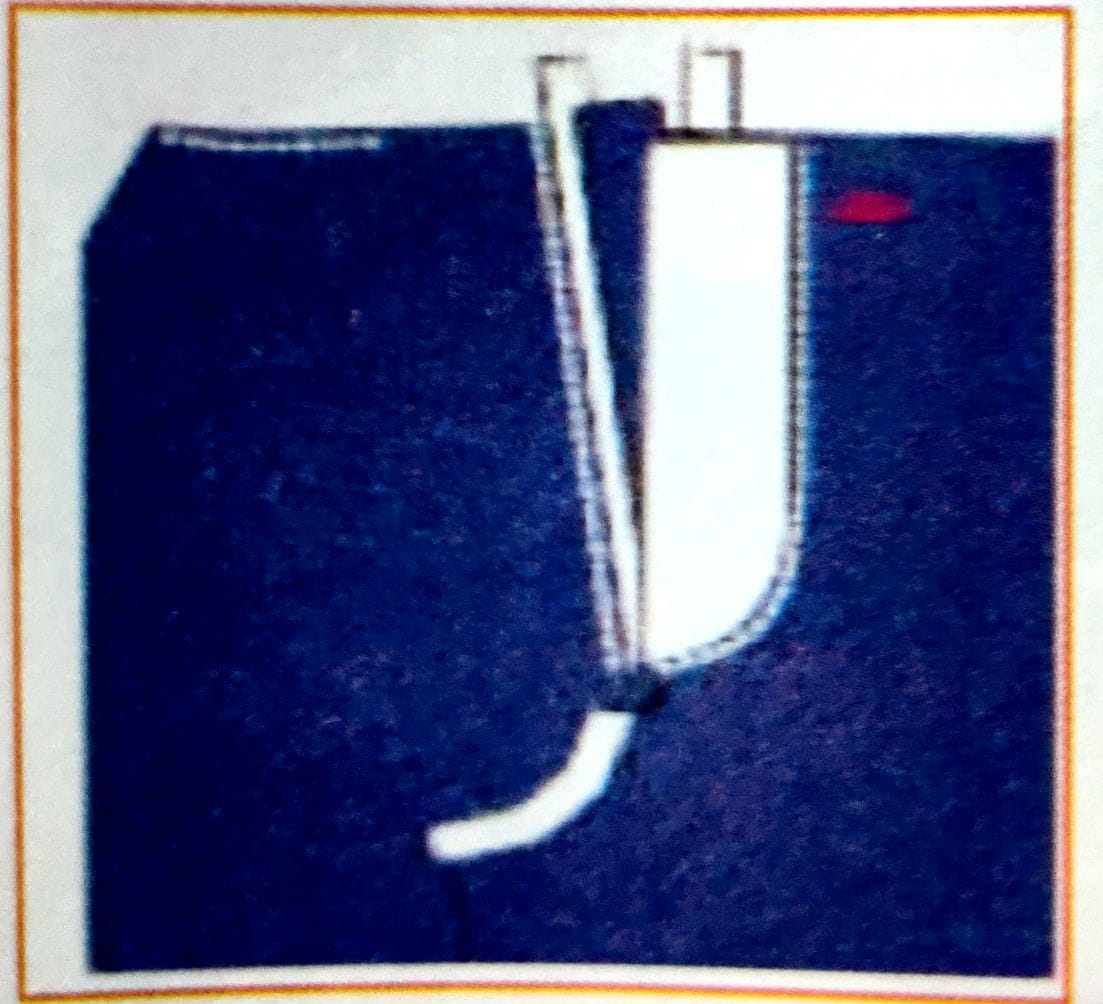
Step 18: Reverse the fabric and put 6 mm stitch on the curved portion of the front rise.

Step 19: Turn the piece so that the front side of the fabric is facing up Put an edge stitch on front rise starting from bottom till the end of J-stitch.