Bottom Stop Defects
Massing Top or Bottom Stop Readily apparent and will result in zipper failure if facilities for attaching a top or bottom stop are not available. then the entire zipper. should be replaced In some instances, bottom stops are attached at garment plant An improperly or poorly attached bottom stop may be result of carelessness on part of the operator or of improper functioning of the bottom stop machine
Snap fasteners
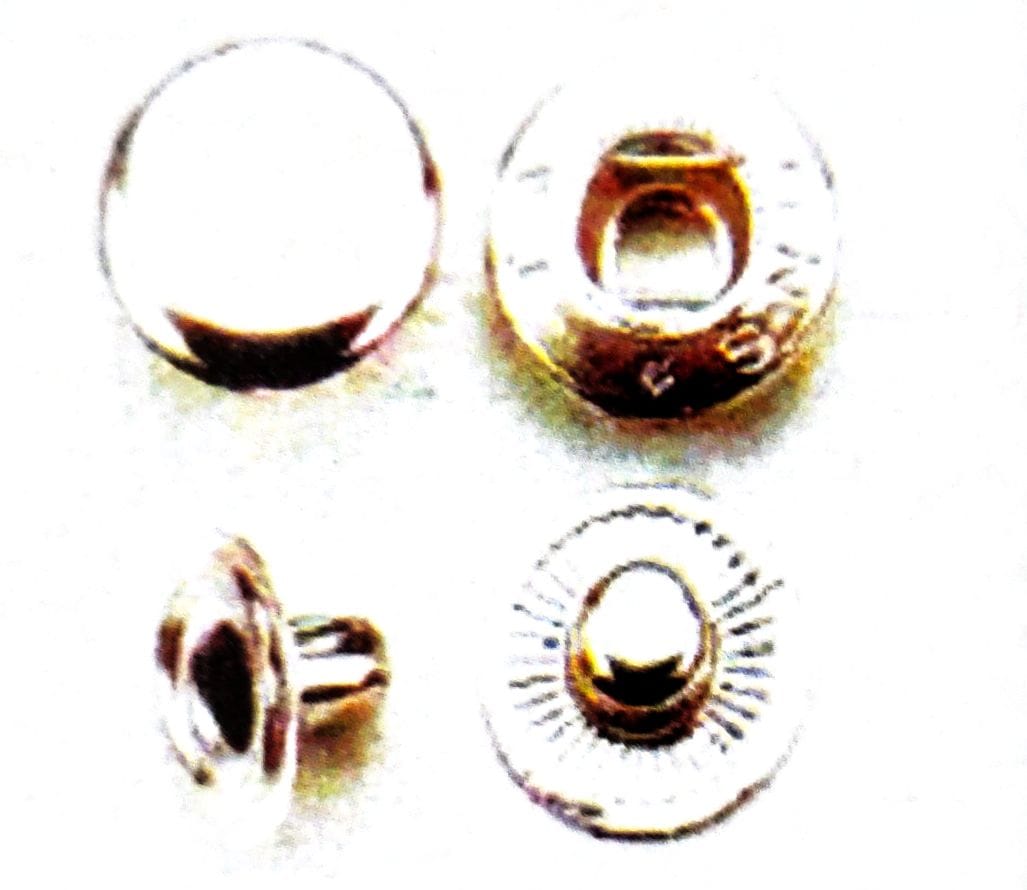
Hard Action : In light-weight goods this may result in stud or socket pulling through the material. The snap fastener manufacturer can be of help in recommending proper tension of stud in socket for weight of garment material
Light Action : Snap fastener does not stay closed because of lack of proper tensions. Same comment applies as for tight closure.
Hooks & Eyes
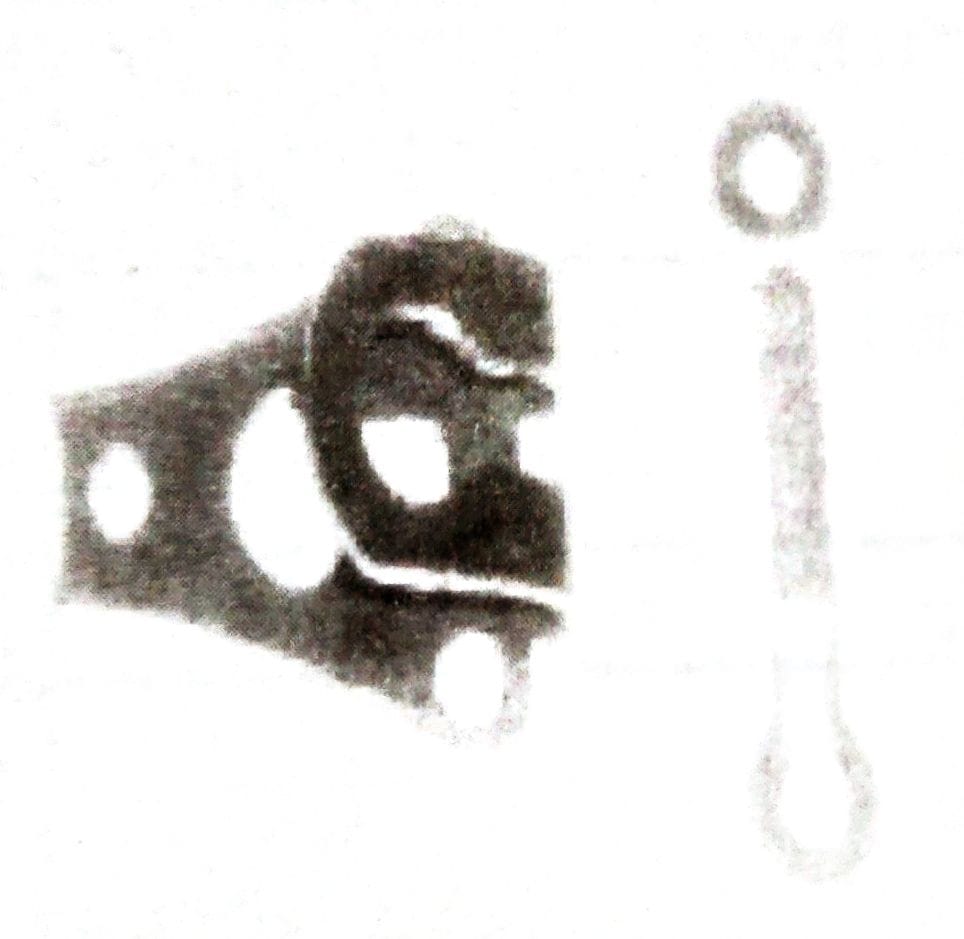
Improperly Applied This mostly caused by a careless operator os improperty adjusted attaching equipment and connection are usually simple when apparent improper Alignment Gauge available for attaching equipment to cure prope alignment in positioning This a necessary if garment is to have a properly tailored look if the top of the apper is extended into the waistband of the trouser than the hook and eye should be offset to prevent it from hitting the zipper material
Poor Finish: May be the result of improper finishing or pocking of the metal surface and while this defect dose not interferes with the functional operation it may not leave the desired finished appearance of the garment Tight/ Loose Closure Attaching equipment ill fitted with an adjustable feature permitting secure application of hook and eye to either light or heavyweight goods If closures seem too tight then one should immediately check the attaching equipment for proper adjustment
Buttons
Rough or Dull Surfaces
This is not a serious fault except in cases of Surfaces of extreme roughness or poor surface appearance
Non Uniform Inaccurately Spaced Chipped or Blocked Sew Hole
This type of defects be noted the garment manufacturing operation and can slip inspection unnoticed but it frequently causes needle breakage or cut thread.
Rectification of Defects
Few common stitching defects encountered by in – line checkers and their causes are listed below:
Improper Stitching | Incorrect threading Bent needle head |
Improper feeding | insufficient or too much pressure on pressure foot. Stitch length too short. |
Skip stitching | Incorrect threading Damaged needie Larger needle hole improper thread tension too bight/thread stretches when heated |
| Skip stitching (overedge machine) | Loopers are incorrectly set Needle to looper setting is incorrectWrong thread type |
| Wavy Seam | Stitch length too short Pressure too heavy or light |
| Wavy Seams (overedge machine) | Different feed needs increasing |
| Piles Feed unevenly | Incorrect pressure on the pressure foot Piles lock or stitch together Feed dog at incorrect height Inappropriate pressure-foot Inappropriate needle plate |
| Unbalanced Tension | Different thread on needle and bobbin Thread slipped out of tension disc incorrect threading Poor quality thread Bent, rusted or incorrect bobbin/improperly or unevenly wound bobbin bobbin have several layer of thread/bobbin case screw has worked out |
Unbalanced Tension (overedge machine) | Low power tension needs adjustment |
Uneven Stitches | Thread does not feed smoothly/thread has wrong twist/thread incorrectly threaded between tension discs.Pressure too tight |
| Cracked seam | Lint between the tension discs, guides or eyelets Bobbin or looper thread tension too tight Needle too small or wrong point Threads not moving smoothly through guides or eyelets Threads are too thick for needle or machine nas rough spots |
| Thread Breakage | Poor quality thread Tension too tight Needle set improperly Needles need replacement Pressure bar not down Rough needle eye, throat plate or thread spindle |
| Seam grin | Snitch length too short Thread not set into tension discs properly Tension on needle thread too loose |
| Machine Jam | Machine is incorrectly threaded Needle set incorrectly or damaged Static electricity pulls fabric into needle hole Bobbin inserted incorrectly |
| Unthreading of needle | Thread end too short Take up lever is not at highest position |
| Needle Breakage | Needle needs replacement or set incorrectly Pressure foot too loose Bobbin or bobbin case incorrectly set Pulling fabric while stitching or without raising pressure foot Fabric too thick |
| Bobbin Thread breakage | Improperly threaded machine Bobbin tension too tight Bobbin too full Bobbin pigtail caught in bobbin-case Bobbin screw not working properly |
Process to Rectify Few Defects
Re- stitched Seams/Broken Stitches | Using better quality sewing threads Ensure proper machine maintenance |
Open Seam Seam Failure- Stitch | Better quality threads Proper size thread for application Proper tension |
| Seam Slippage | Change seam type if possible Increase seam width Optimise the stitches per inch |
Excessive seam Puckering | Correct thread type and size Sew with minimum sewing tension to get a balances stitch Machine needle, bobbin and threads are set proper according to the fabric to be sewn |
| Knits & Stretch woven puckering | Set the machine properly according to the fabric Minimum pressure foot pressure |
| Improper Stitch balance-301 Lockstitch | Use quality thread Properly balance the stitch so that the needle and bobbin thread meet the middle of the seam. Always start by checking bobbin tension to make sure it is set correctly, so that minimum thread tension is required to get a balanced stitch |
Improper Stitch balance-401 chain stitch | Use quality thread Properly balance the stitch so that when the looper thread is unravelled, the needle loop lay over half way to the next needle loop on the underside of the seam |
| Improper Stitch balance- 504 overedge stitch | Use quality thread Properly balance the stitch so that when the looper thread is unravelled, the needle loop lay over half way to the next needle loop on the underside of the seam |
| Raggeded/ inconsistent Edge | Make sure the sewing machine knife are sham and changed often The knives should be adjusted properly in related to the “stitch tongue” on the needle plate to the proper seam width |
Fabric Care
The proper care of clothes ensures that the garments last longer and gives one value for money and look great after a number of washings
Safe Ironing temperatures limits for fabrics
| Cotton | 400 o-4250 F |
| Linen | 450 OF |
| Silk | 300 o F |
| Wool | 300 o F |
| Nylon | 300 o -350 o F |
| Polyester | 325 OF |
| Rayon | 350 0-375 o F (Reverse and iron) |
| Rubber | Do not iron |
Industry Visit
The purpose of visiting a tailor shop/boutique is to get hands on knowledge about vanous processes used the work of a tailor During the visit you have to interact with Tailors and owner of the shop to understand how work is done in a tailor shop/boutique Make sure that you keep a notebook handy and not down any impona points that come up during your interaction at the tailor shop/boutique. When you go to an tailor shop/boutique you should:
Inspect stitched products against specifications
Analyze how tailors:
Inspect stitched products against specifications
Carryout alterations
Sew and apply trims by hand and machine
Also Understand the inspection and possible defects.
Ask questions to Tailors/shop owners if you have any query.