There are two kinds of fitting
The first test fit is done on muslin at the time when the design is made. A basic test fit is done to cross check the pattern fitting, the pattern is cut with relevant seam allowances and pinned in place for test fitting. Make sure that seams and darts are in place. This fitting is done from the right side of the garment These corrections become the new seam lines for the garment. Check the garment for ease and fullness. It is important to mark buttons and buttonholes at right places in this fit.
The second is after the garment has been stitched before final finishing. Stitch the garment with relevant interfacing/ or underlining in place, press it well and test fit to check the position of darts, teams, puckers if any and find the position of outer seams. This sort of fitting improves the fit of the attire Other times when refitting happens, if the garment has been purchased readymade from the market some alterations may be required for it to be fitted to an individual’s size and also if there are changes in the body size. The methods by which each pattern seam or area is to be corrected or reformed depends on the type of problems and nature of the fitting defect. The major problem areas have been previously recognized and thoroughly explained There are areas that require minor modifications those have been explained and those that require some pattern manipulation have been shown with figures and explained briefly.
Given below are some of the fitting problems that would necessitate pattern alterations.
Waist alterations
.Thick waists- reduce the size of the darts and or add at the side seam.
.Slim waists- upsurge the size of the darts and take some at the side seam. If alteration is a small amount then the changes may be made in either in the darts or on the side seam. But in case the amount is adequately large than half of it should be altered in the dart and half in the side seam.
Shoulder alterations
Since the clothes hang from the shoulder their correct fit begins the lines and shaping of the rest of the garment.
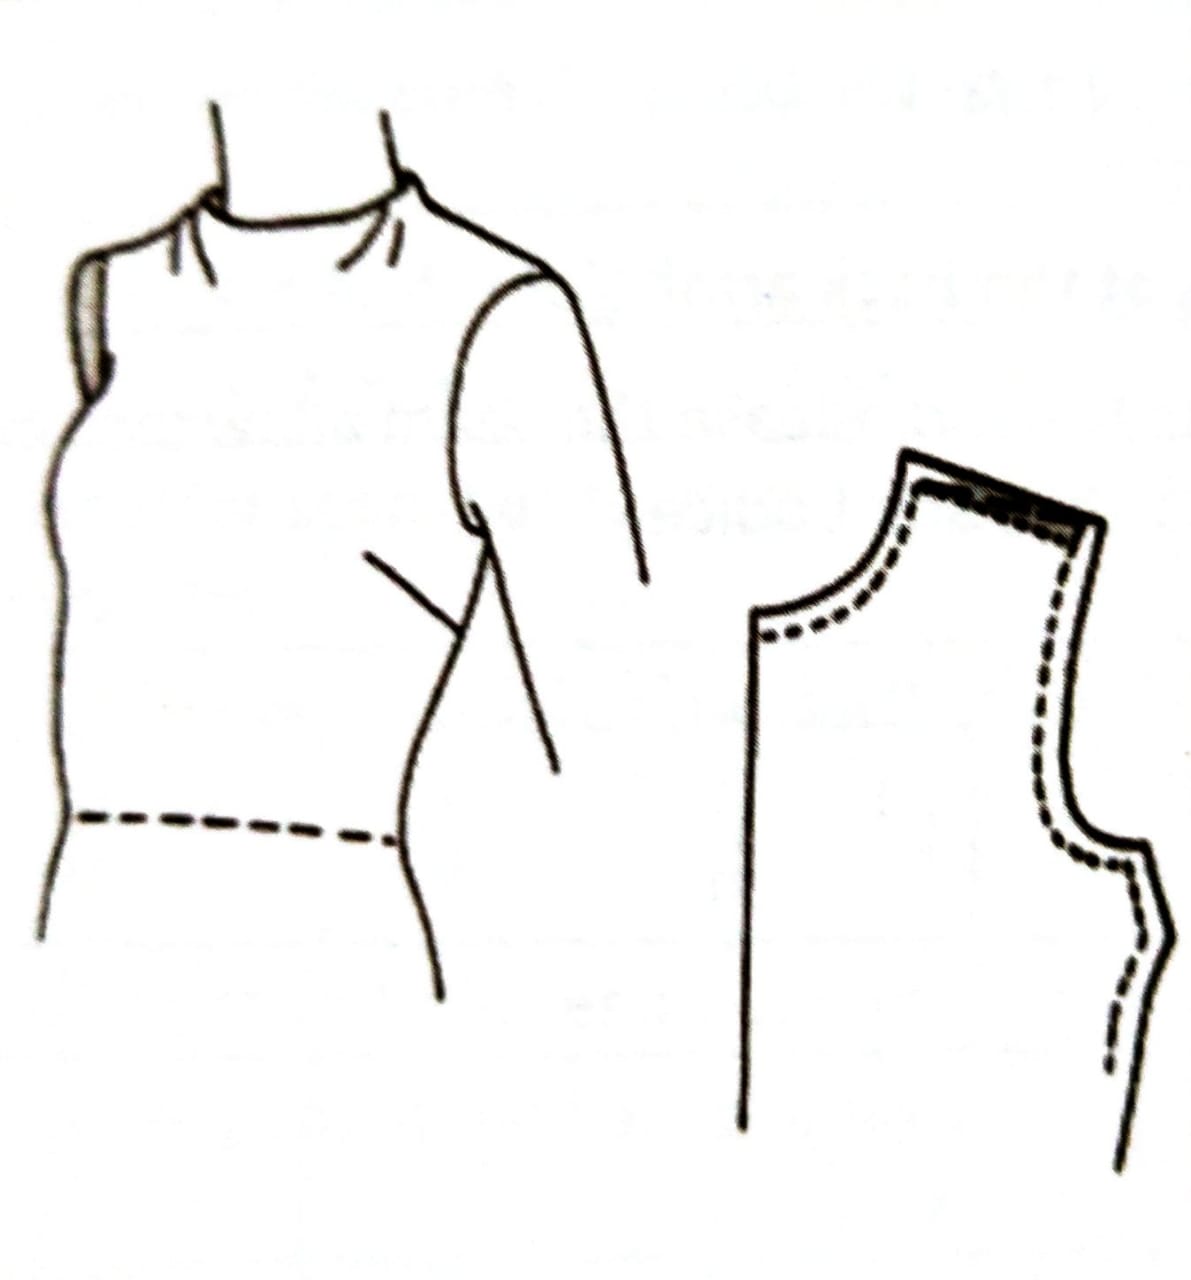
Narrow shoulders: On front and back pattern, draw L-shaped slash lines from mid shoulder to notches on the armhole Slash and overlap the pattern at shoulder to the needed amount Redraw the shoulder line.
Square armholes: On front and back pattern, draw slash lines from neck to armhole edges Stash and spread the pattern at armhole edges to the needed amount Raise the armhole curve by the correction amount. Redraw the pattern on a new sheet or add paper to fill the gap.
Broad shoulders: On front and back pattern draw L-shaped slash lines from mid shoulder to notches on the armhole Slash and spread the pattern at shoulder to the needed amount Redraw the pattern or insert paper in the gap. Correct the shoulder lines.
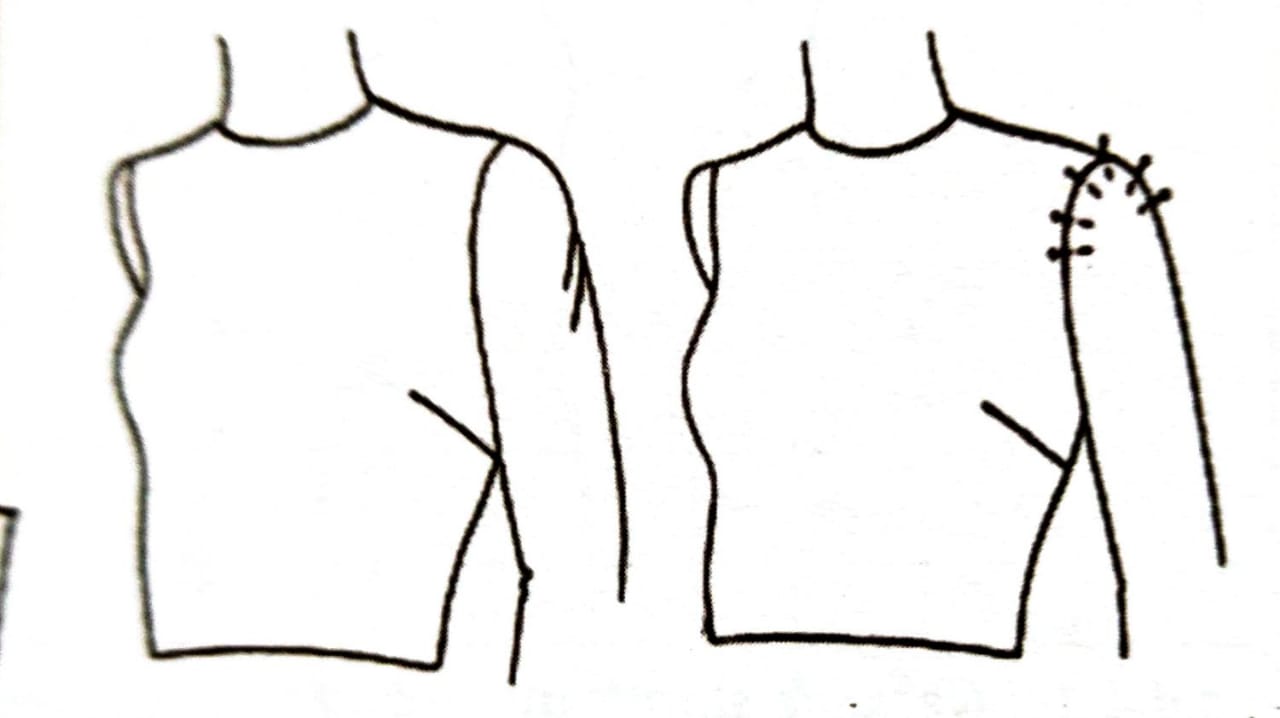
Sloping shoulders: On front and back pattern draw slash lines from neck to armhole edges Slash and overlap the pattern at armhole edges to the needed amount. Pin the pattern piece or scotch tape it to the required position. Redraw the armhole curves, lowering them at underarm by the same amount that you have taken in for corrections.
Round armholes: On front and back pattern, draw slash lines from neck to armhole edges Slash and overlap
the pattern at armhole edges to the needed amount Redraw the armhole curves, lowering them at underarm by the same amount that you have taken in for corrections.
Sleeve alteration
The sleeve hangs from the shoulder and setting of the sleeve starts at the shoulder. Check that the armhole is neither too tight nor too loose otherwise a sleeve will not set in properly.
Wrinkling, pulling, straining, binding: This may be due to insufficient width across the sleeve cap, across the chest or back. Unpin the sleeve. Use some of the sleeve seam allowances at the armhole and sleeve cap for more width.
Tight armhole: Drop the armhole by requisite amount. Add width at both the armhole and sleeve edge Use some of the under arm seam allowances at sleeve and side seam.
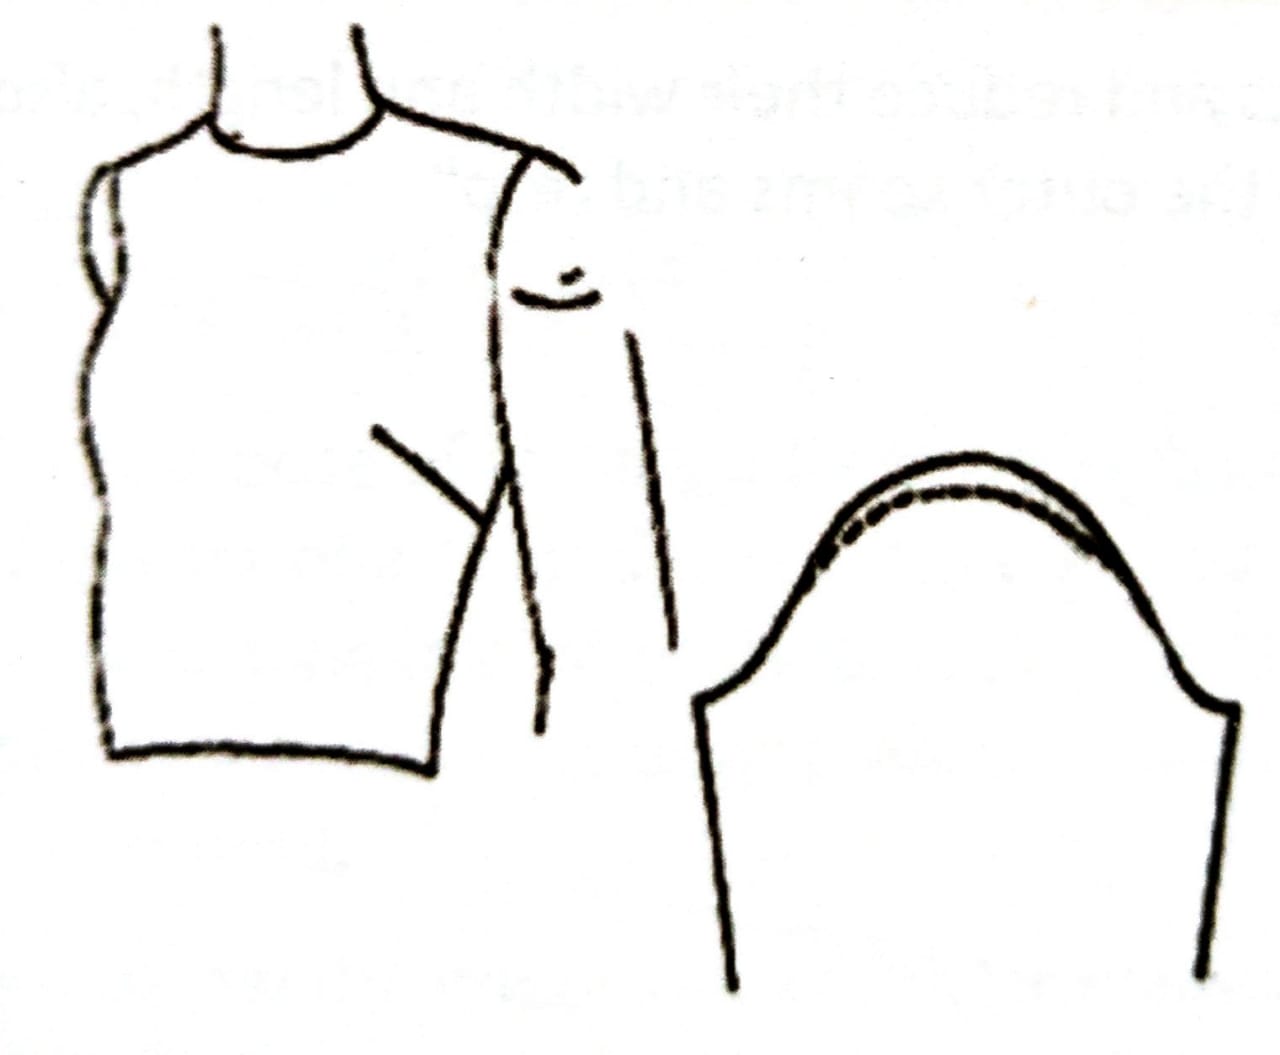
Short sleeve stands out at the hem: This is due to insufficient length of the sleeve cap. Draw a slash line across the cap. Slash and spread to the needed amount. Correct the armhole curve.
Sleeve cap wrinkles across the top of the sleeve: This indicates too much length at sleeve cap. Draw a slash line across the cap. Slash and overlap to the needed amount. Correct the armhole curve.
Heavy arm: Draw an upturned slash line on each side of the sleeve opening at under arm to the lower edge of the sleeve. Slash and spread the pattern to half the needed amount to each side at the underarm and tapered to nothing at the lower edge. Make identical changes in the armhole seam of the front and back bodice. Draw a slash line from the underarm to waistlines in front and back bodice Slash and spread the pattern to the same amount as that added on each side of the sleeve, starting at the underarm and tapering to nothing at the lower edge..
Tight upper arm: Slash the sleeve at the centre from shoulder point to the lower edge. Spread at the cap the essential amount tapering at the lower edge.
Bust alterations
Since the bust area is the most difficult to fit being the rounded part of the body. Check the garment, it should be neither too tight nor too loose. Big alterations are not very effective in this area especially for closer fitting garments.
Bust with a large cup: As you know, women with the same bust size have different cup sizes. the garment to be tight over the bust area. Draw an upright slash line from the shoulder passing through the bust point to the other edge of the pattern, passing through the waistline dart. Draw a vertical line at the bust point from centre front to the side seam. Slash on all lines and spread the pattern adding at the bust area without increasing at the shoulder. The added width at the side seam and waistline should be taken in a dart. If the dart intake is very big it is advisable to convert it into two darts.
Bust with a small cup: Draw a vertical slash line from the shoulder passing through the bust point to the other edge of the pattern, passing through the waistline dart. Draw a perpendicular to this line at the bust point from centre front to the side seam. Slash on all lines and overlap the pattern without reducing on the shoulder.
Hip pattern alteration
Fitting problem in this are manifest themselves in wrinkling,pulling ,Sagging and uneven hemlines.
Small hips: Draw a vertical slash line from the waist to the hem of the skirt pattern Draw a horizontal line from centre back to the side seam passing through the fullest part of the hip Slash the pattern on both the lines and overlap width wise to remove excess without loosing at the waist, unless the dart intake can be taken out for ease Overlap length wise to remove excess without loosing at the side seam True the seam lines
Large hips: Draw a vertical slash line from the waist to the hem of the skirt pattern. Draw a horizontal line from centre back to the side seam passing through the fullest part of the hip Slash the pattern on both the lines and spread width wise to fullness, the added ease may be taken in the dart intake Spread length wise to add fullness without adding at the side seam. True the seam lines:
Given below are some of the common fitting problems that would necessitate pattern alterations with illustrated solutions by draping method.
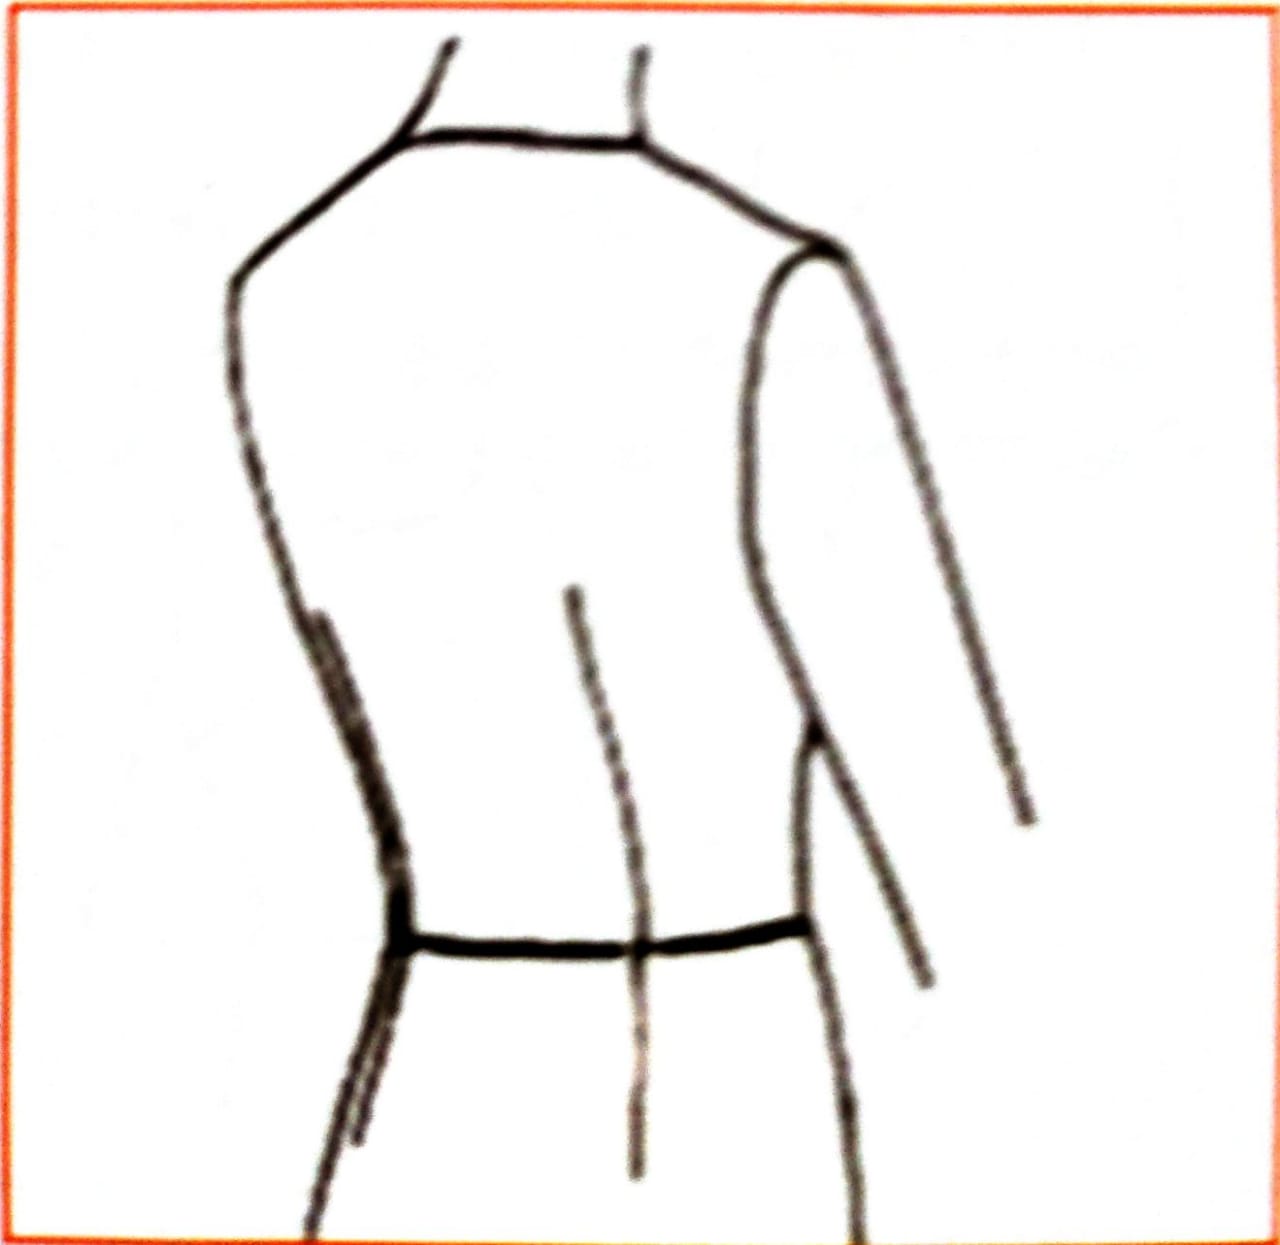
1. Problem-Folds below the bust dart.
Solution Undo the dart and part of the side seam. Lift shoulder a little, re-pin a bigger dart and pin the side seam to take out the excess fabric.
2. Problem- Low waist.
Solution: Tie a band around the waist and remark the waistline. Remove and re-pin the skirt to new waistline.
3. Problem- Baggy below the hip.
Solution- Raise the skirt at back only and re-pin.
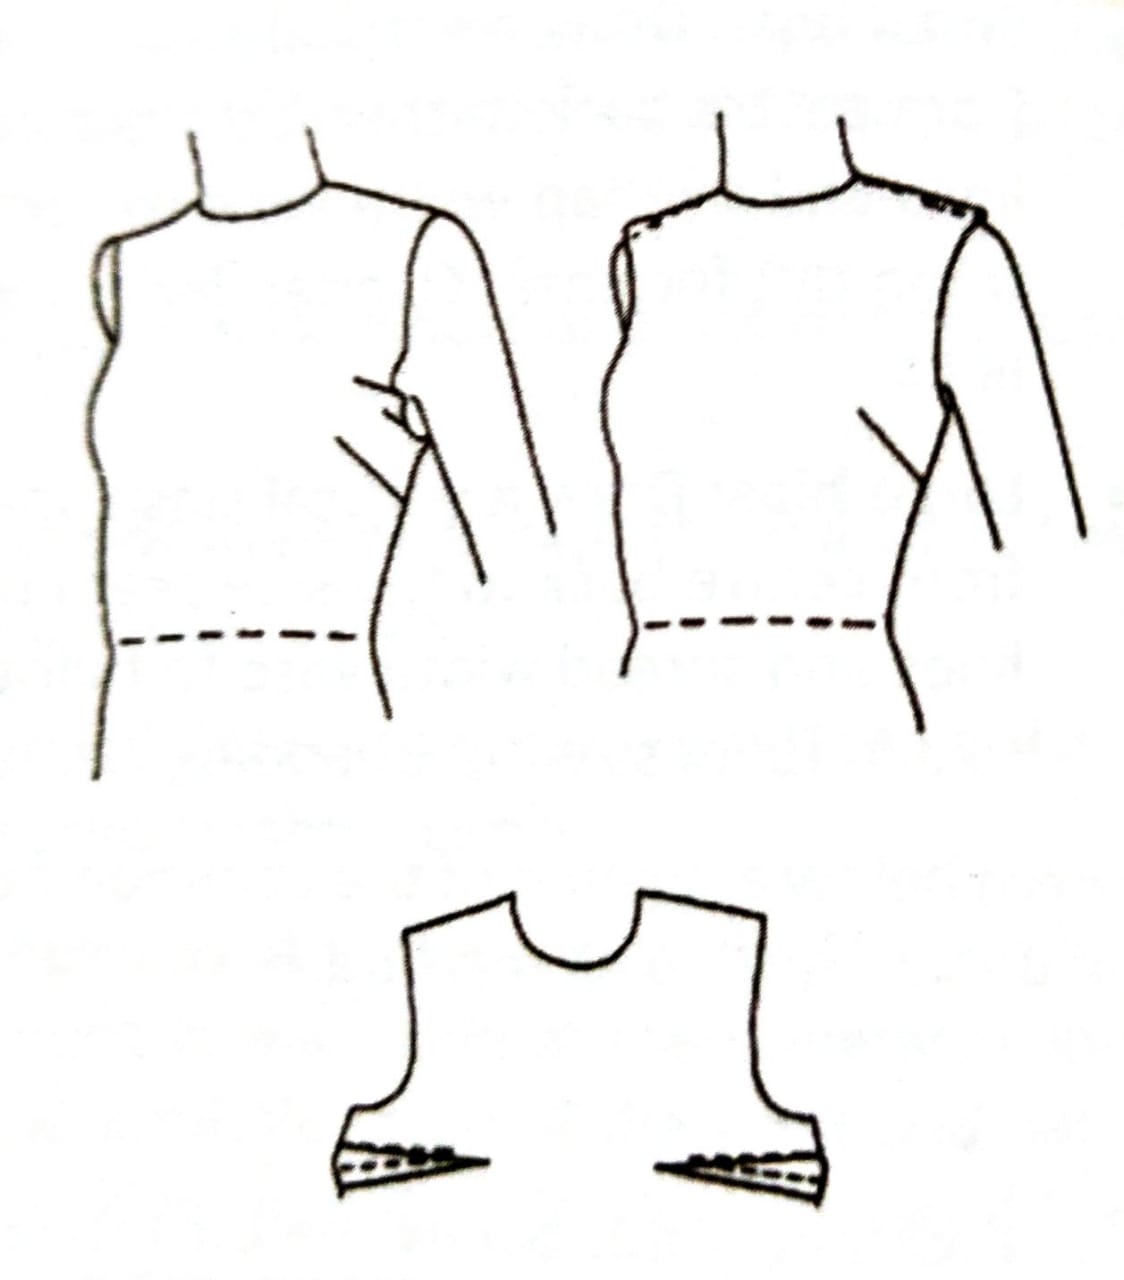
4. Problem- Gaping armhole.
Solution: undo dart and pin a bigger dart. Making sure that it points towards the bust point One may need to lift shoulder seam at the armhole.
5. Problem-Low neckline gapes.
Solution- Lift at the front shoulder seam. Lower the dart point if necessary
6. Problem- Folds in the dress below the waist.
Solution- Undo the side seam from below the armhole and ease out until the garment hangs smoothly.
7. Problem- Tight neck or armhole.
Solution- slash and snip seam allowance to release tension. If it is not enough, mark a new seam line that is lower than before.
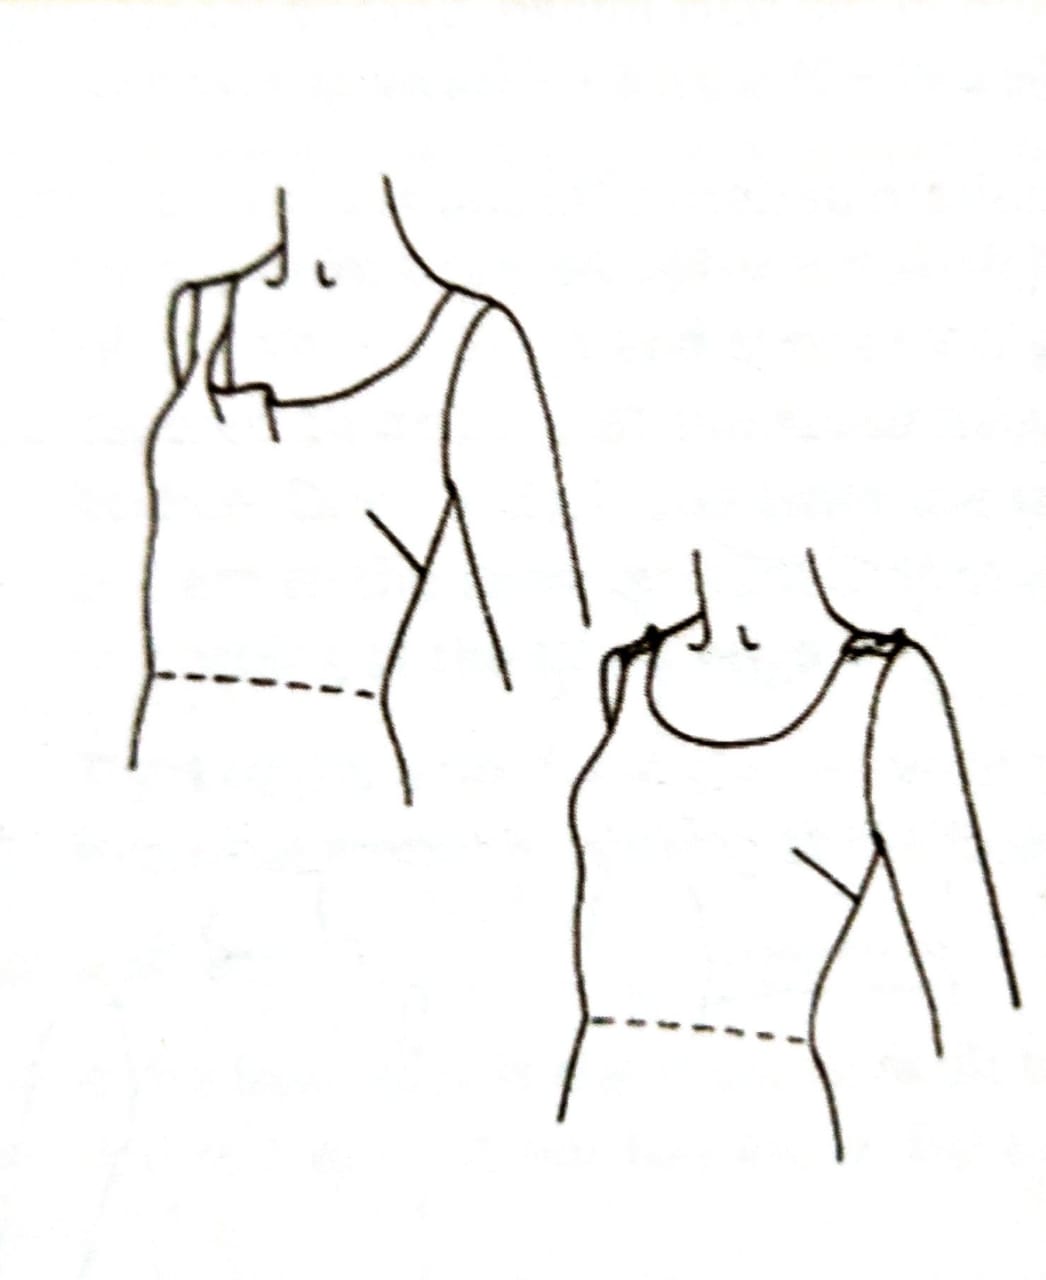
8. Problem Neckline stands away and folds below.
Solution- release shoulder seam and let it out at the armhole edge.
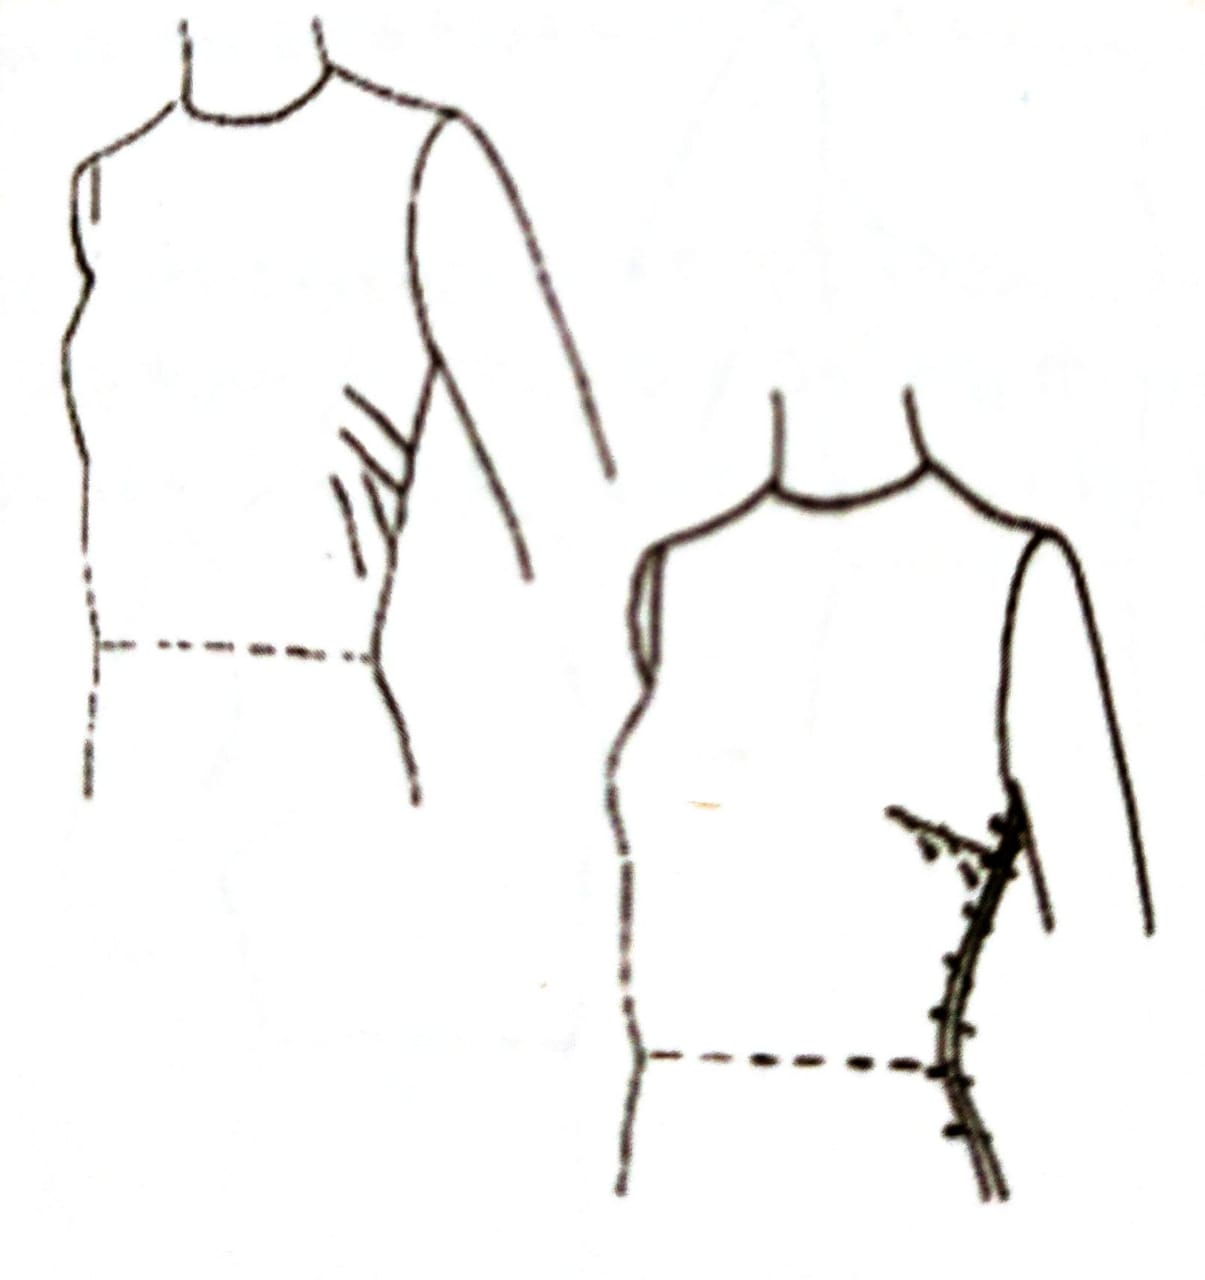
9.Problem-Shoulder seam lies towards the front of the shoulder.

Solution- Undo shoulder seam and release front seam allowances only.
10. Problem- Folds across sleeve at the top.
Solution- Mark a new fitting line below the existing one to reduce cap height.
11. Problem-Sleeve hangs towards the back.
Solution- Remove the sleeve and re-pin by moving the notch at the centre of the sleeve toward the back so that the sleeve may hang towards the front.

12. Problem Wrinkles and creases around the upper arm.
Solution- Release the underarm seam allowance and add the ease.
13. Problem- Sleeve pulls at the back armhole.
Solution- Unpin the sleeve and release the seam allowance on both the armholes of sleeve and bodice.
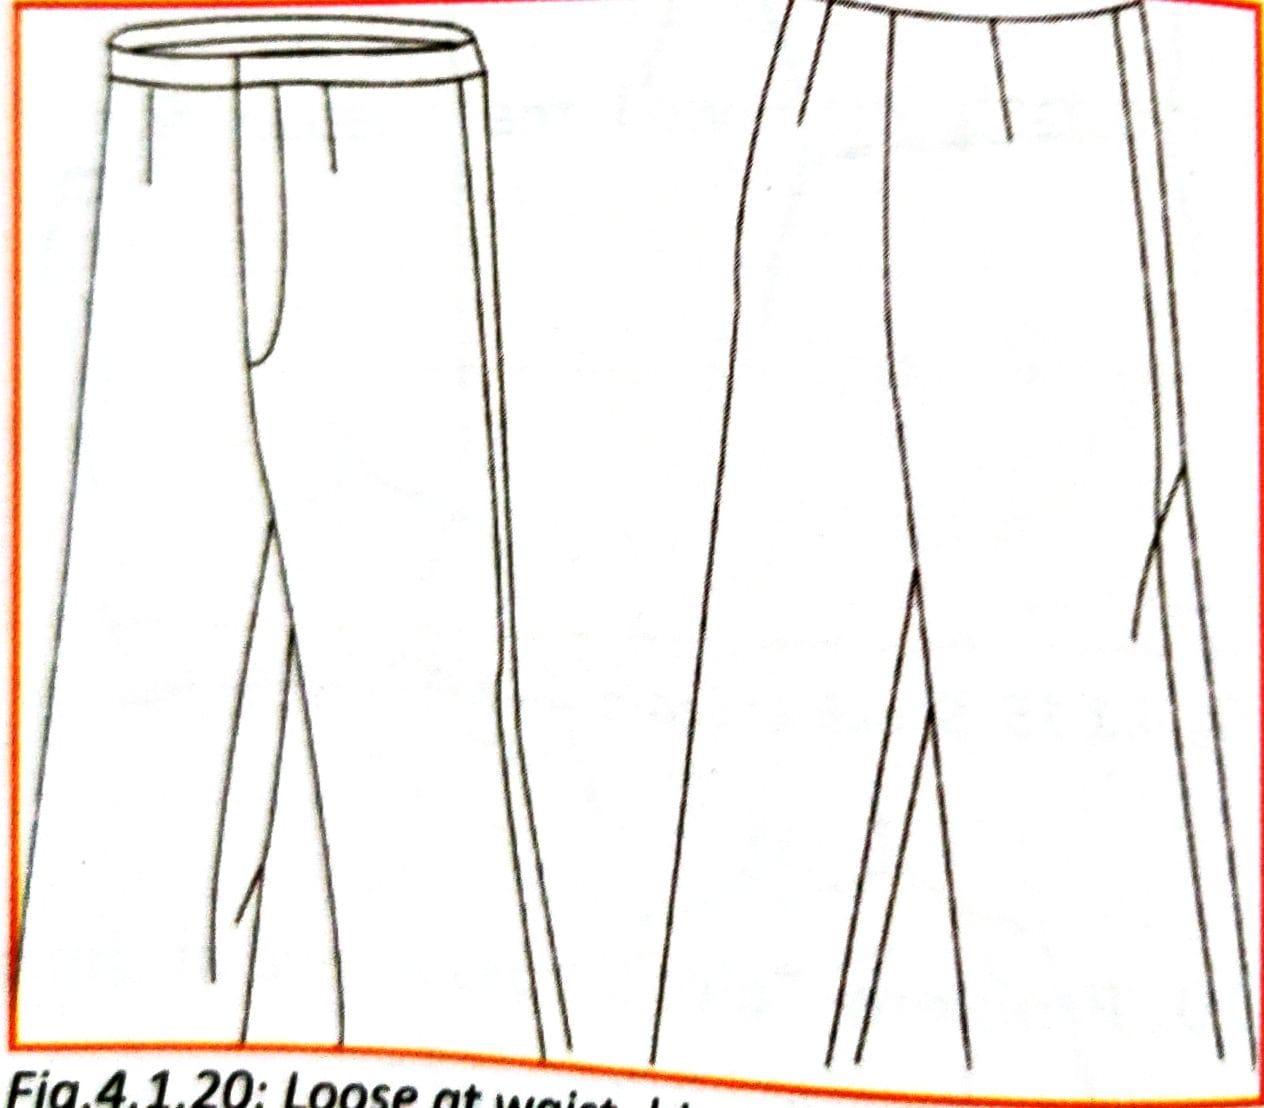
14 Probler Trousers are loose at waist hip or log Creases on log and troue stands away at waist.
Solution- Take excess fabric at side and pin at original seam lower dawa For larger tup increase the dart intake Pin the excess towards the outer seam.
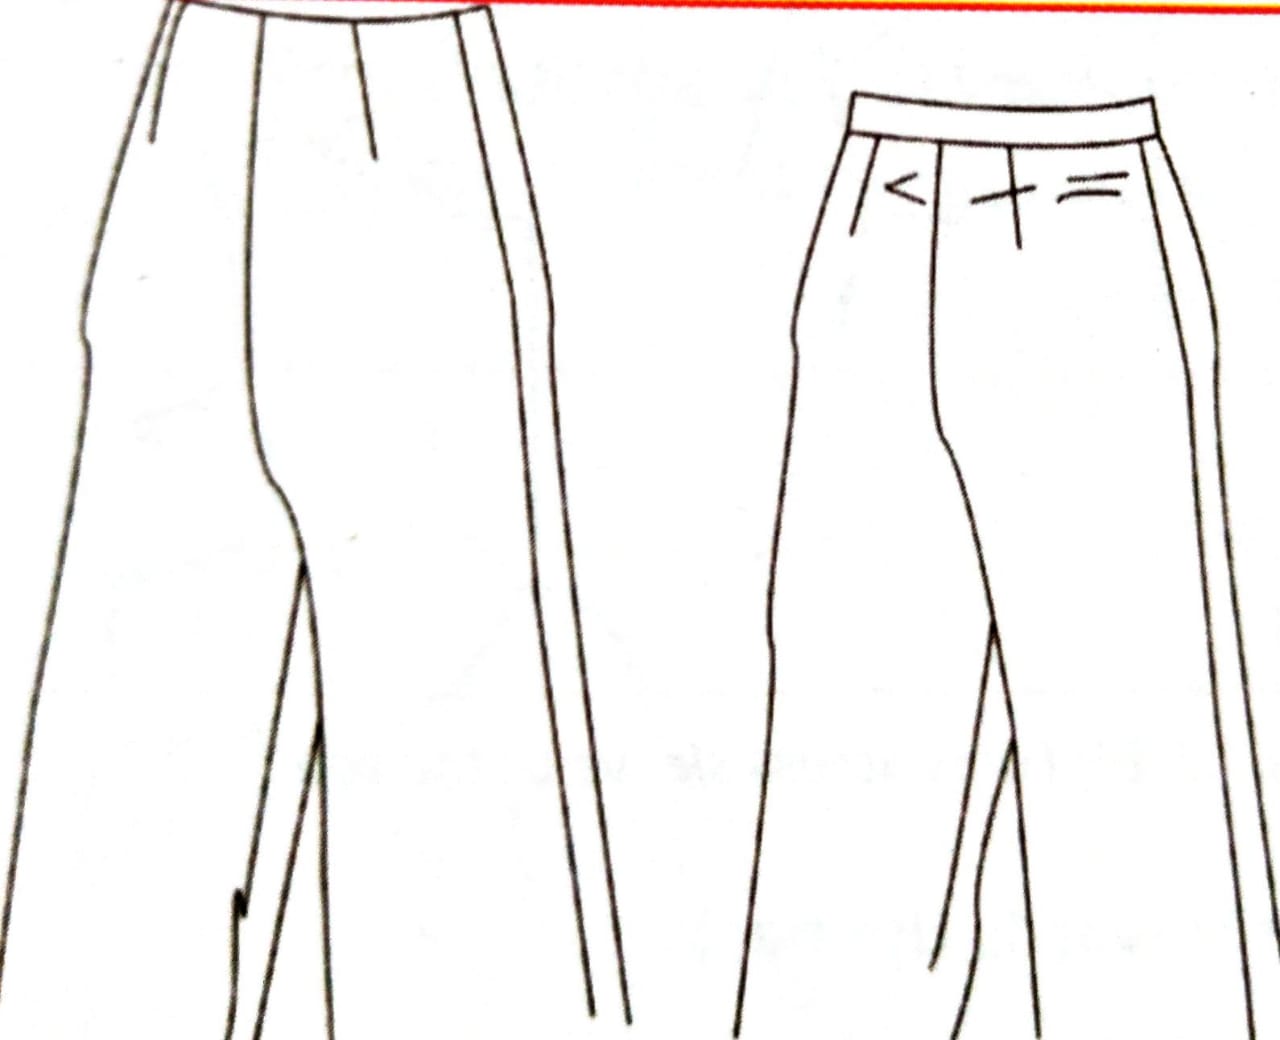
15. Problem: Trousers tight below the waist, crease around abdomen.
Solution- Release darts and reduce their width and length, also release some ease on the outer seams and re-p”