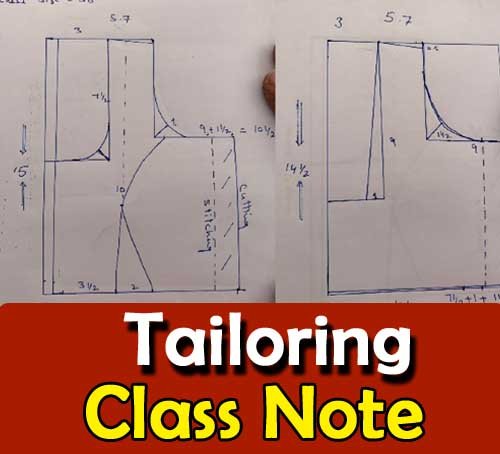
Pocket Making and Stitching
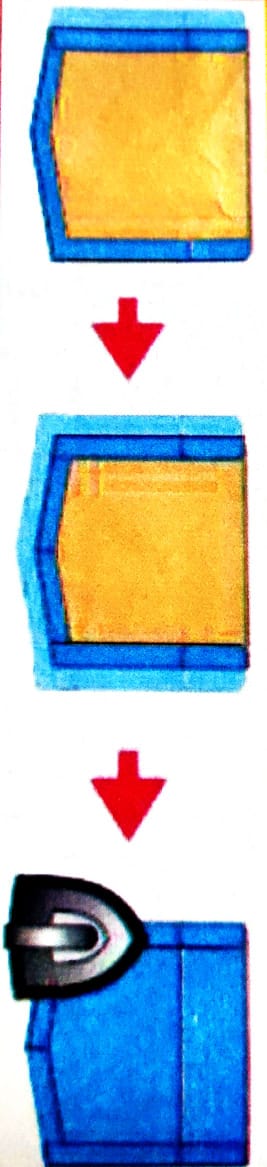
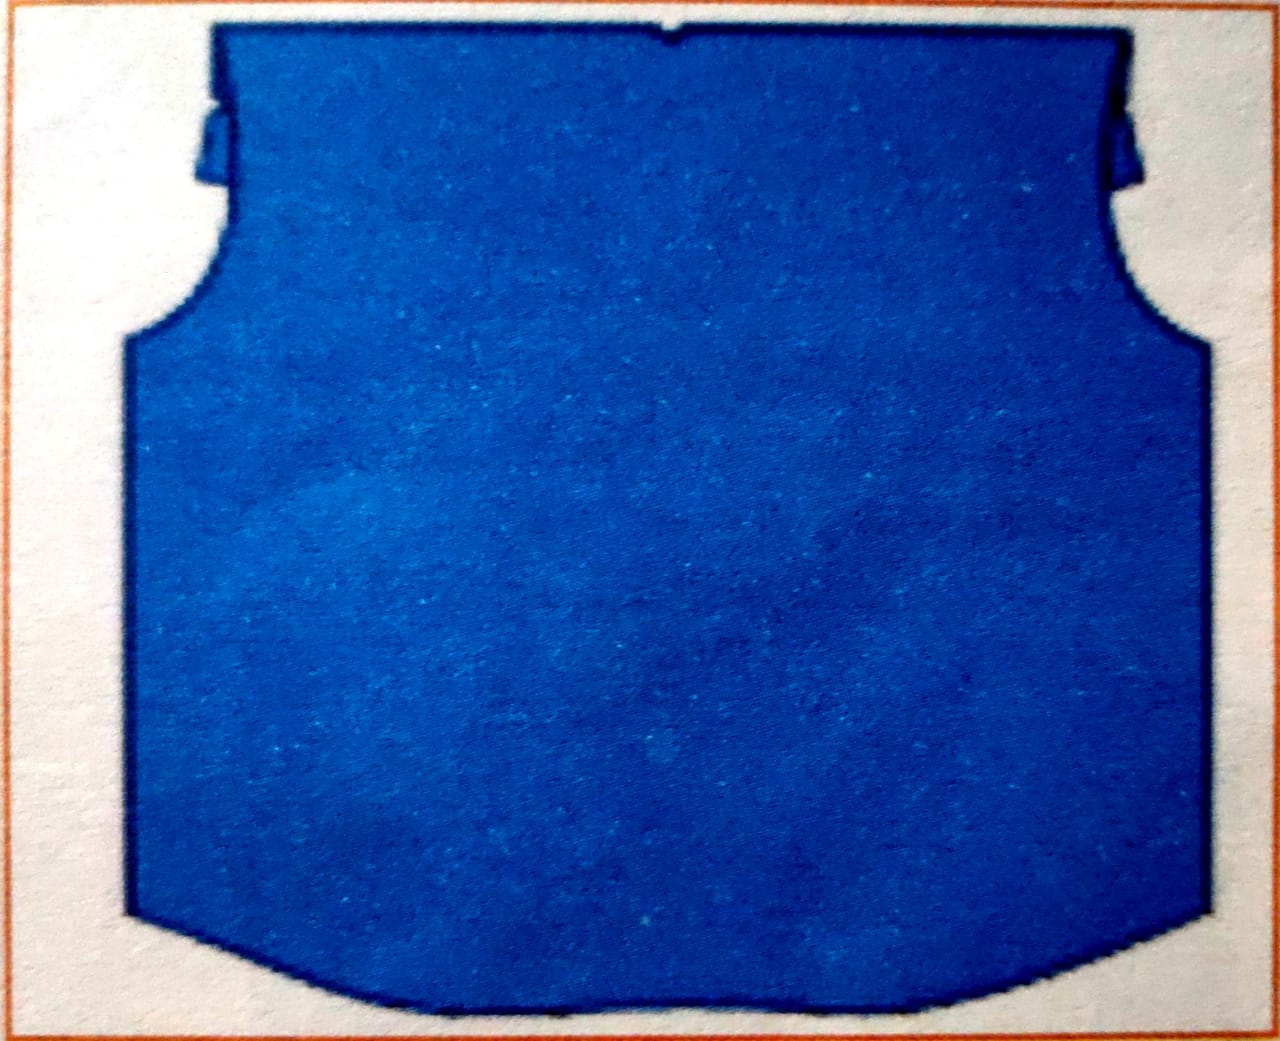
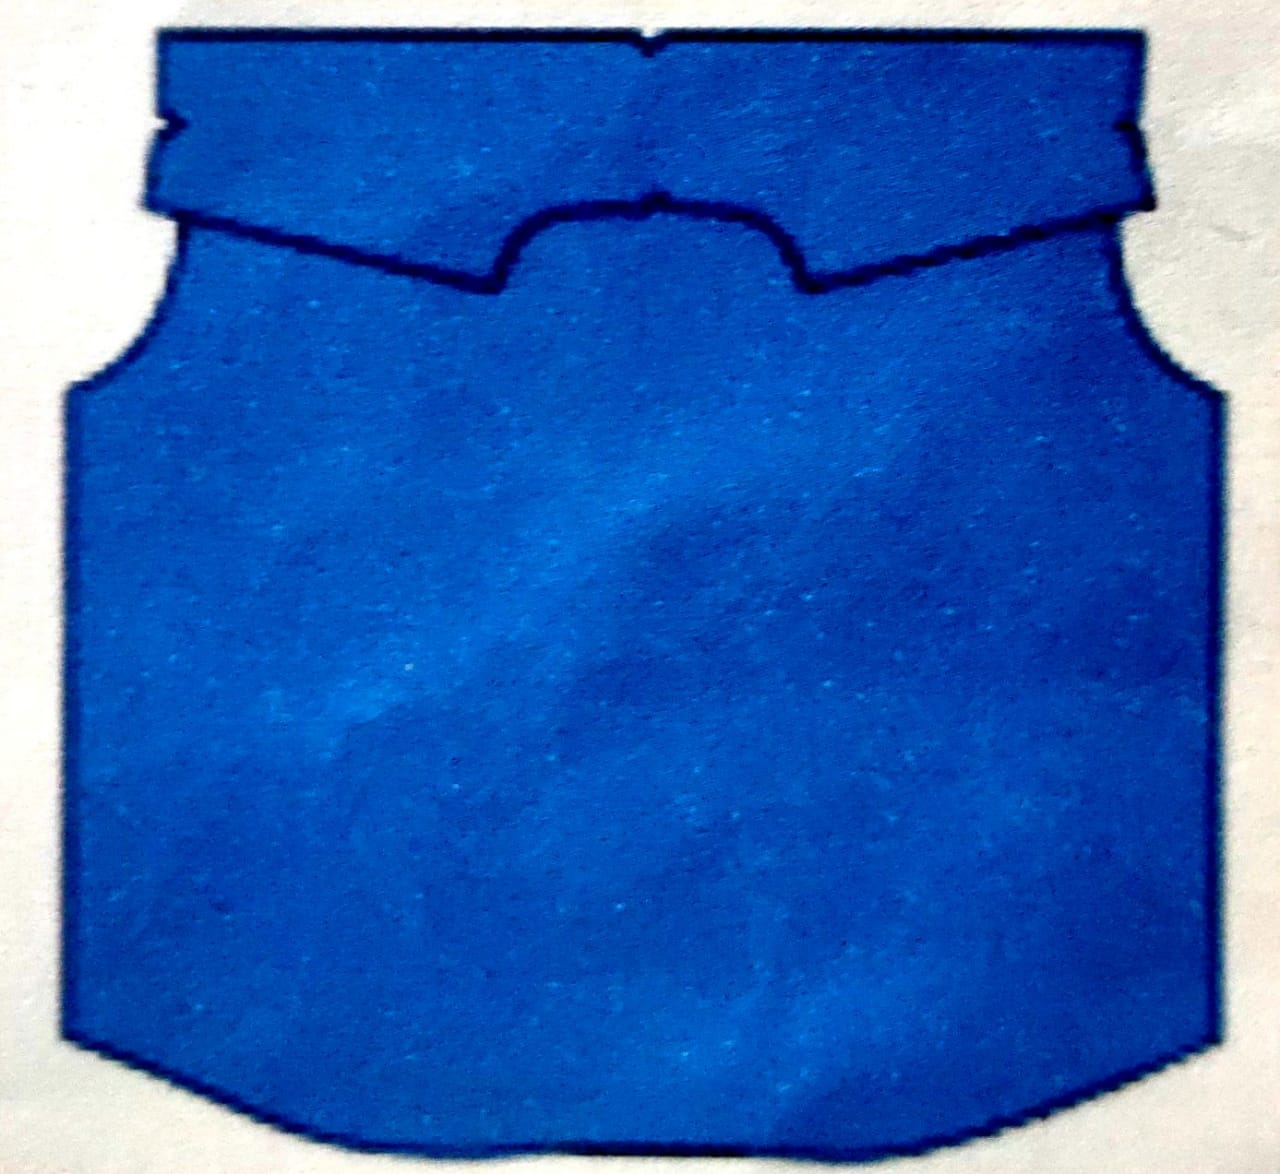
Step 1: Take the fused pocket piece.
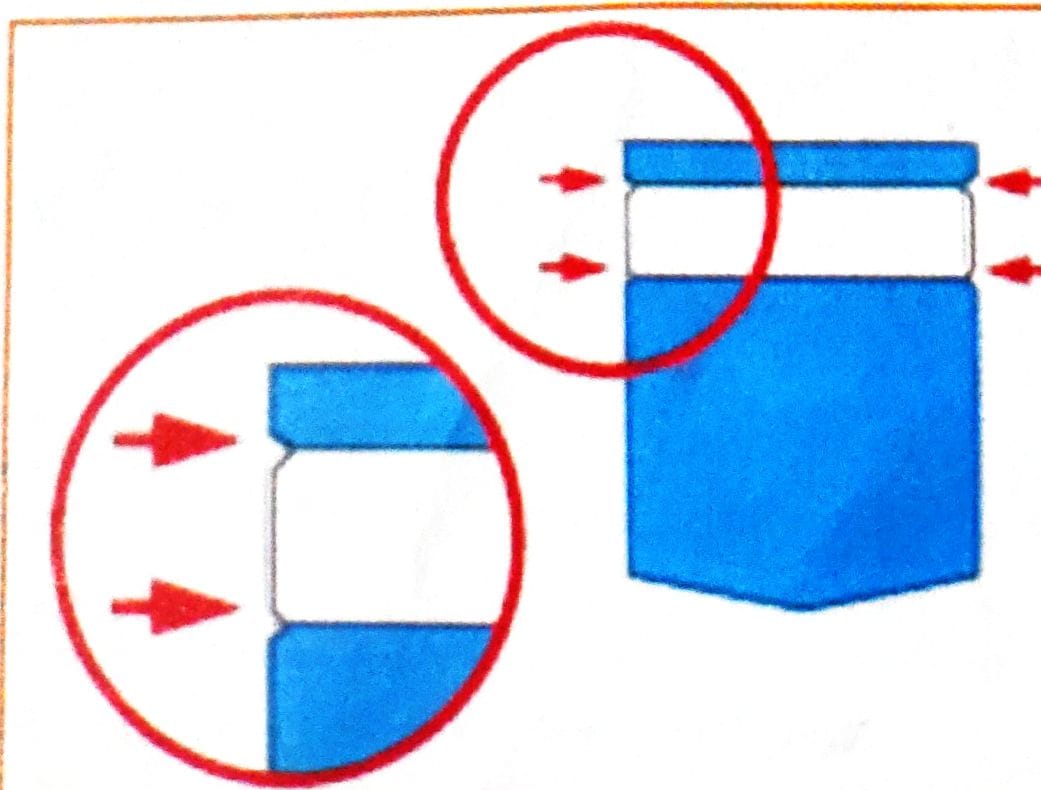
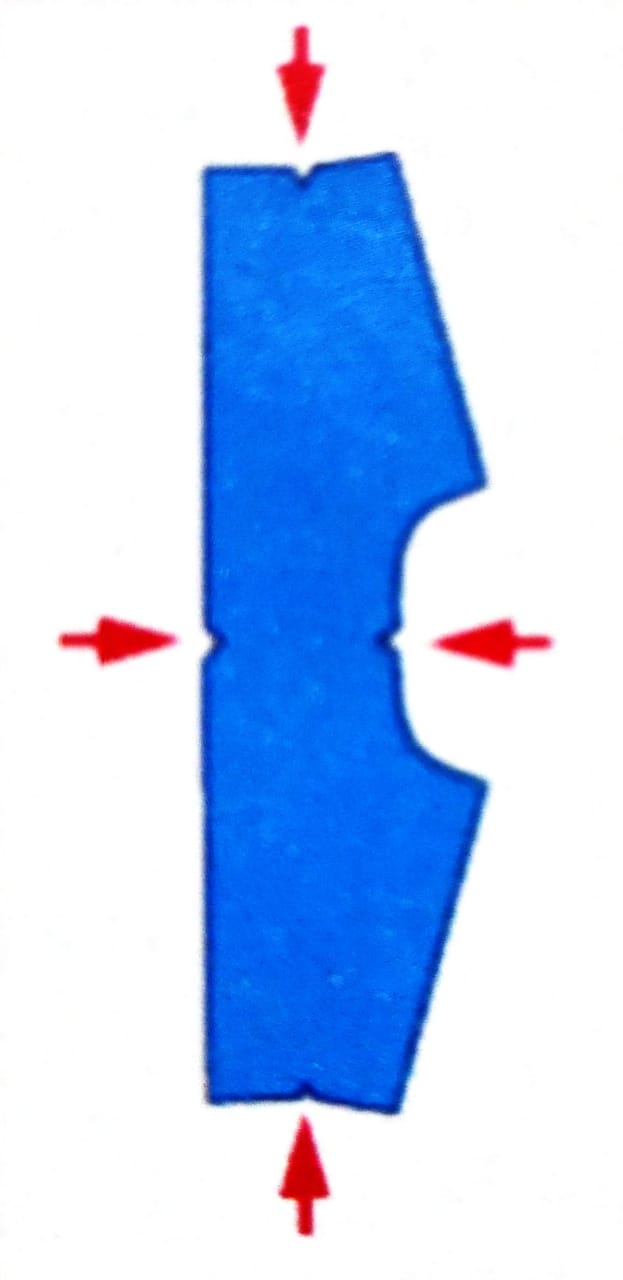
Step 2: Locate the notch marks.
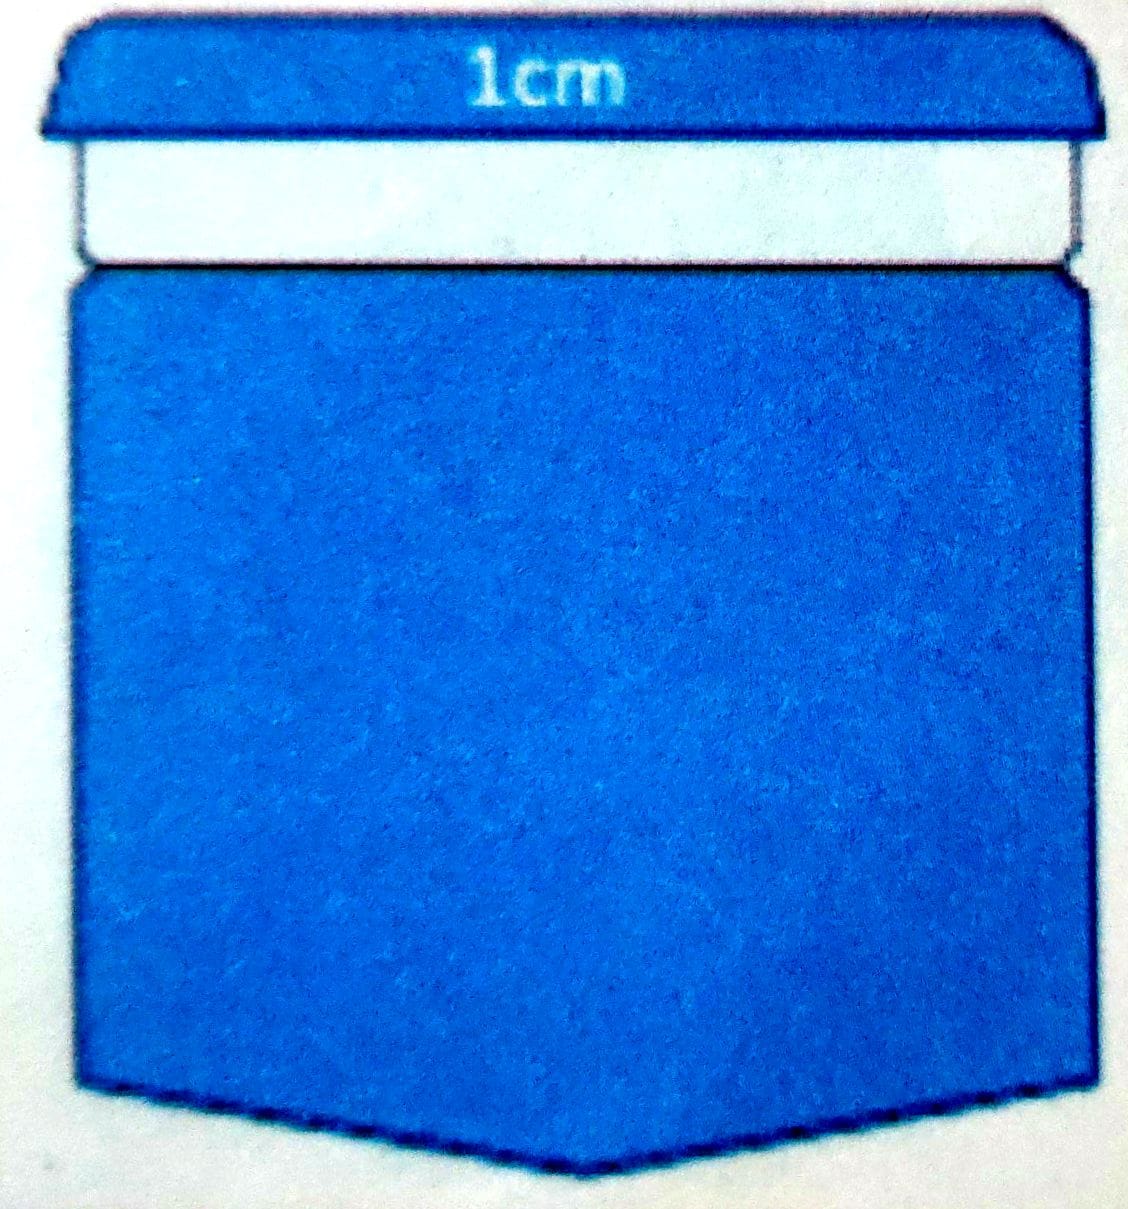
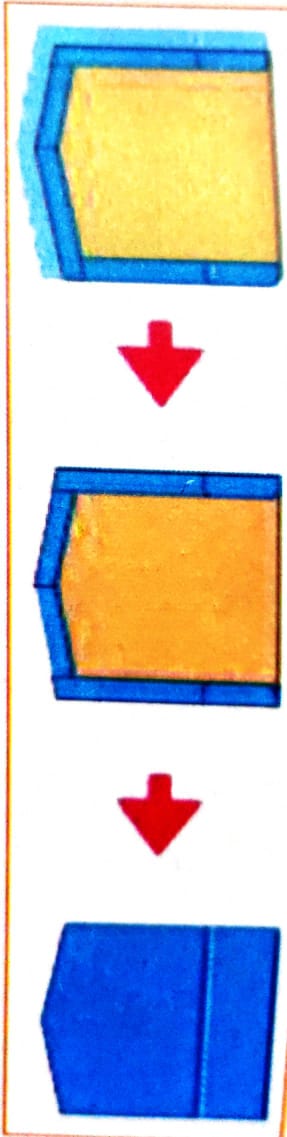
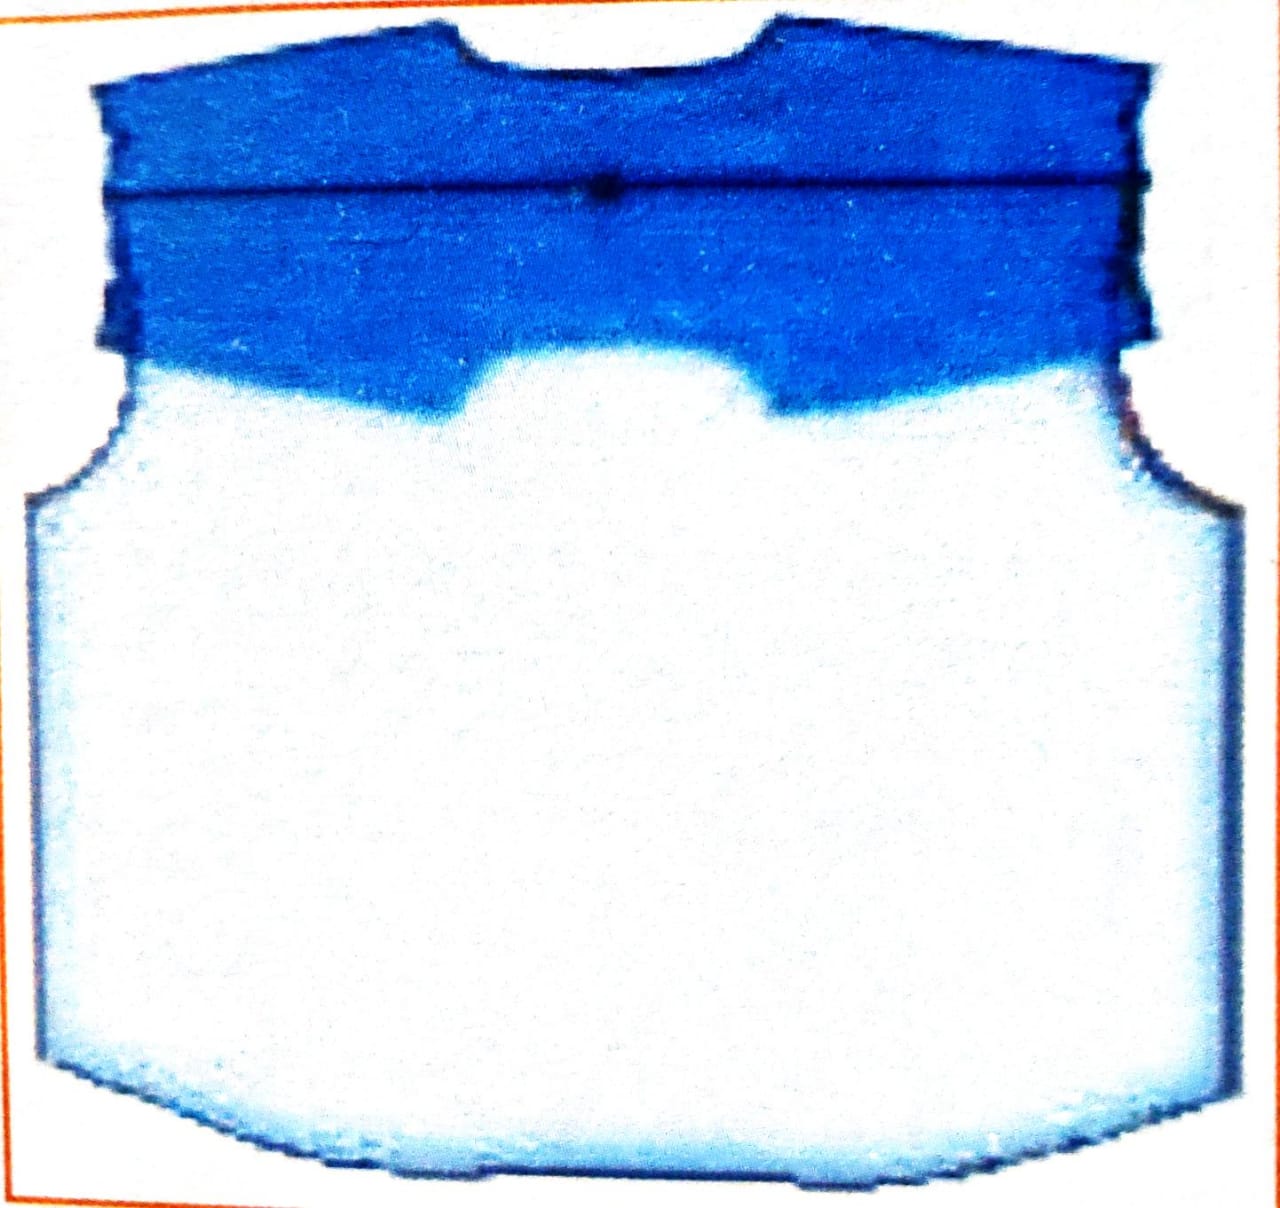
Step 3: Now fold the top part of the fabric 1cm till the first notch mark and press the folded part with an iron.

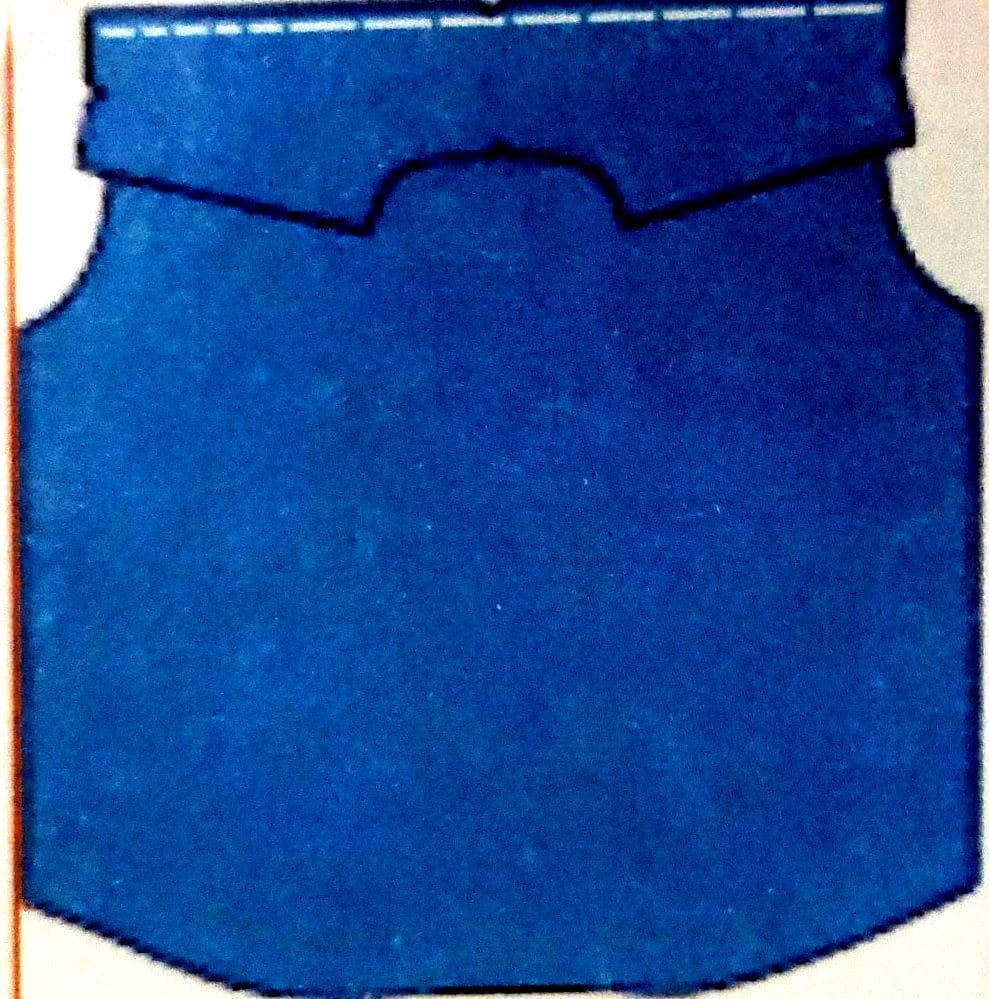
Step 4: Now fold the fabric 2.5 cm to the second notch mark.
Now, crease the folded part again with an iron.
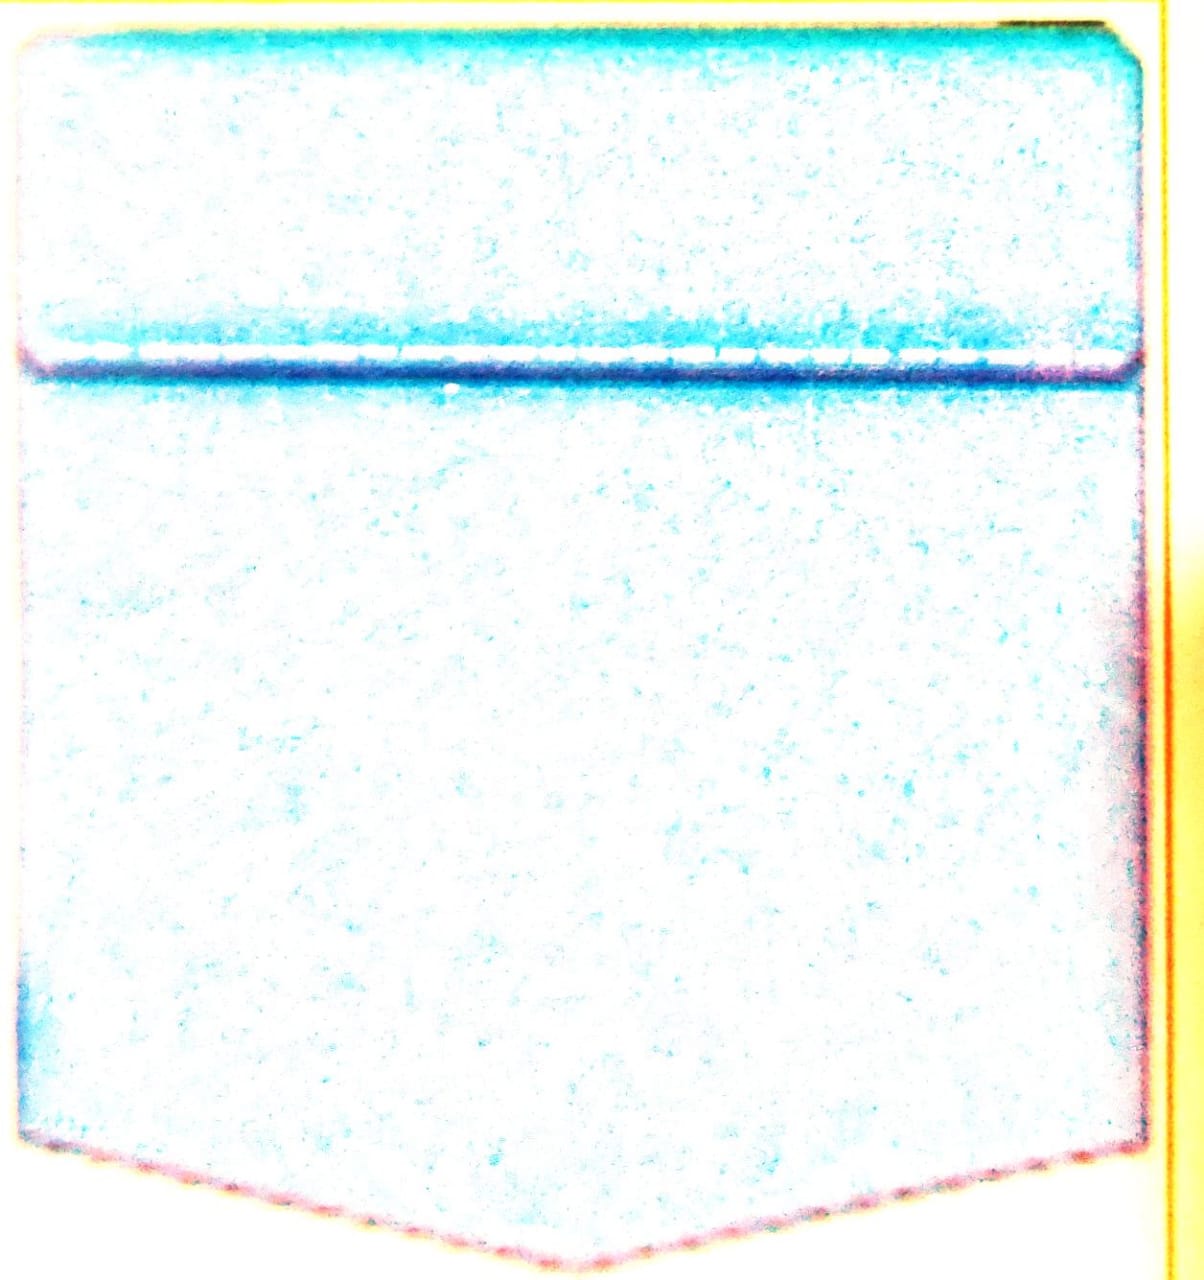
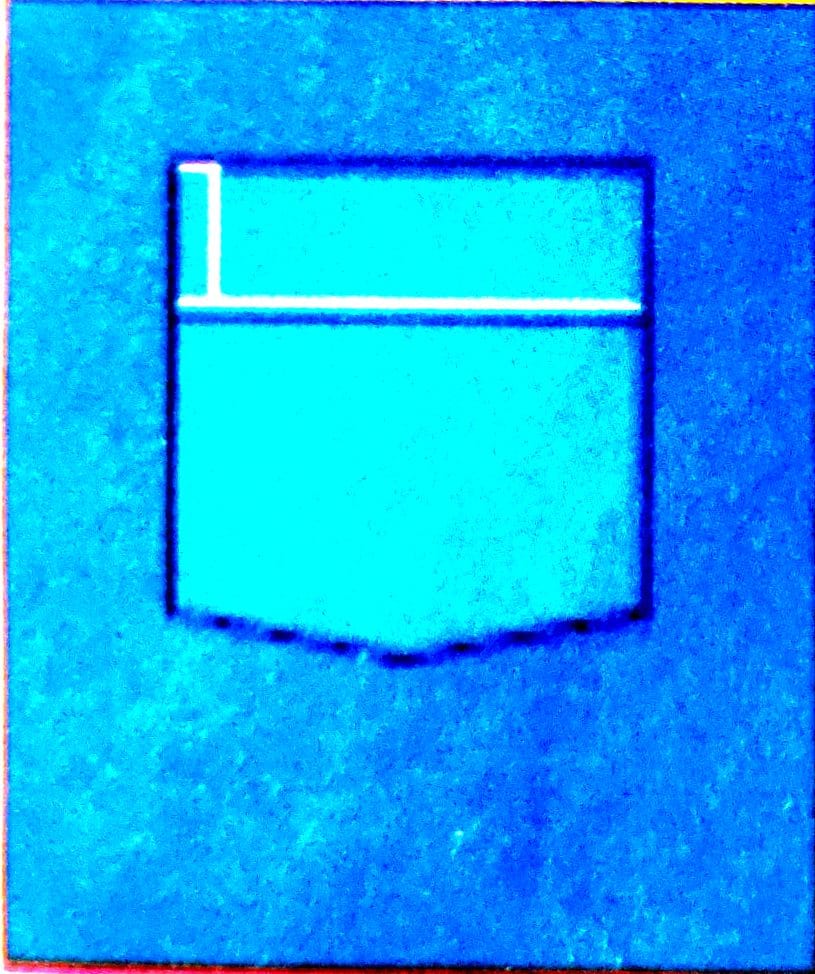
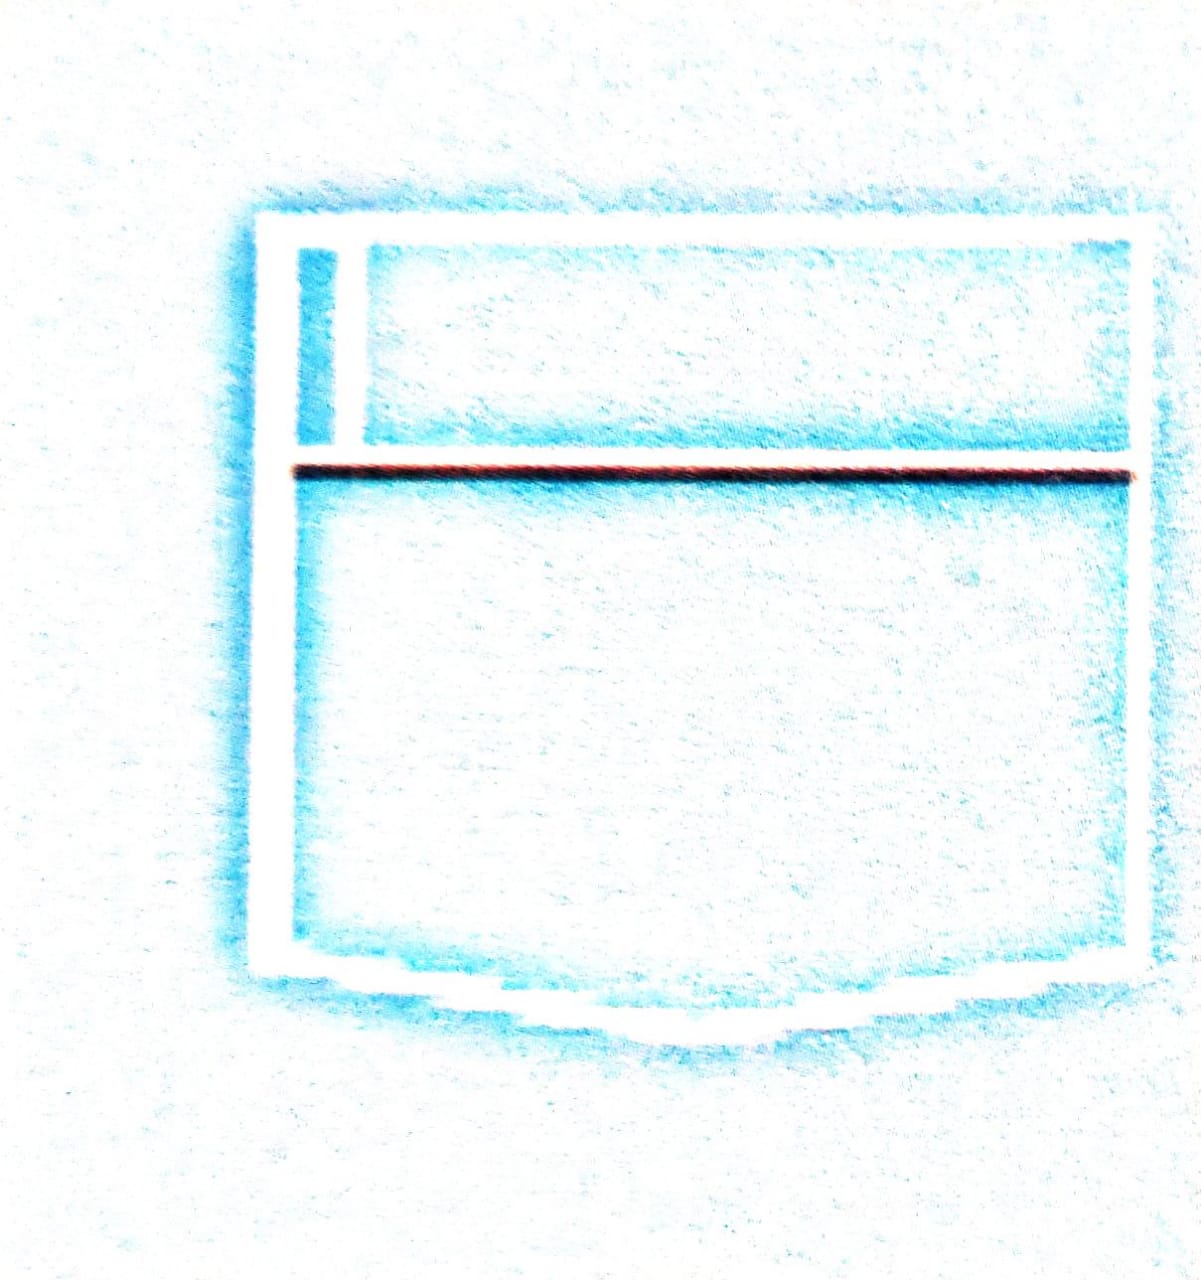
Step 5: Stitch the inner side of the pocket mouth using edge stitch.

Step 6: Take the ready pattern given and place it over the pocket.
Step 7: Now, fold the three sides 1 cm each and crease them as you fold
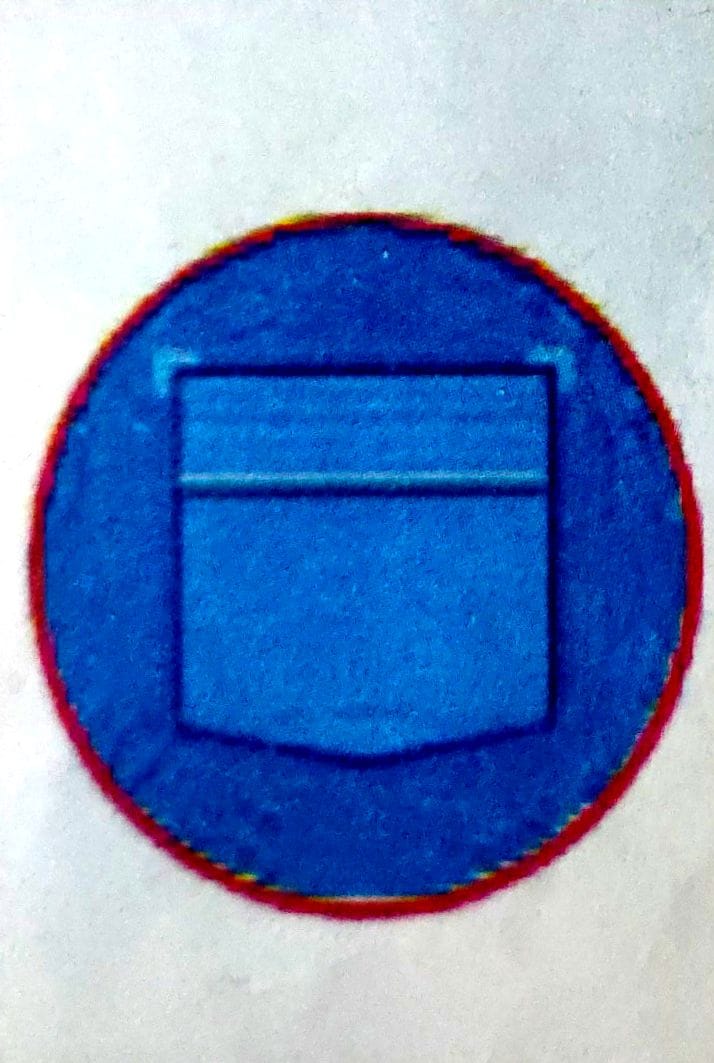
Step 8: The pocket is now ready to be attached.
Attaching the Pocket
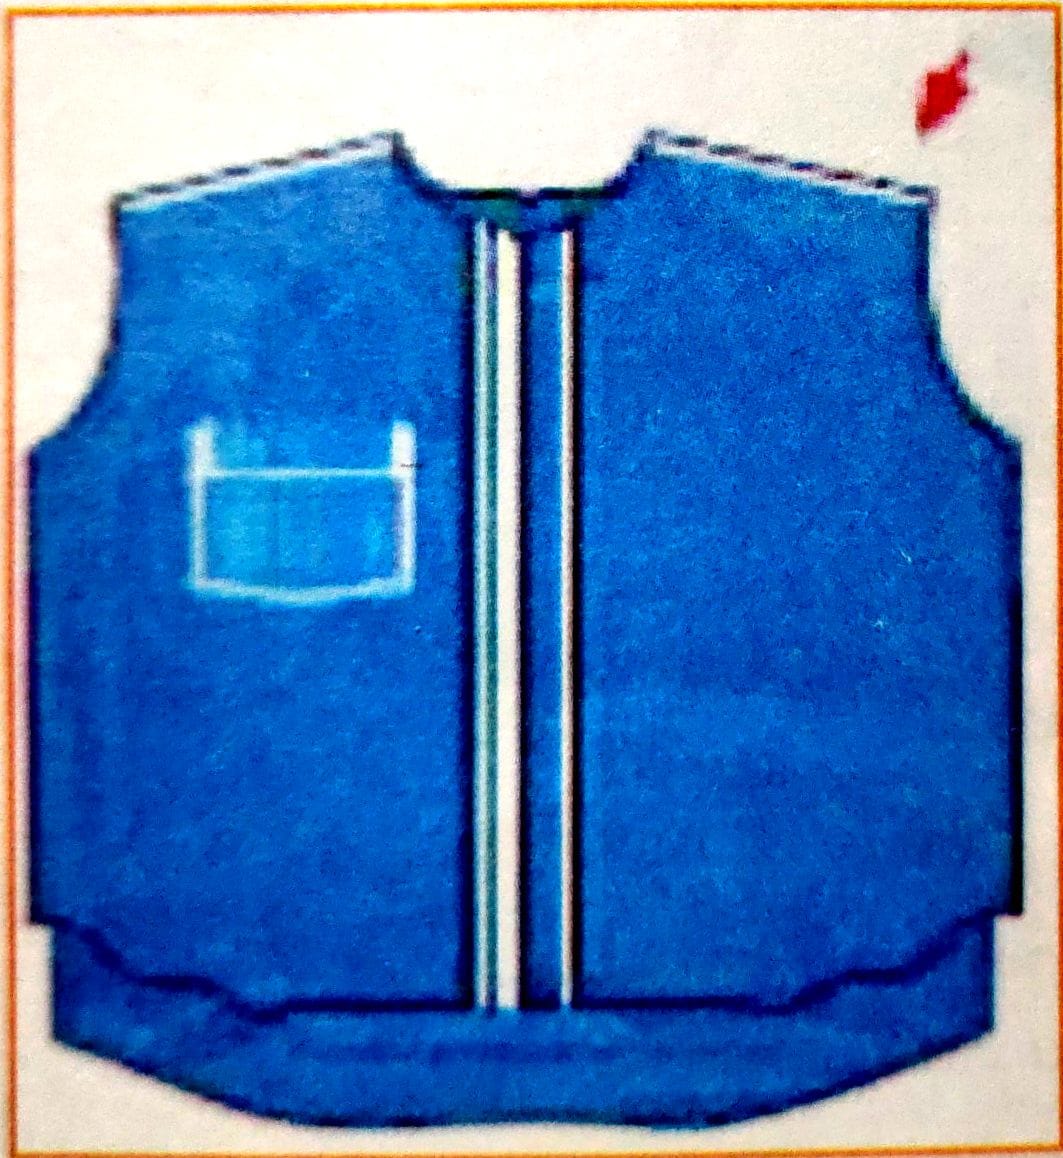
Step 1: Place the pocket piece on the left half of the shirt front.
Step 2: Match the right side of the pocket with the markings on the front of the fabric.

Step 3: Sew the pocket from the placket side. Put 4 stitches followed by a back tack.
Step 4: Now, sew till the top using 4 mm stitch.
Step 5: Turn the fabric in a clockwise direction Keep the needle in the fabric.
Stitch at the edge of the pocket till the end.
Step 6 : Again, turn the fabric clockwise
Put the stitch at the edge till the end.
Step 7: Again turn the fabric clockwise. Stitch the edge of the bottom part of the pocket
Step 8: Again, turn the fabric clockwise and stitch up to 4 mm
Turn the fabric Stitch up to the pocket mouth and put a back tack

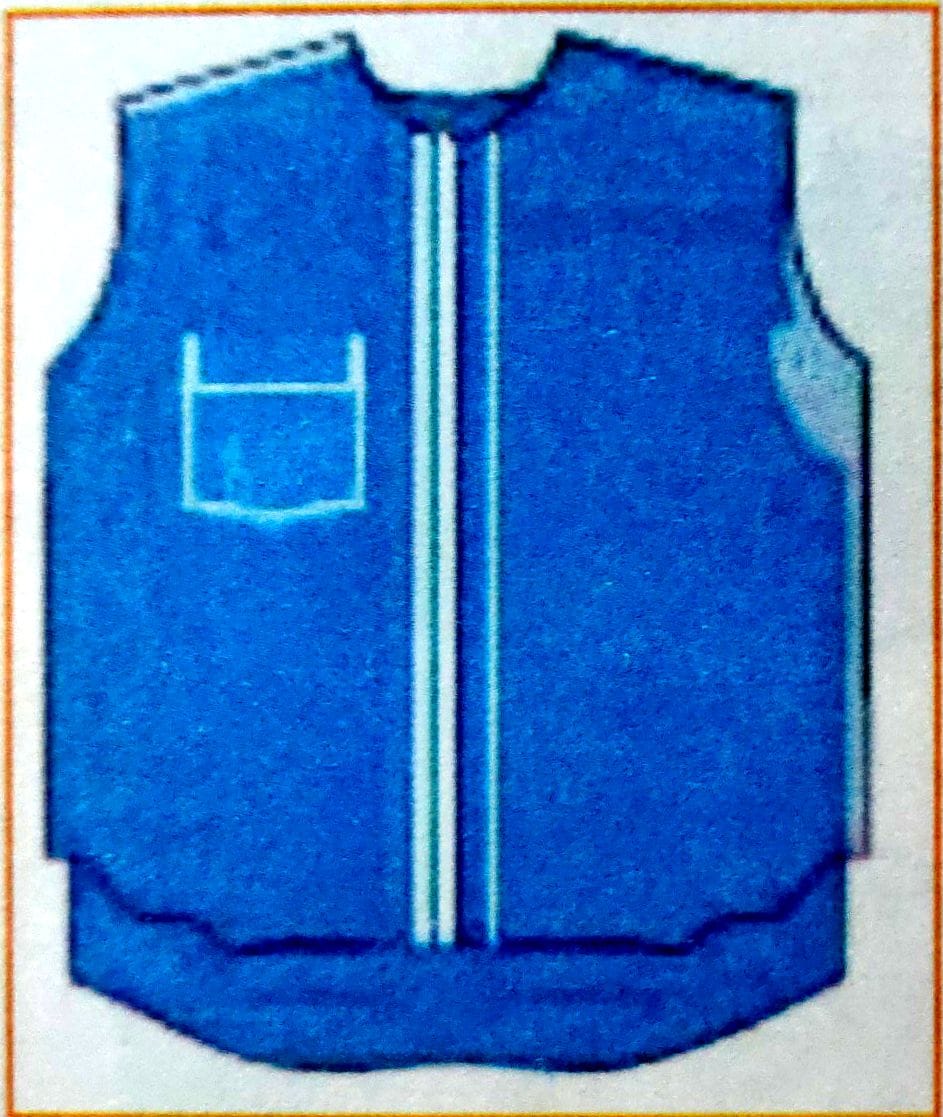
Step 9: Now, the pocket is fully attached.
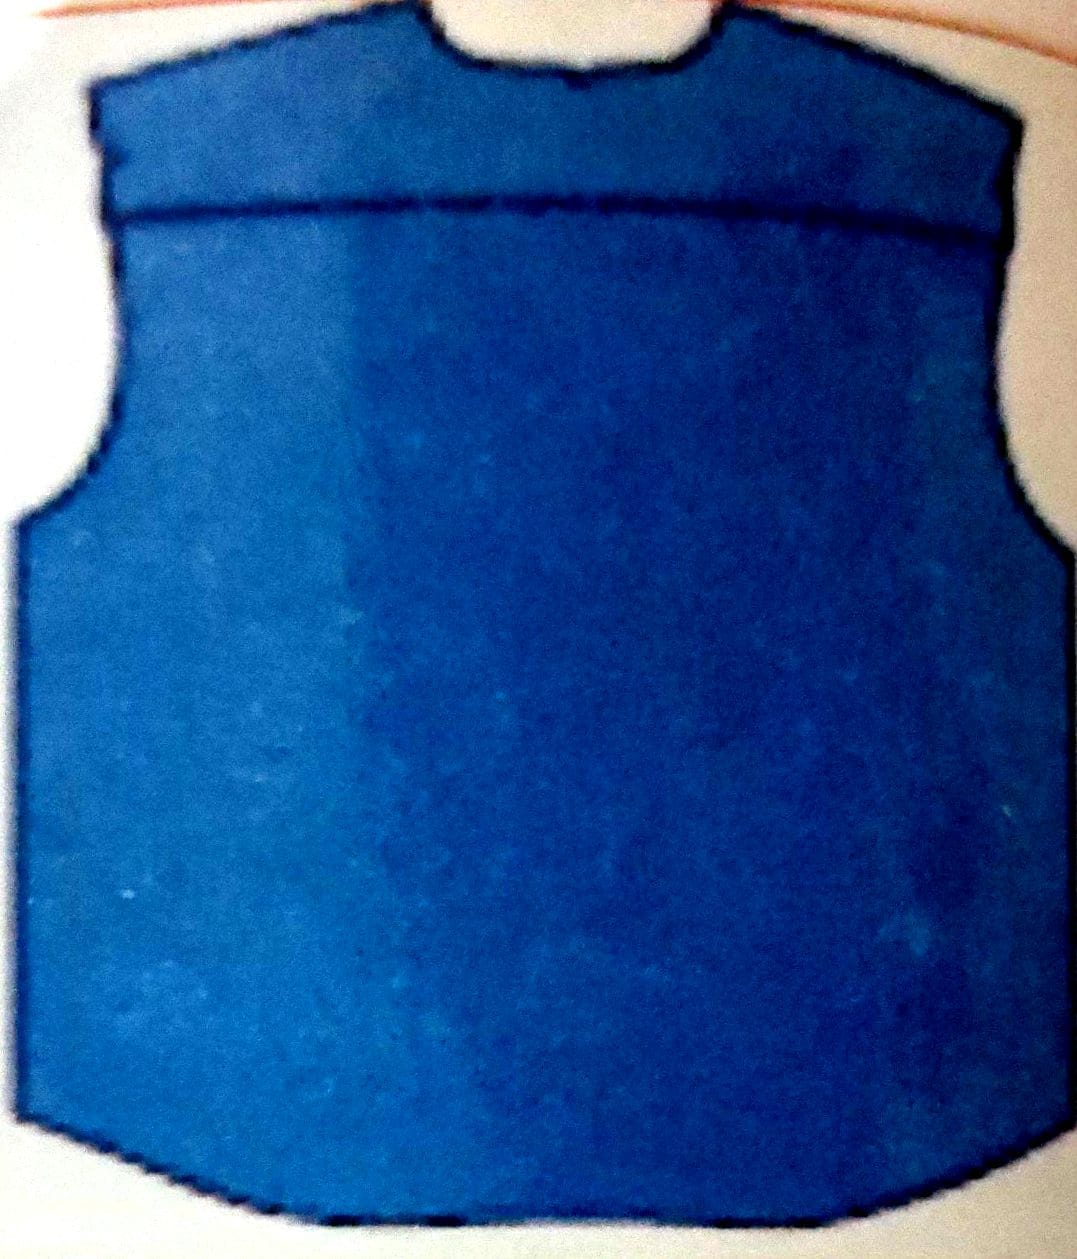
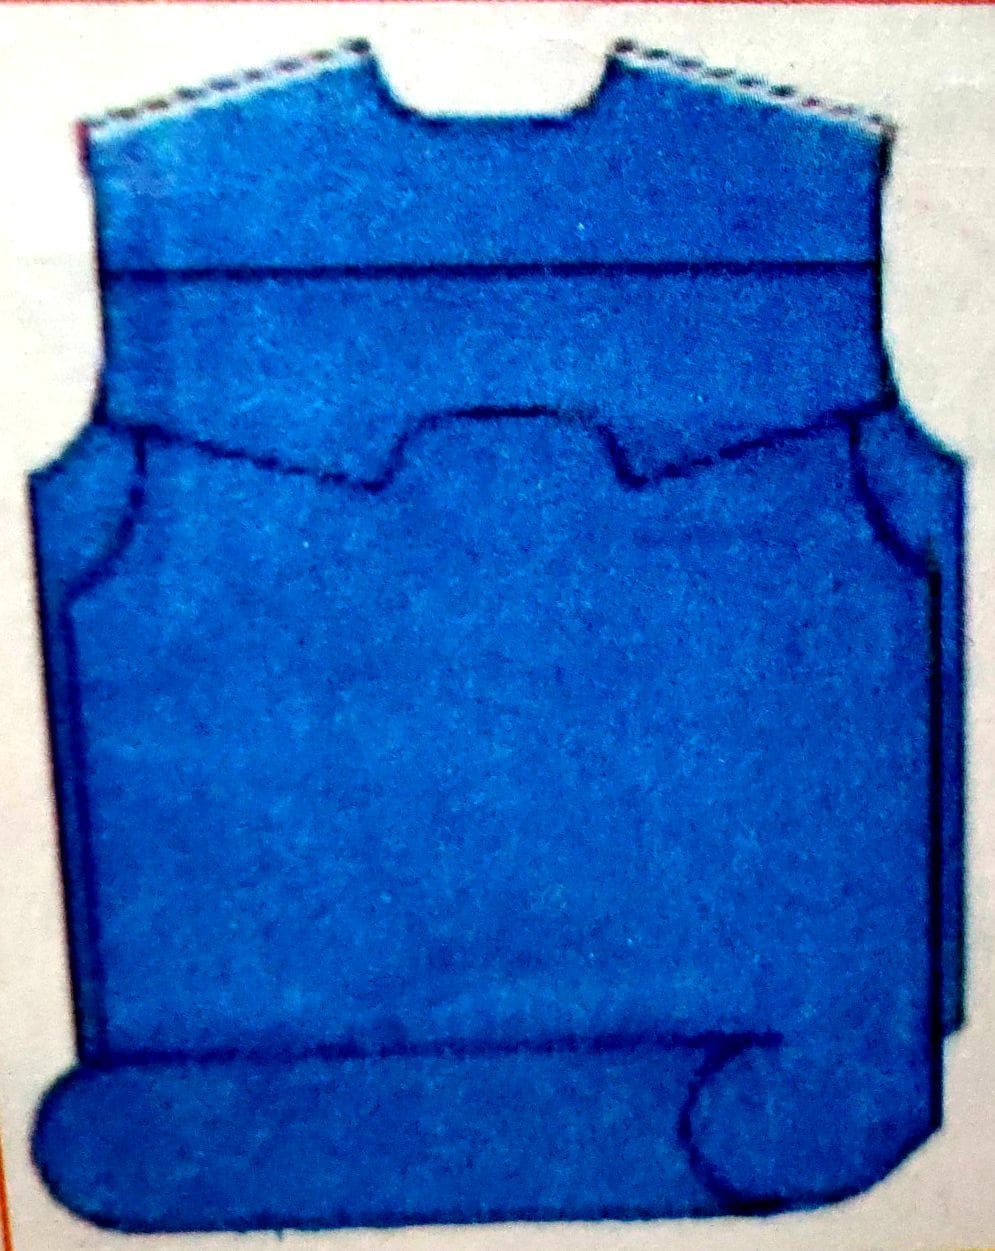
Attaching Yoke
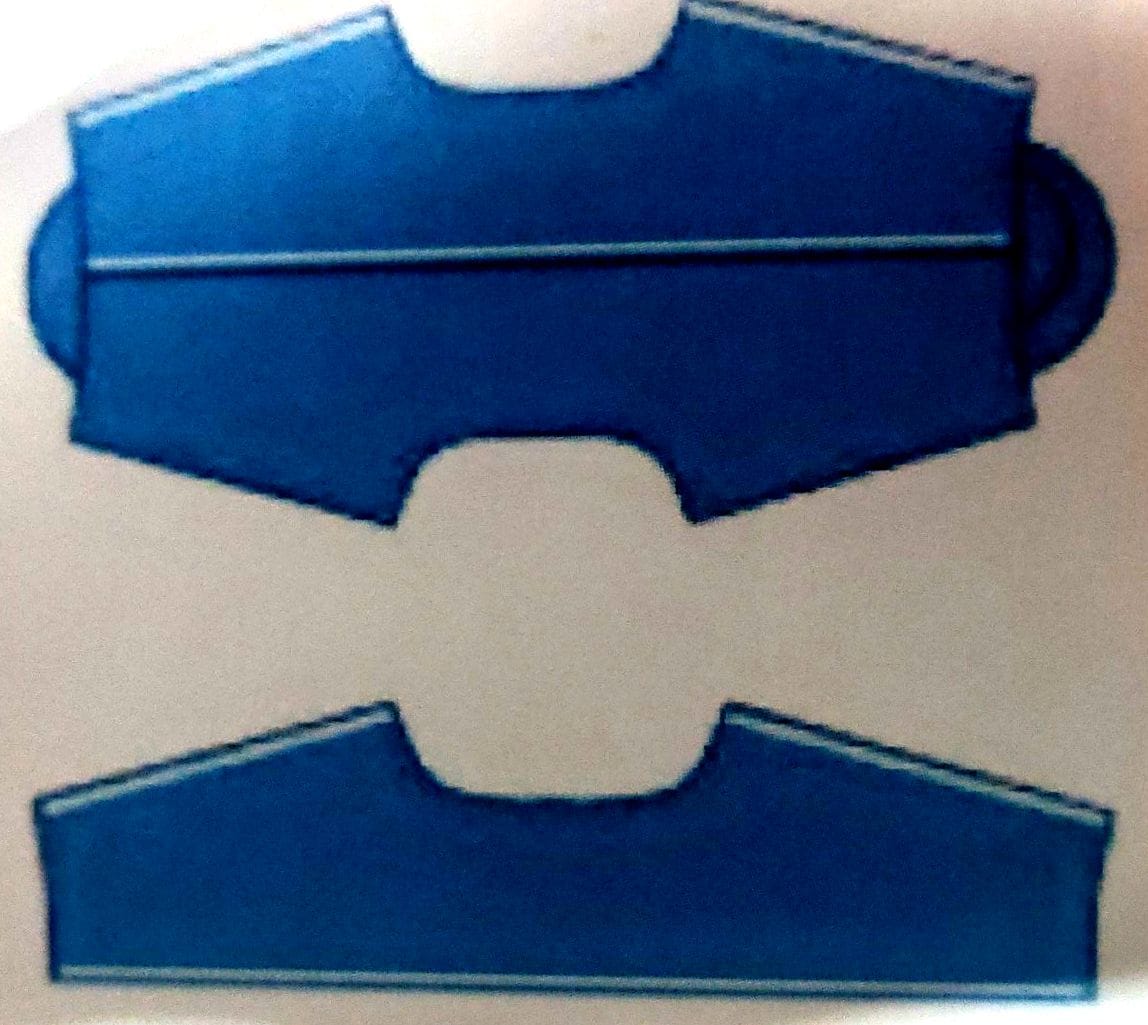
Step 1: first check for the following notche:
One notch at the centre of the back piece of the shirt
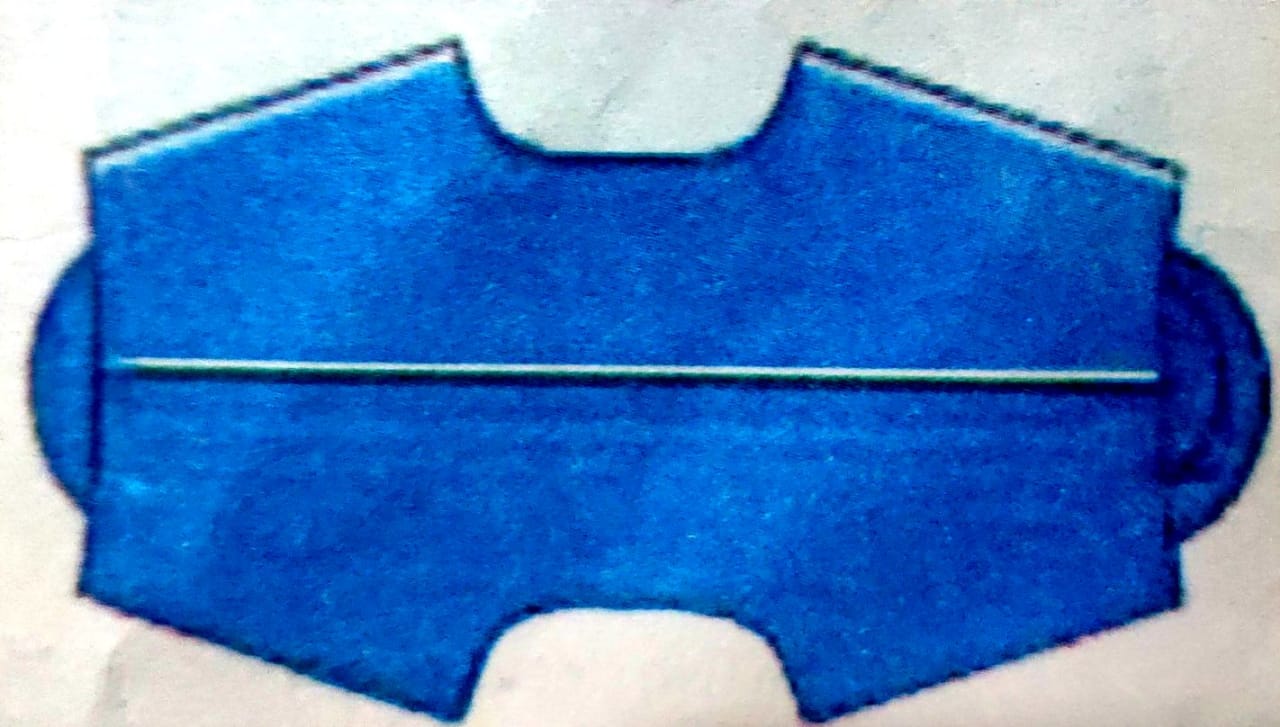
4 notches in the yoke piece
One at the centre of the reverse side of the yoke piece
One at the centre of the neckline.
One at the centre of the left armhole.
One at the centre of the right armhole

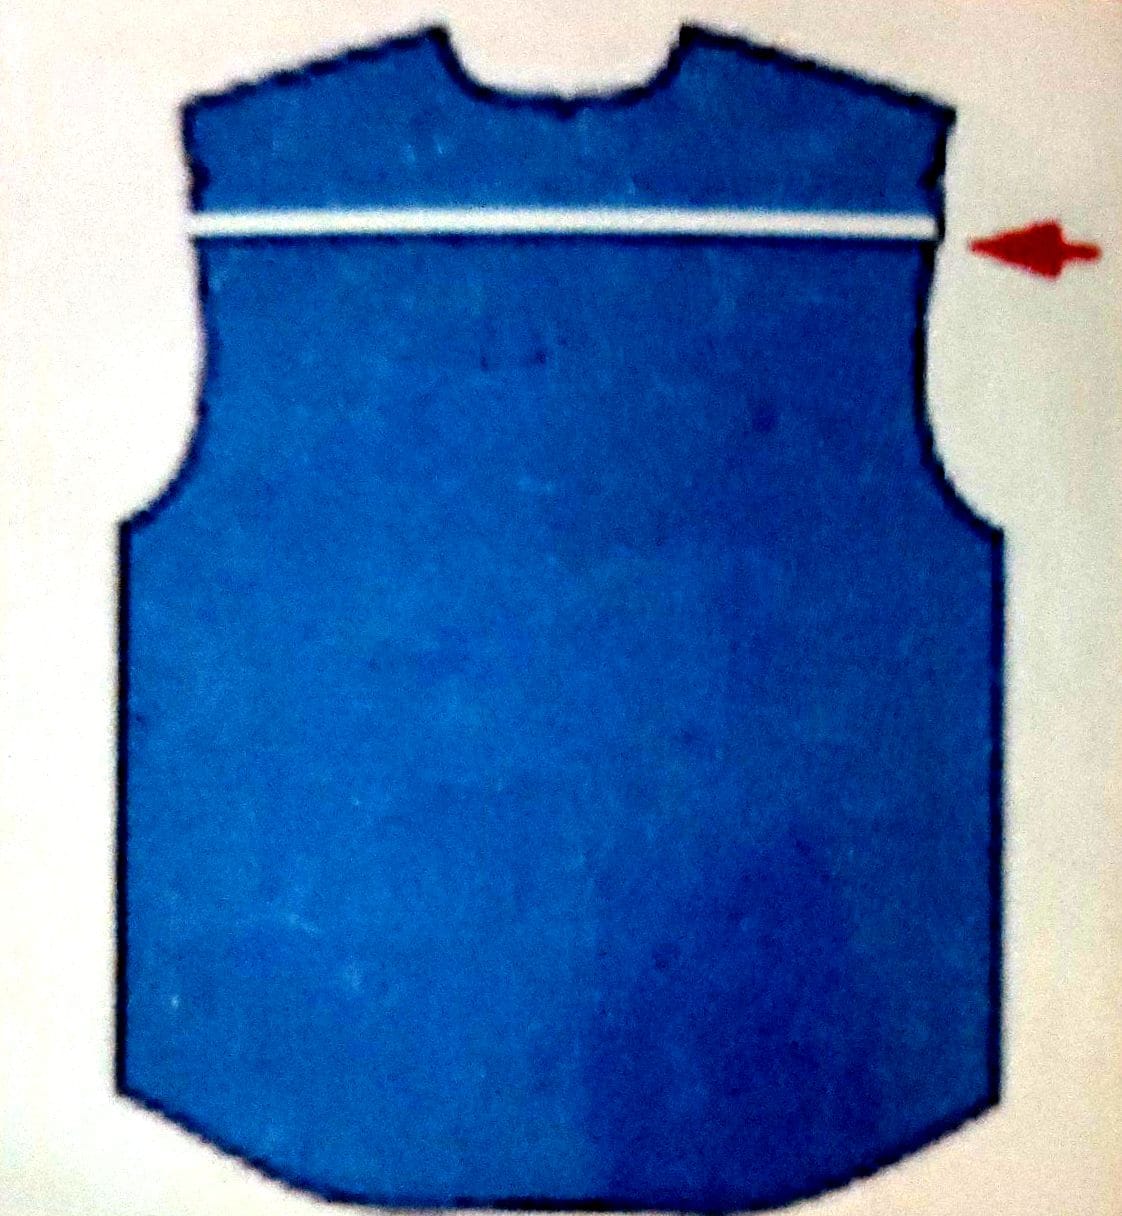
Step 2: Keep one piece of the yoke on the sewing Fig.
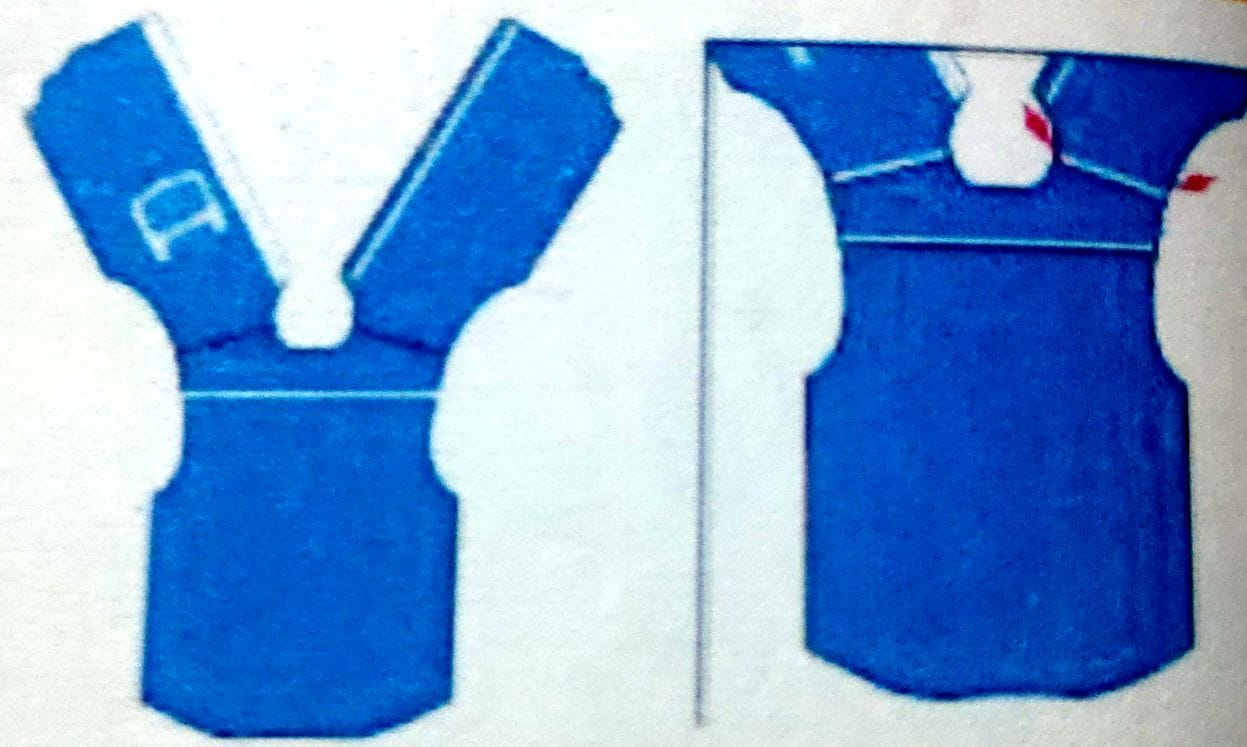
Step 3: Place the back piece of the shirt on top of the yoke in alignment with the two notches.
Step 4: The right side of the inner yoke piece should face the reverse side of the back piece of the shirt. Take the other yoke piece and place it on top of the back piece of the shirt and align with the notch.
Step 5: The alignment should be such that the right side of the outer yoke piece faces the right side of the back piece of the shirt.
Step 6: Put a stitch of 1cm on the edge of the 3 pieces-2 yoke pieces and the back piece of the shirt.
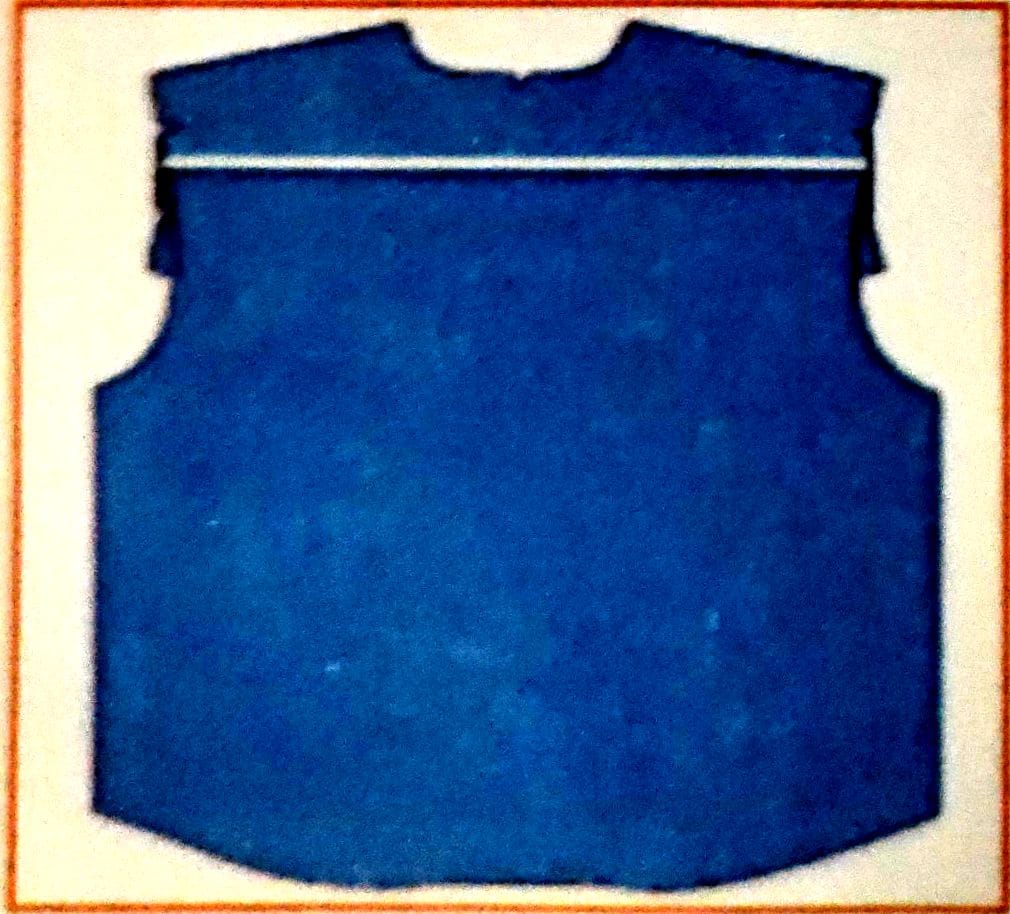
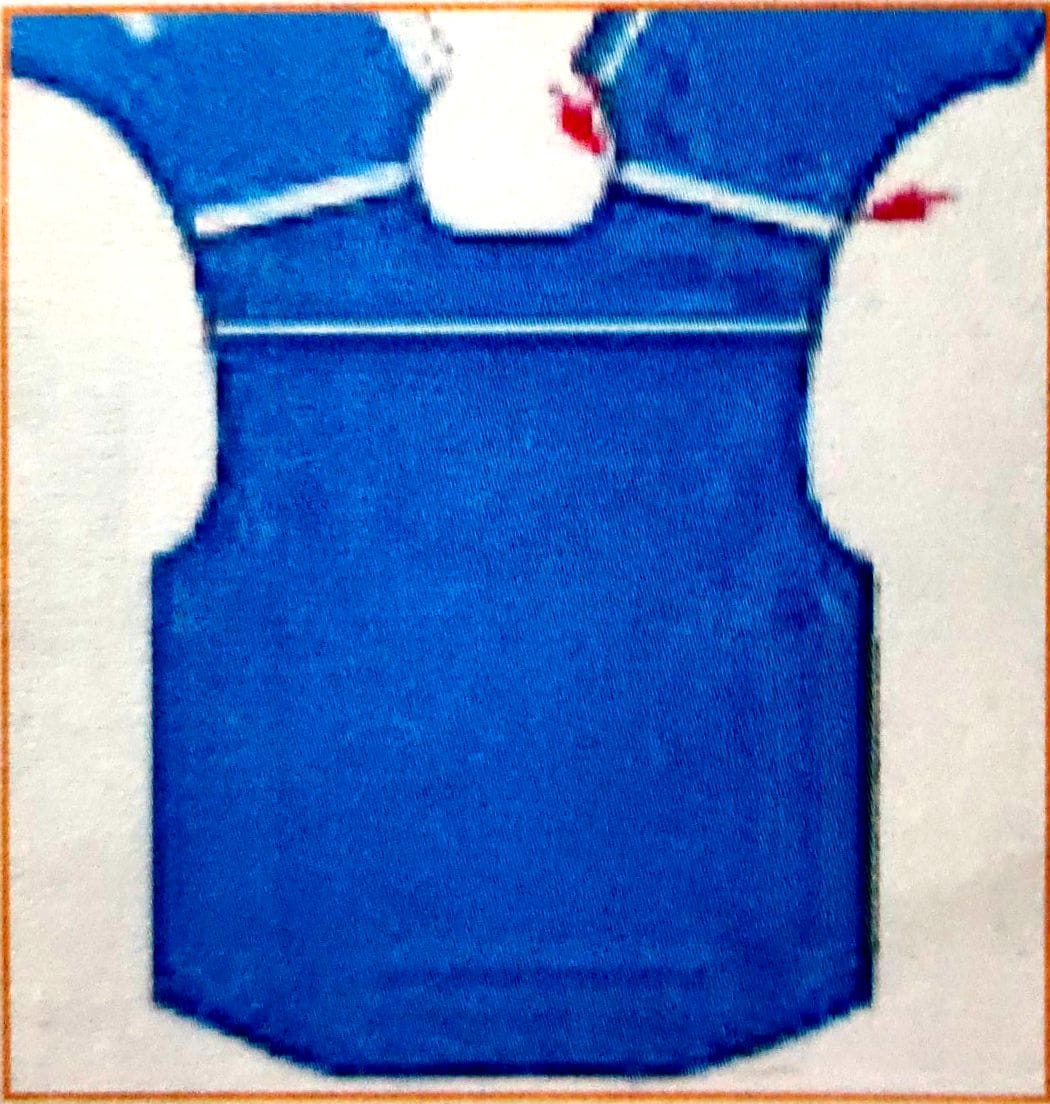
Step 7:Turn the yoke and crease it with your fingers.
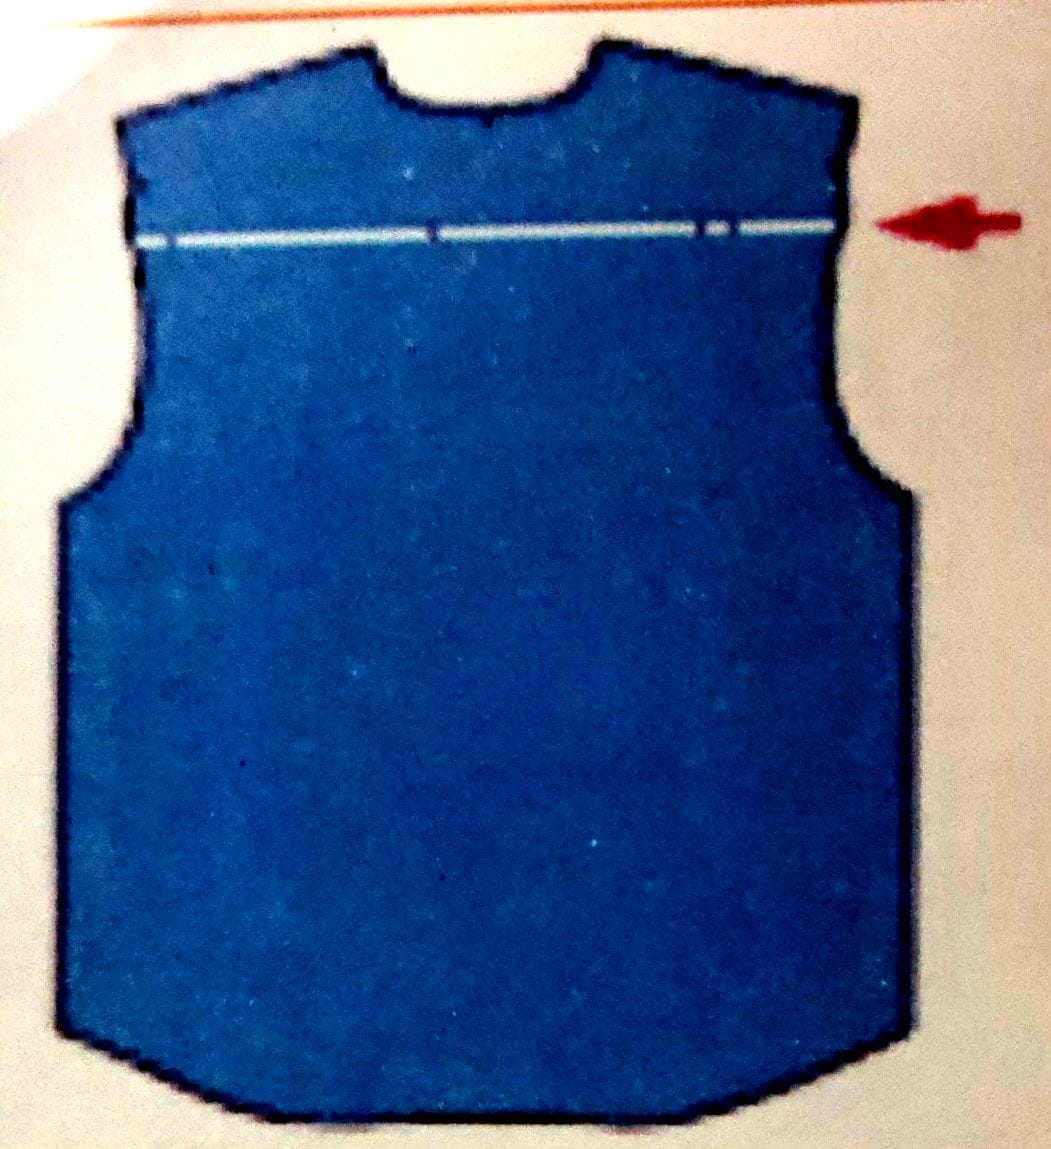
Step 8: Now, put a top-stitch at the edge first .
Step 9: Finally, put a 4 mm stitch from the edge.
Attaching Yoke to the Front
Step 1: Keep the front side of the back piece of the shirt on the top.
Step 2: The alignment should be such that the right side of the outer yoke piece faces the right side of the back piece of the shirt.
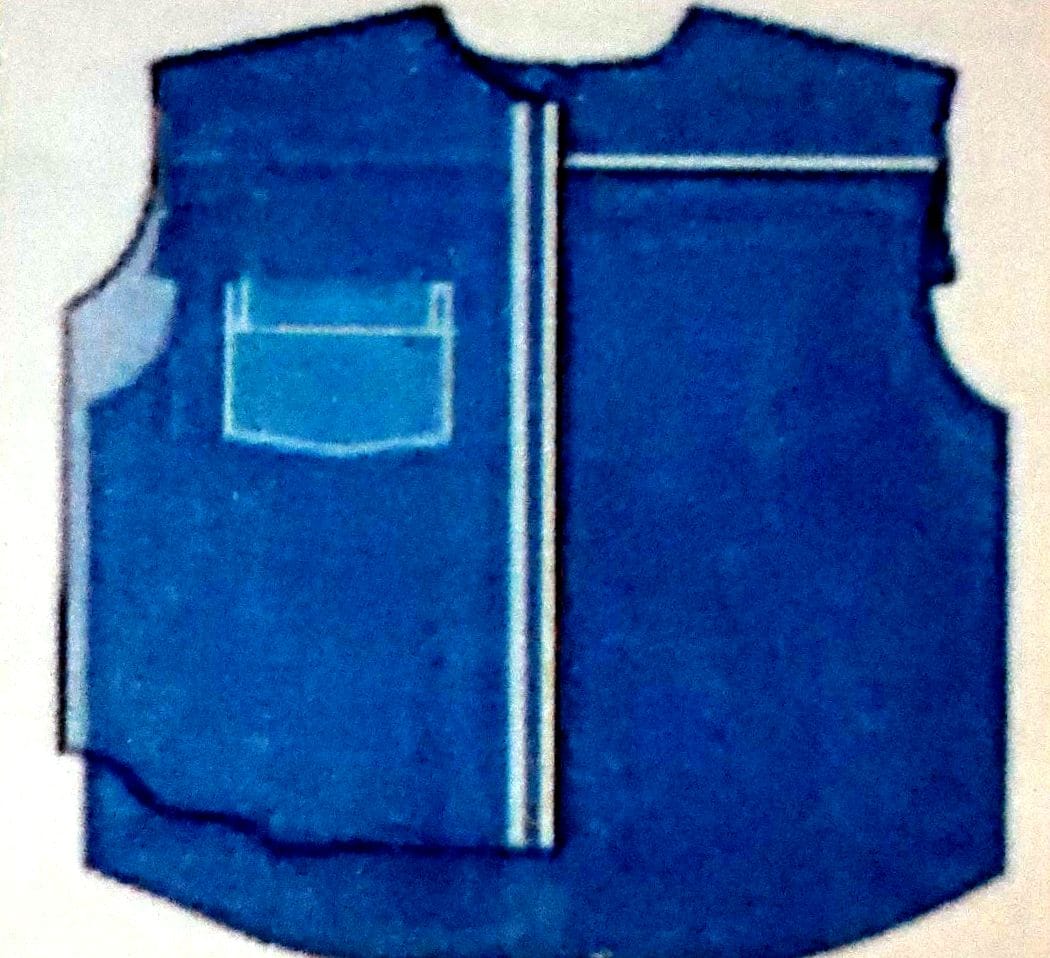
Step 3: The pieces are shitched at a distance of 1 cm from the edge leaving the bottom-most ply of the yoke
Step 4: The right side of the front and the right side of the back piece of the shirt are placed together by matching the yoke The placket should be towards the centre
, Repeat Step 3 for right side
Step 5: Hold the edge of the yoke from the armhole side in one hand and the unstitched yoke piece in the other hand.

Step 6: Turn and match the unstitched yoke piece to the stitched yoke piece.
Step 7: Roll the body fabrics and insert it between the two yoke pieces.
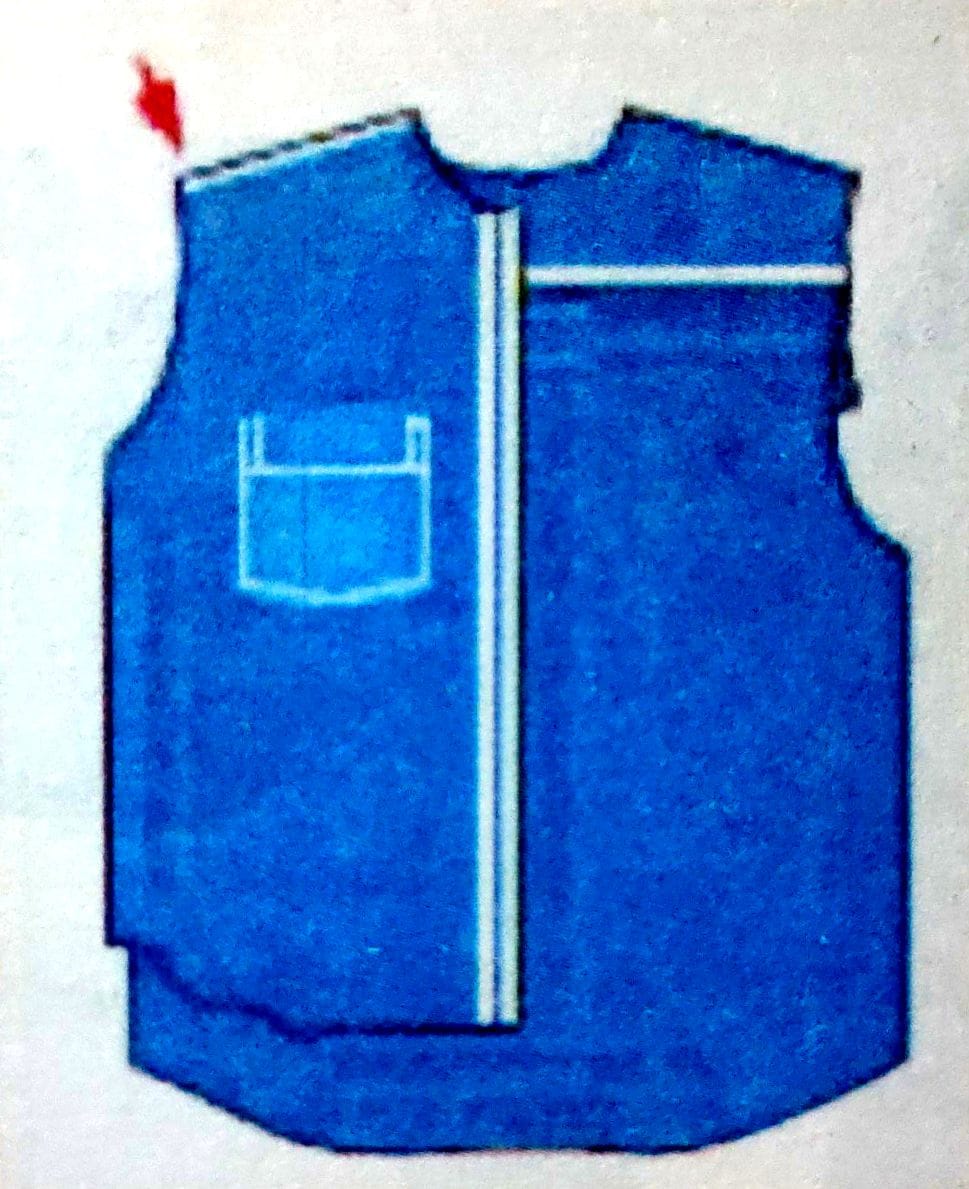
Step 8: Put a 1 cm Stitch throughout.
Step 9 : Hold the front and the back pieces and stretch them.
Step 10 : Put a top- stitch at the edge on both sides.
Step 11: Finally, put a 4 mm stitch on both sides.