HOW TO USE GOOGLE Slide
Google does not have a product called “Google Power Point,” but it does offer a presentation software called Google Slides. Google Slides is a web-based application that allows users to create, edit, and collaborate on presentations online. Here’s a guide on how to use Google Slides effectively:

1. Access Google Slides:
- Open your web browser and go to Google Drive (drive.google.com).
- Sign in with your Google account or create one if you don’t have one already.
- Click on the “+ New” button and select “Google Slides” from the drop-down menu to create a new presentation.
2. Interface Overview:

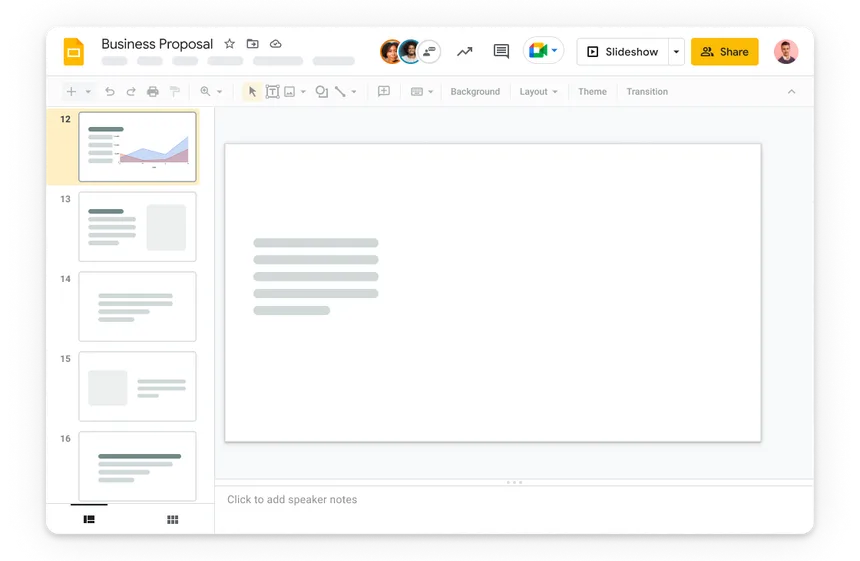
- The Google Slides interface includes a menu bar, toolbar, slide area, and a comments section.
- The menu bar contains options for file management, editing, formatting, and more.
- The toolbar provides quick access to commonly used tools such as inserting text boxes, shapes, images, and applying formatting to slides.
3. Creating Slides:
- Click on the “+” button in the toolbar to add a new slide. Choose from various slide layouts such as title slide, title and content, two content, and more.
- Add content to your slides by typing text directly onto the slide or inserting images, shapes, and other objects.
4. Formatting Slides:
- Use the toolbar options to format text, change font styles, sizes, colors, and alignment.
- Customize slide backgrounds, apply themes, and add transitions between slides to make your presentation visually appealing.
5. Adding Media:
- Insert images, videos, and audio files into your presentation by clicking on the “Insert” menu and selecting the appropriate option.
- You can also add links to websites or other slides within your presentation.
6. Collaboration:
- Similar to Google Docs, Google Slides allows real-time collaboration. Share your presentation with others by clicking the “Share” button in the top-right corner.
- Enter the email addresses of collaborators and set their permissions (view, edit, comment).
7. Presenting:
- Click on the “Present” button in the top-right corner to enter presentation mode. Navigate through your slides using the arrow keys or by clicking on the arrows at the bottom of the screen.
- Use the “Presenter View” option to see your notes and upcoming slides while presenting.
8. Revision History:
- Google Slides keeps track of changes made to your presentation over time.
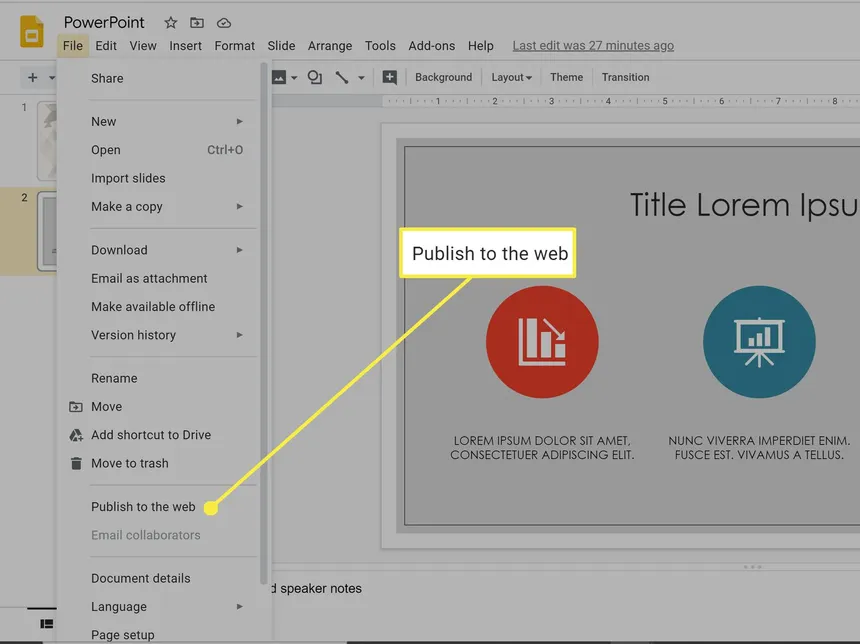
- To view the revision history, go to File > Version history > See version history. You can see who made each change and revert to previous versions if needed.
9. Importing and Exporting:
- Import existing presentations into Google Slides by going to File > Import.
- Export your presentation to various formats such as PDF, PowerPoint, or plain text by going to File > Download as.
10. Mobile Access:


