Collar and Neckband Preparation
Collar and Neckband Preparation
Step 1: Take the fused neckband piece. Turn the bottomend of the piece with your hand.
Step 2: Turn the fusing side down. Put a 4 mm stitch at the top.
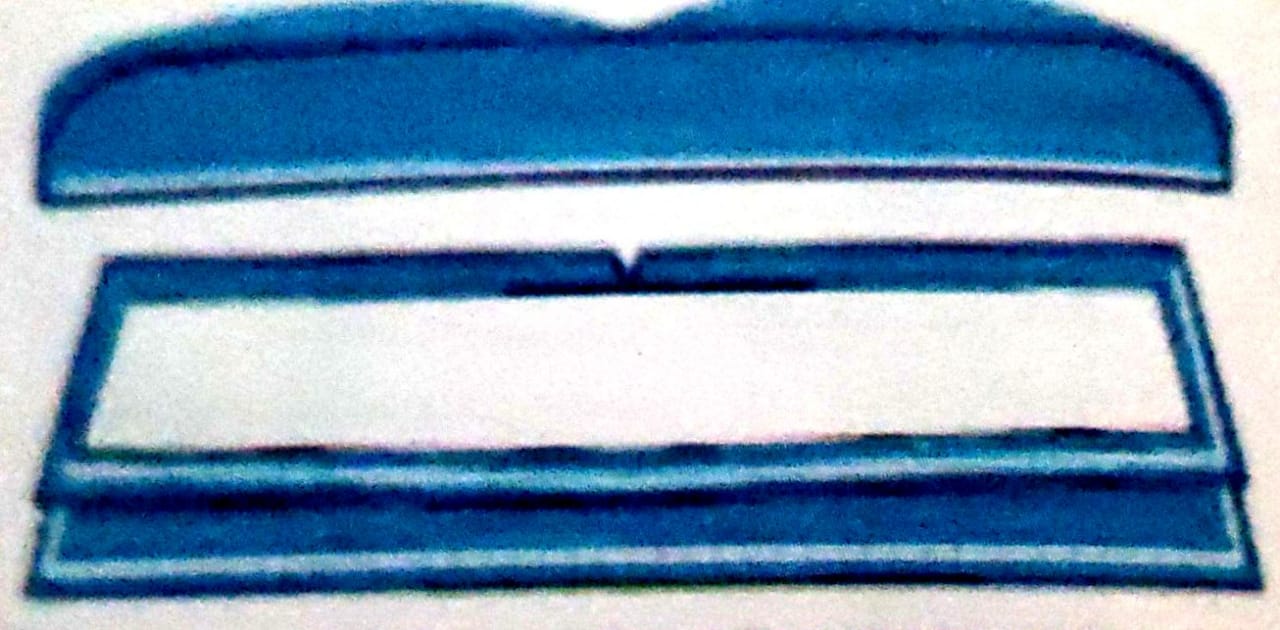
Step 3: Fold the neckband and cut a notch at the centre of the upper side.
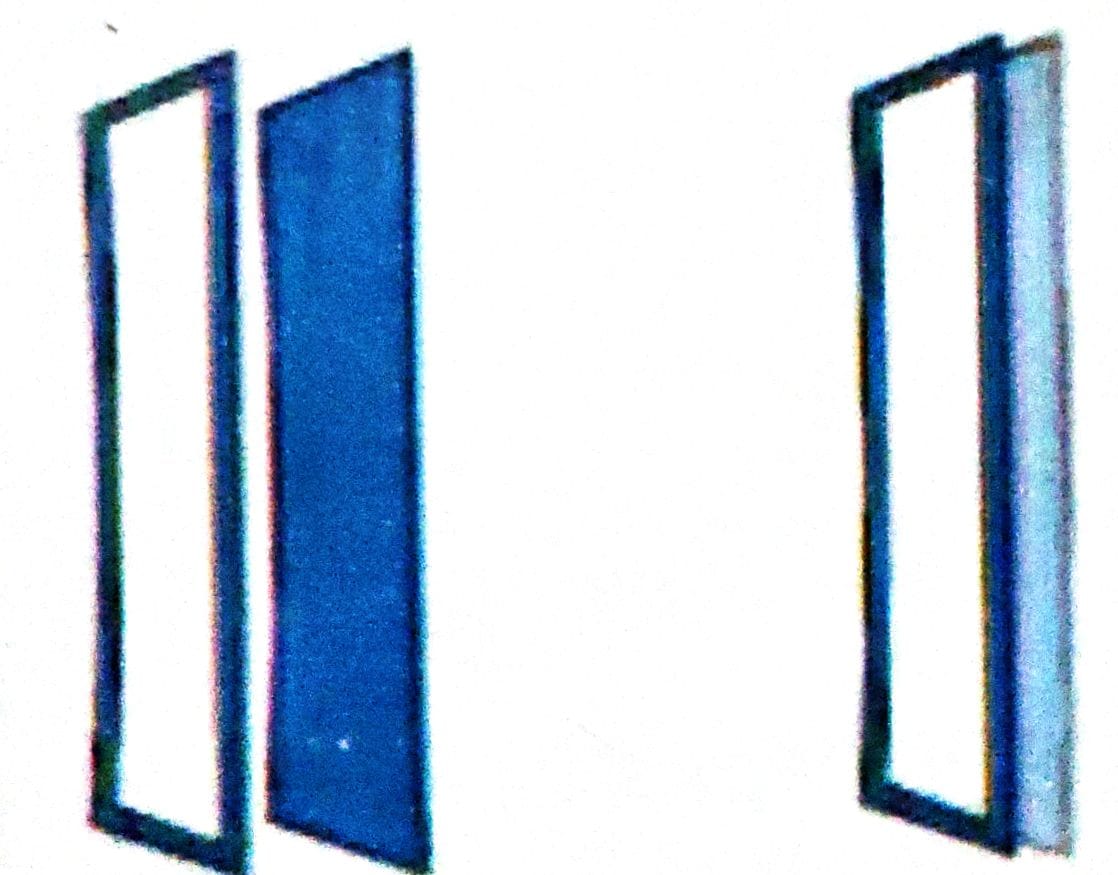
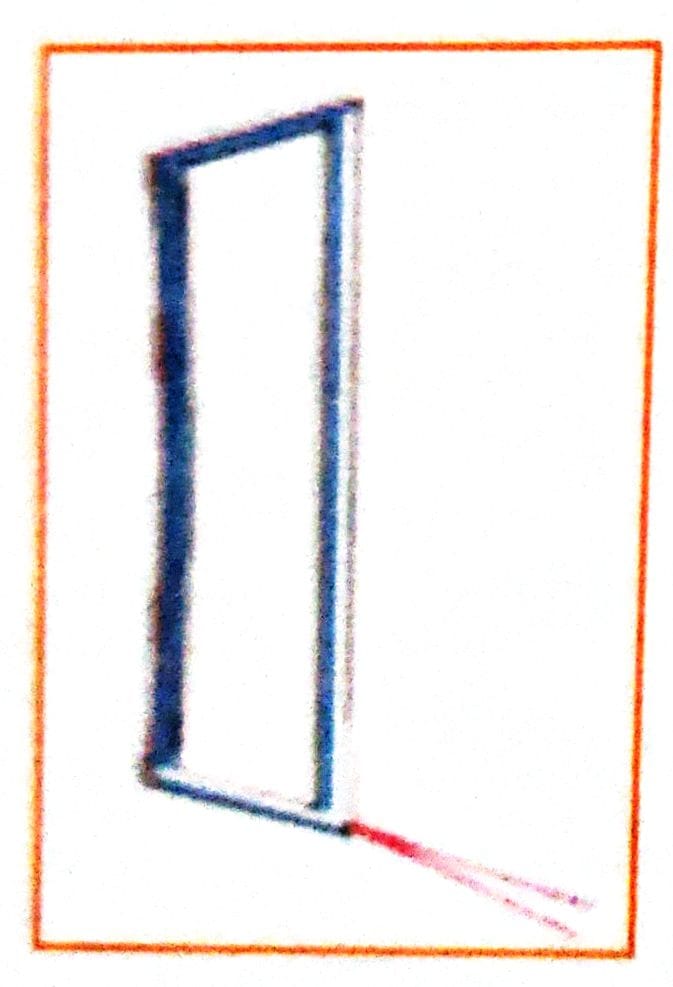
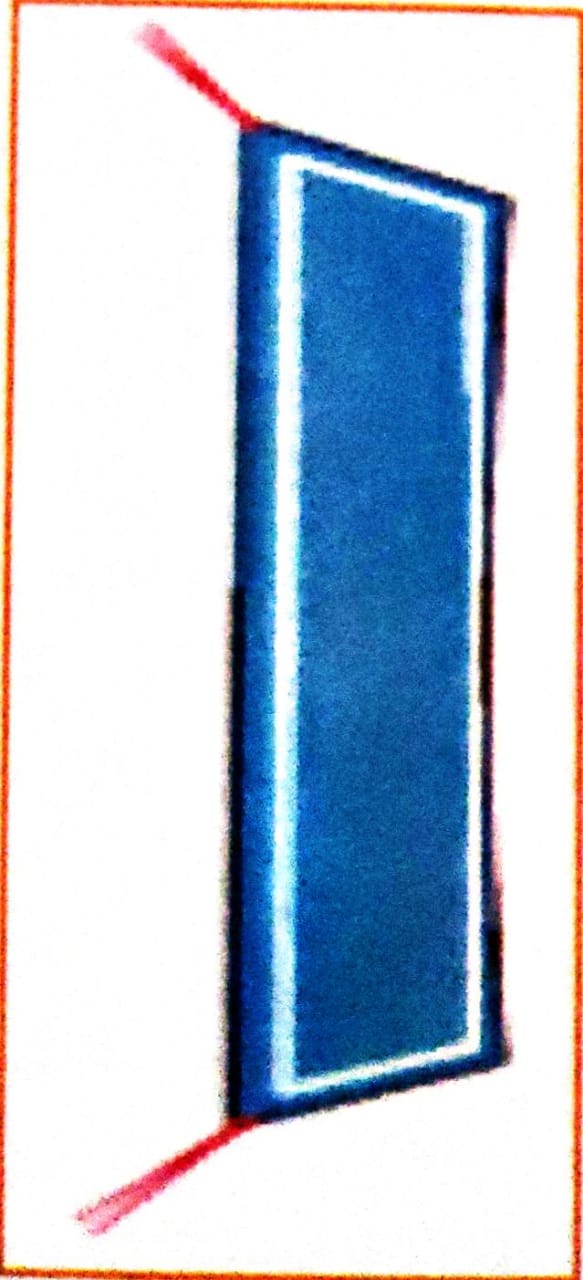
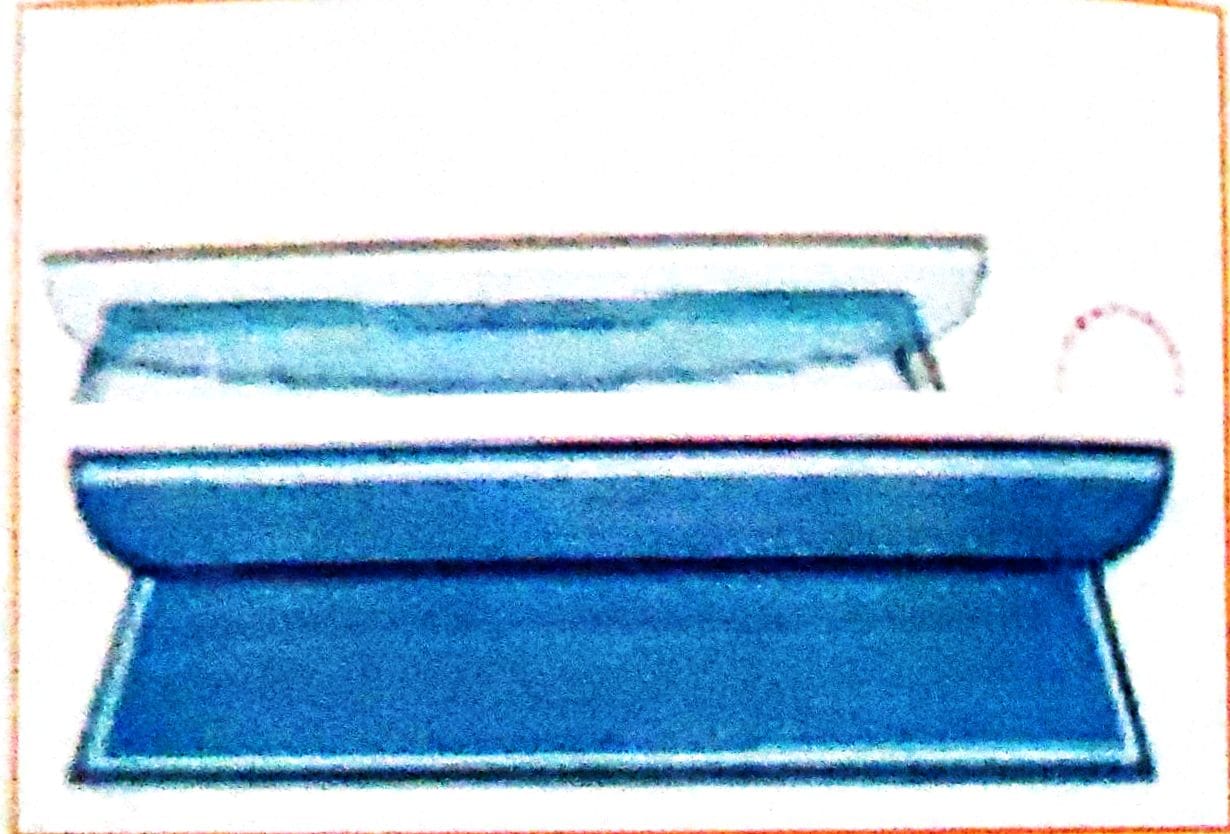
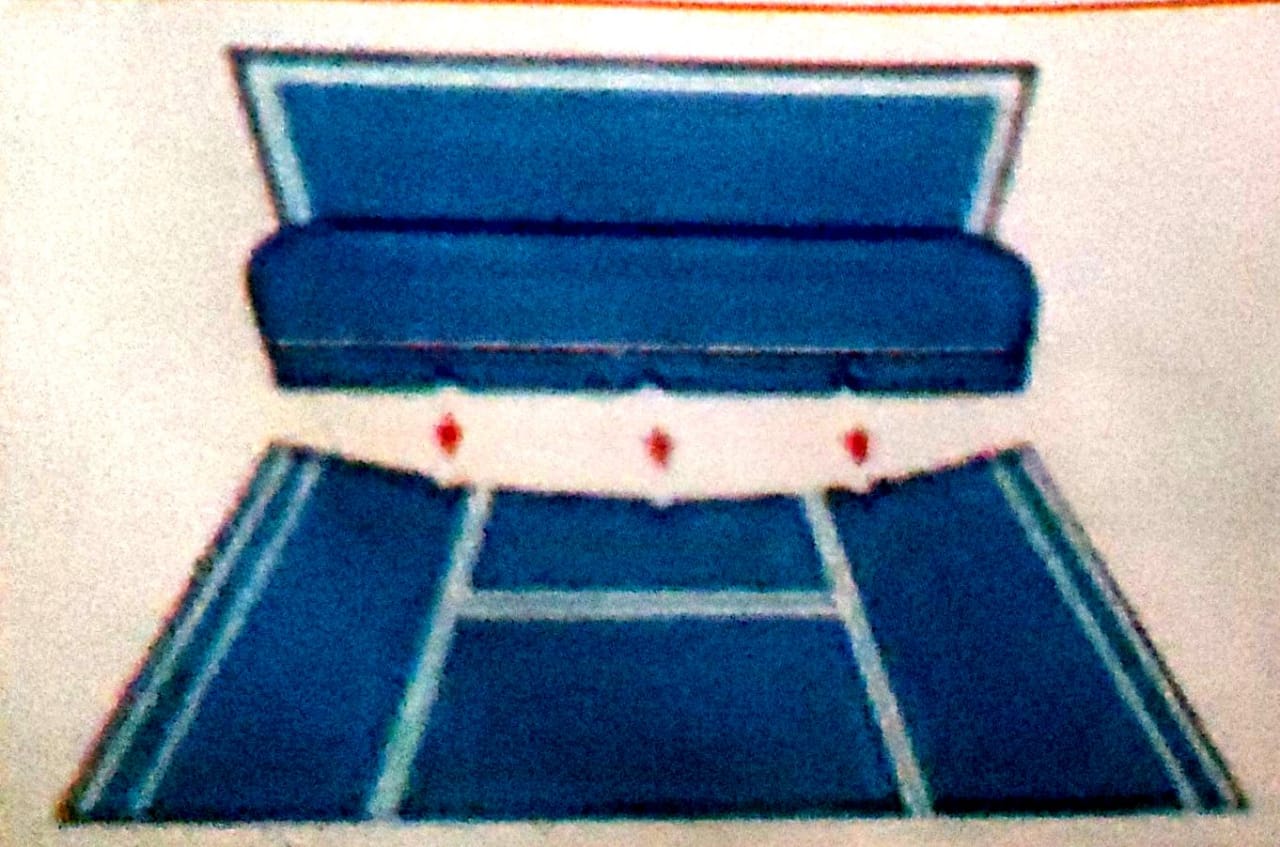
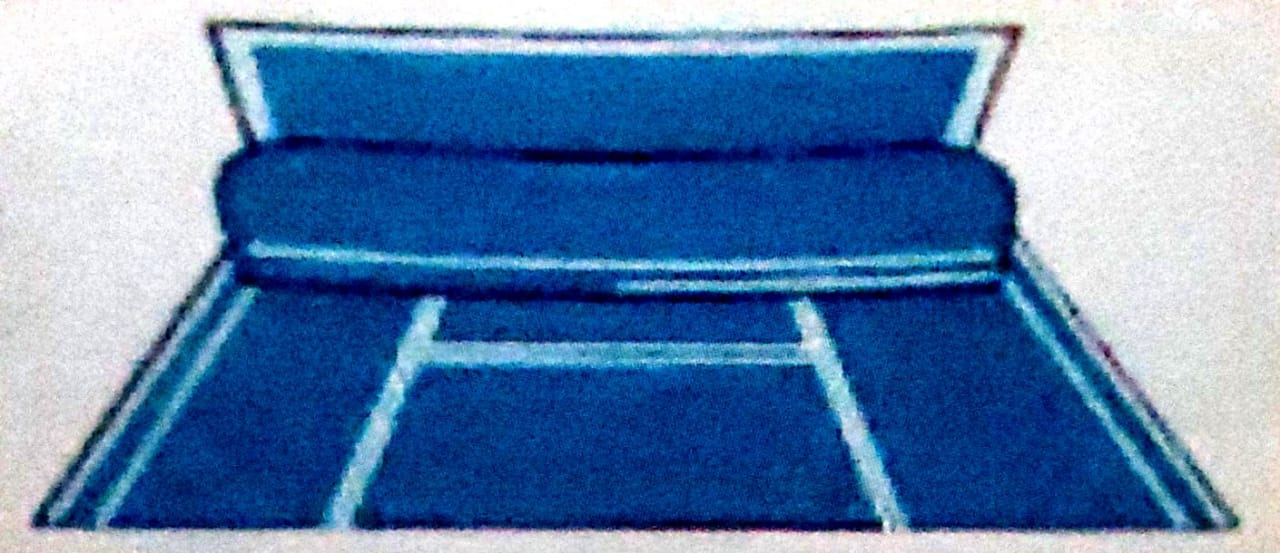
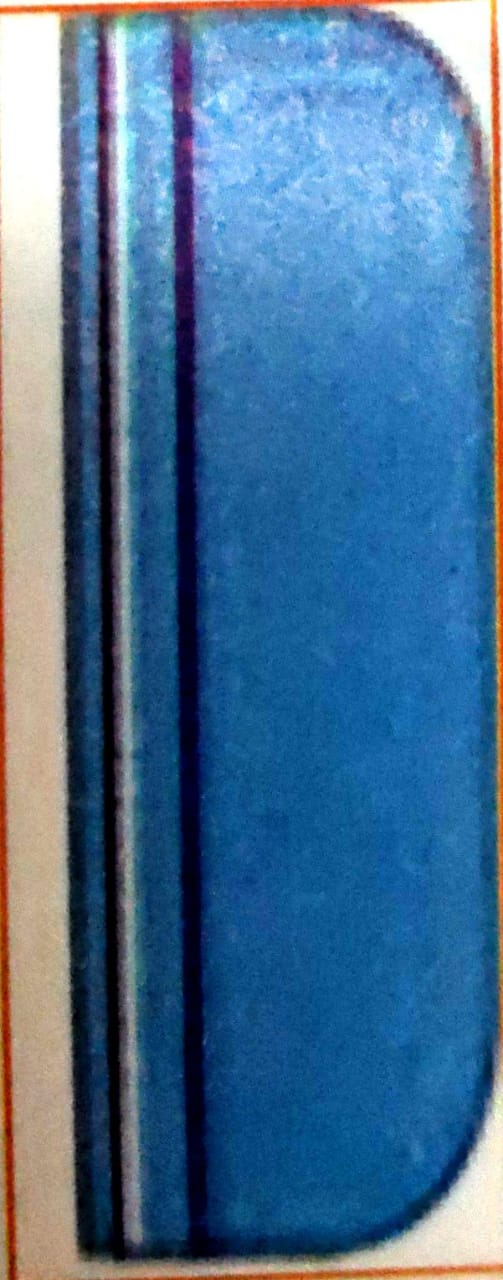
Step 4: Take the fused collar piece and place it on the collar piece that is not fused. The right side of the fused collar. should face the right side of the unfused collar.
Step 5: Start stitching at a gap of 1 mm from the fusing material from the collar base side.
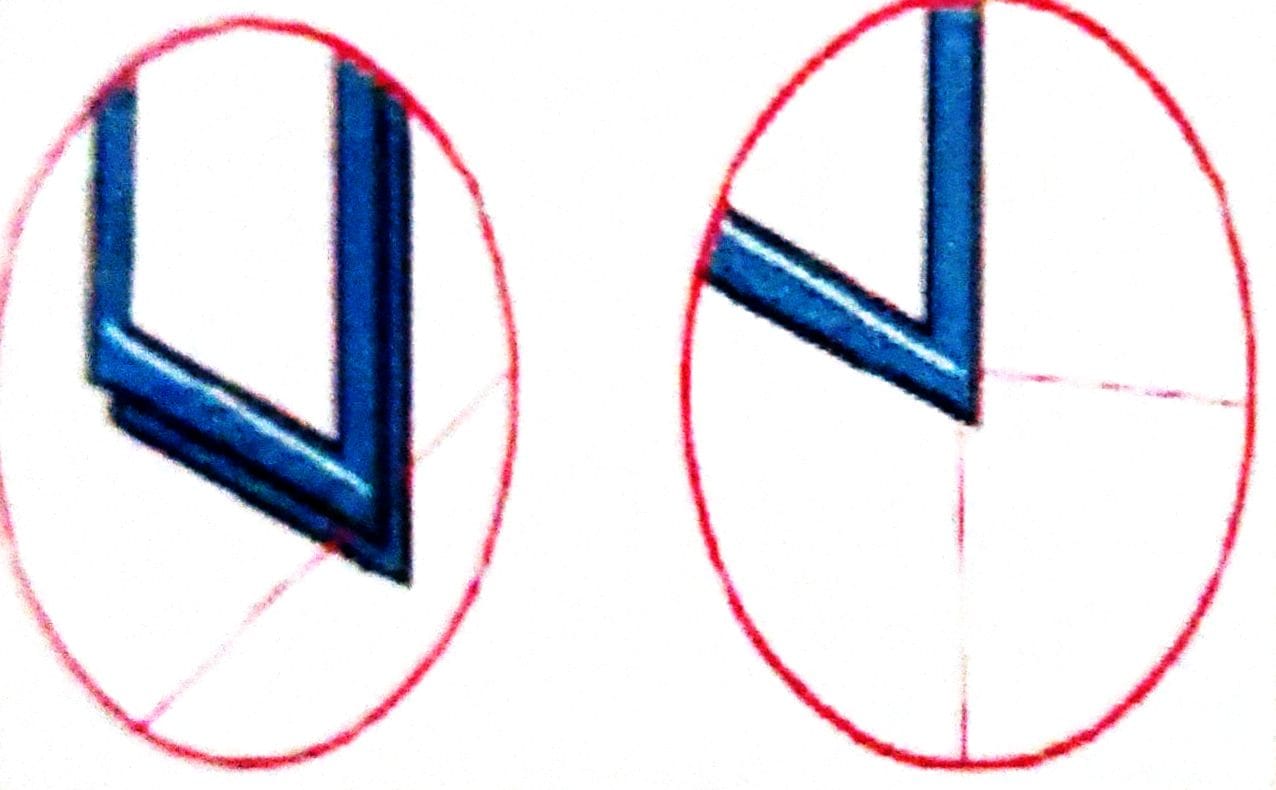
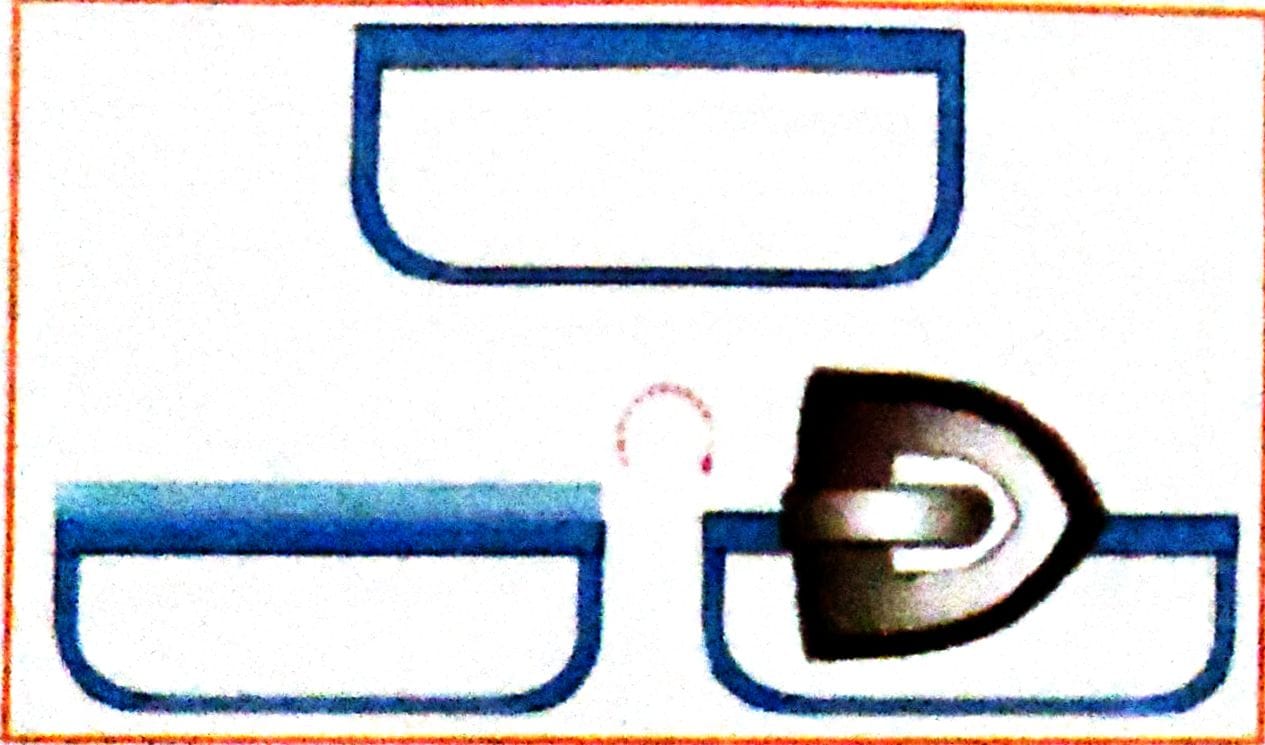
Step 6: Stop the sewing machine one stitch before the collar point with the needs down. Insert an extra thread between the two fabric layers touching the needle.
Step 7: Put one stitch and stop the sewing machine with the needle down. The thread will be at the back of the needle side.
Hold both ends of the thread and bring it towards the other side of the collar.
Put stitches at a distance of 1 mm from the fused material on the remaining collar.
Repeat steps 6, 7, 8, and 9.
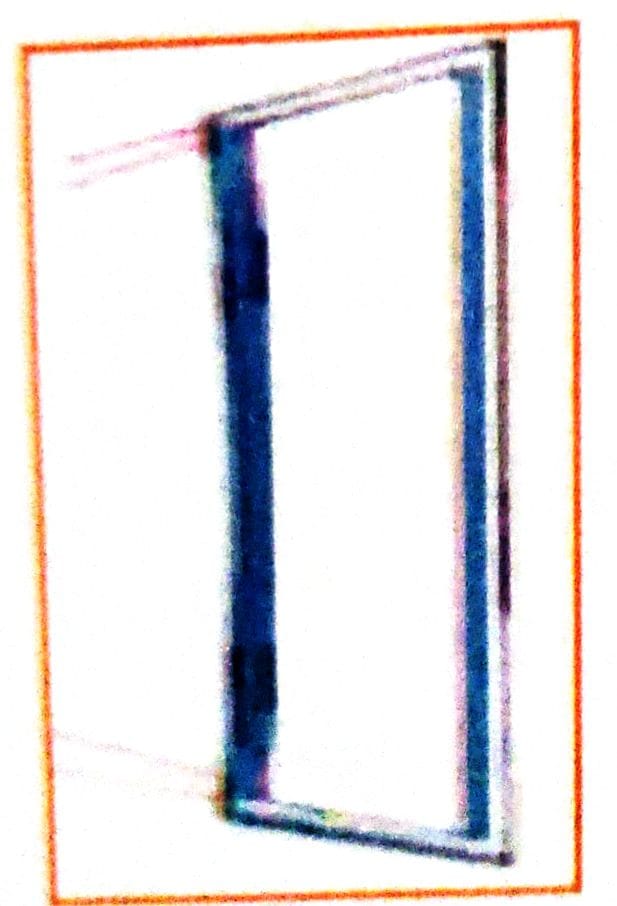
Step 8: Now, put stitches at a distance of 1 mm from the fused material.

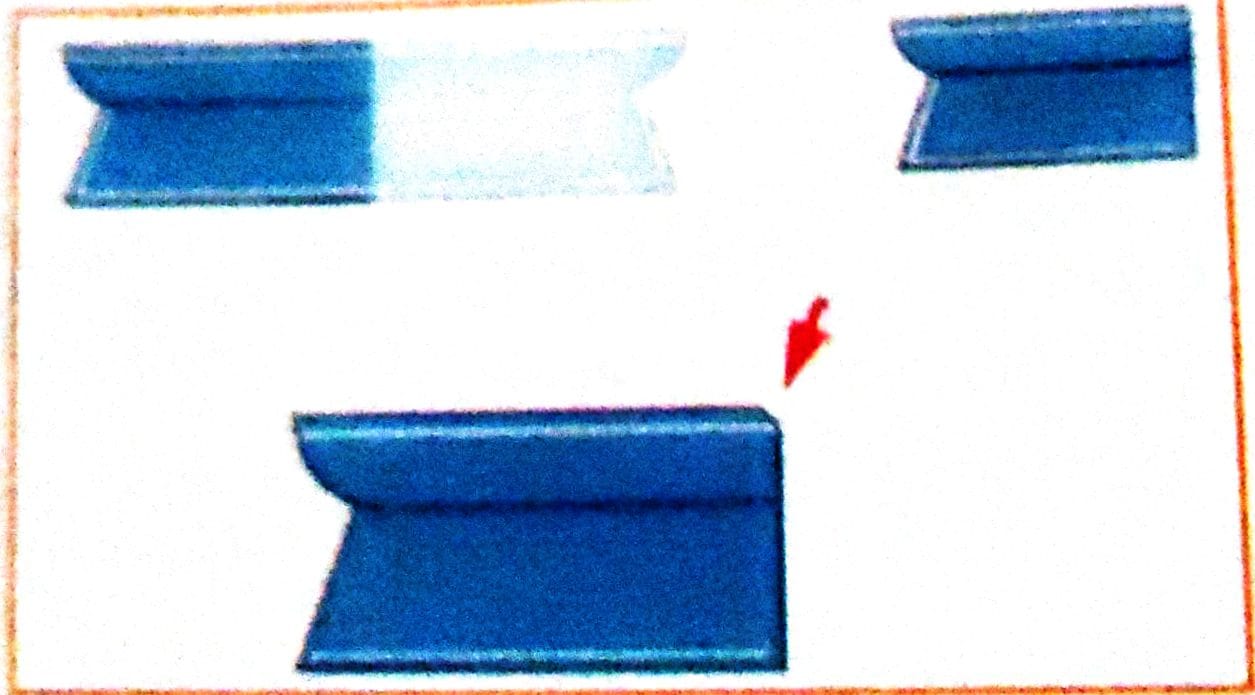
Step 9:. Put back tack stitch at both the ends.
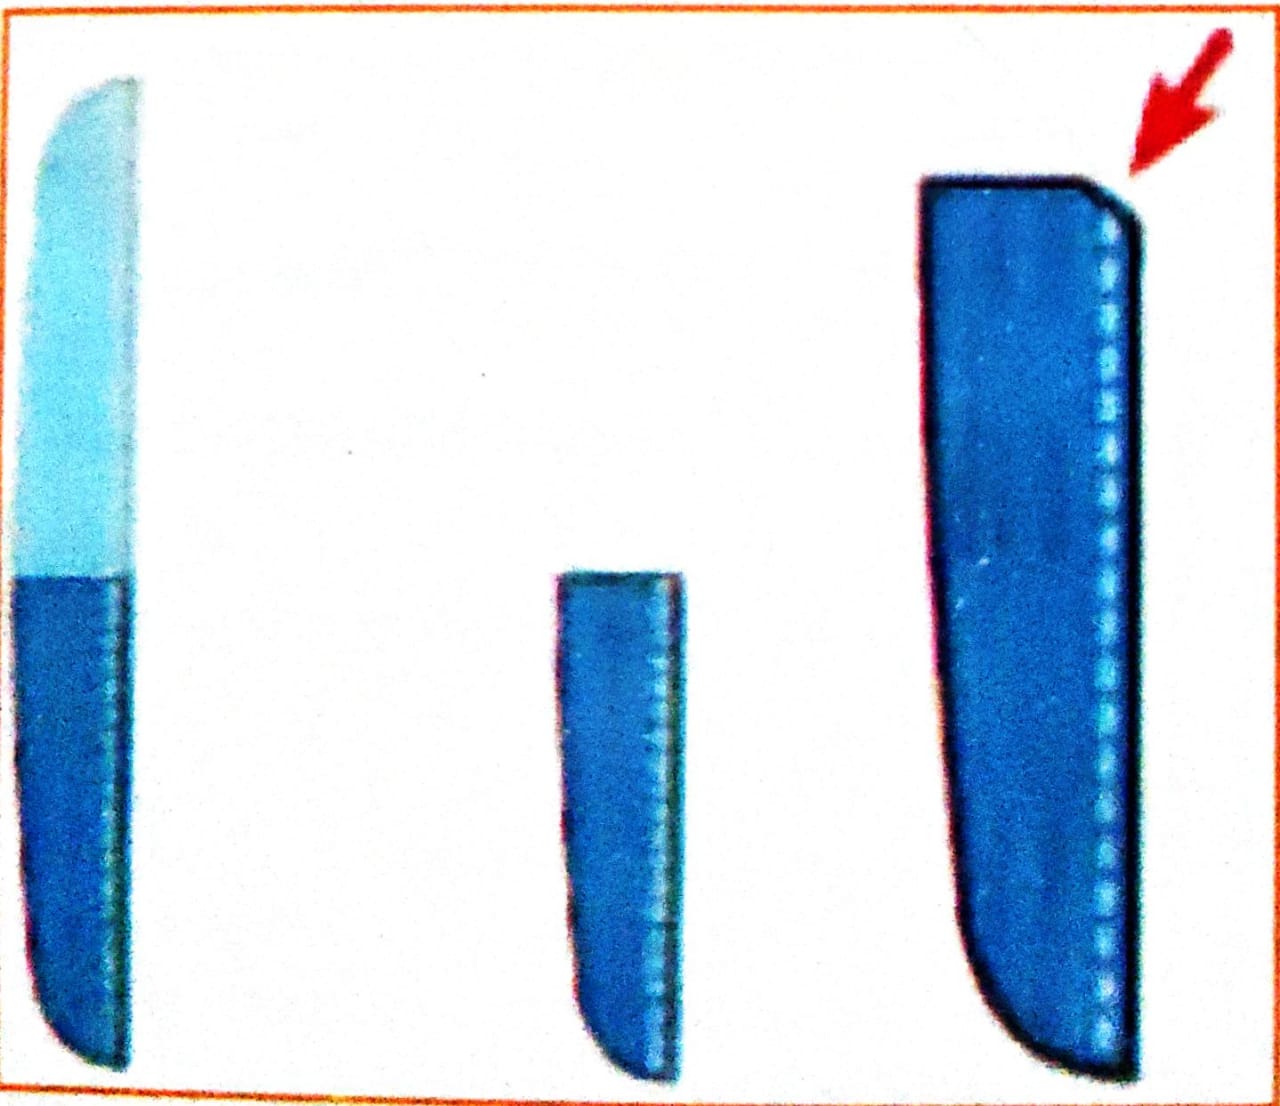
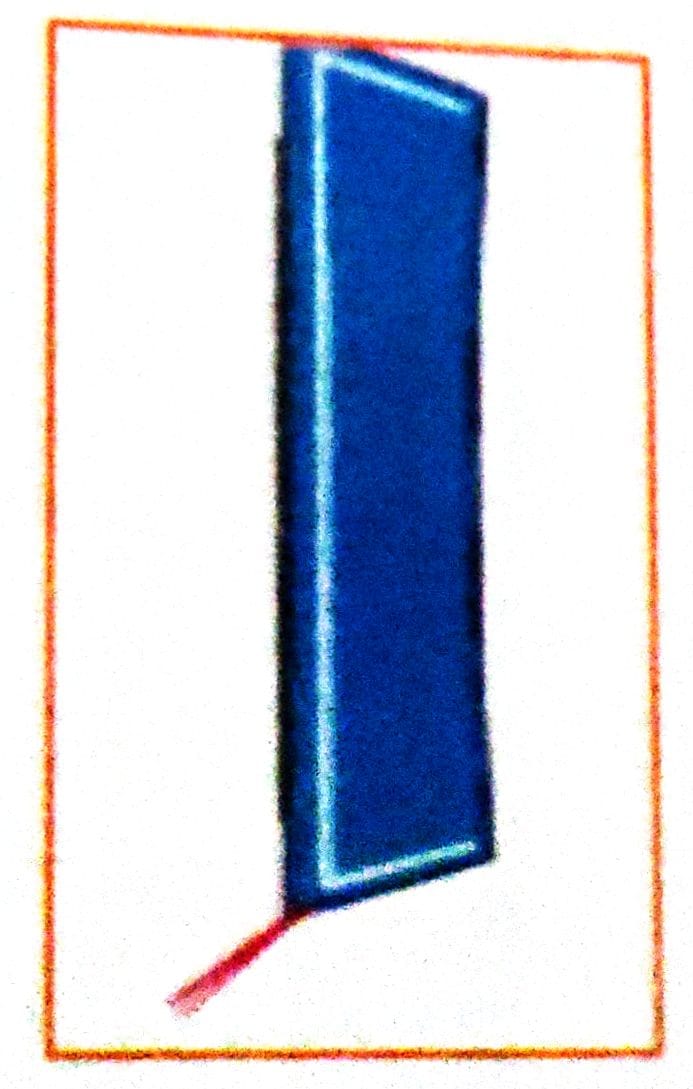
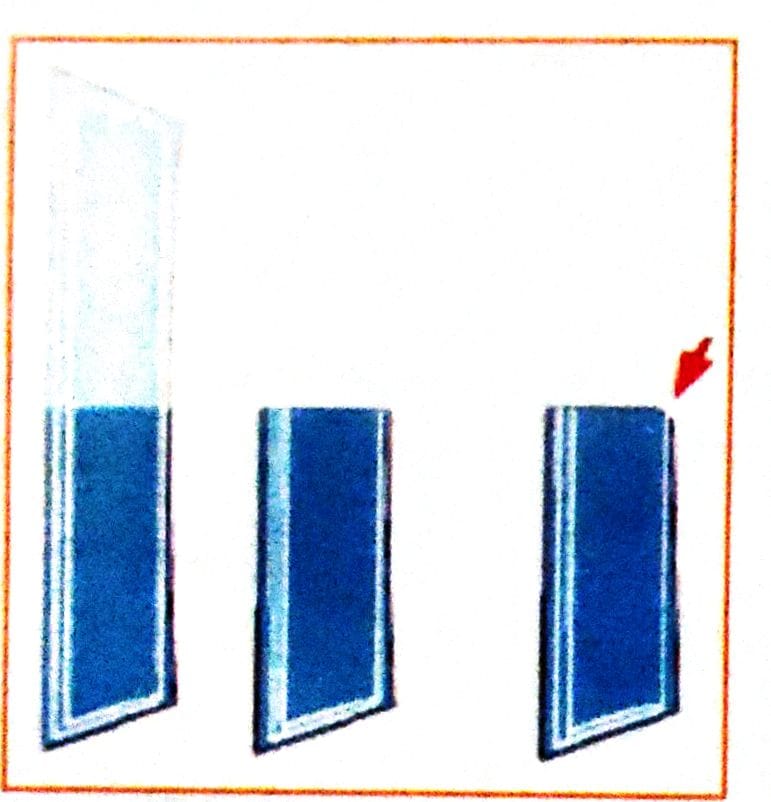
. Cut both the collar points and turn the collar.
. Stretch the threads to give proper shape to the collar.
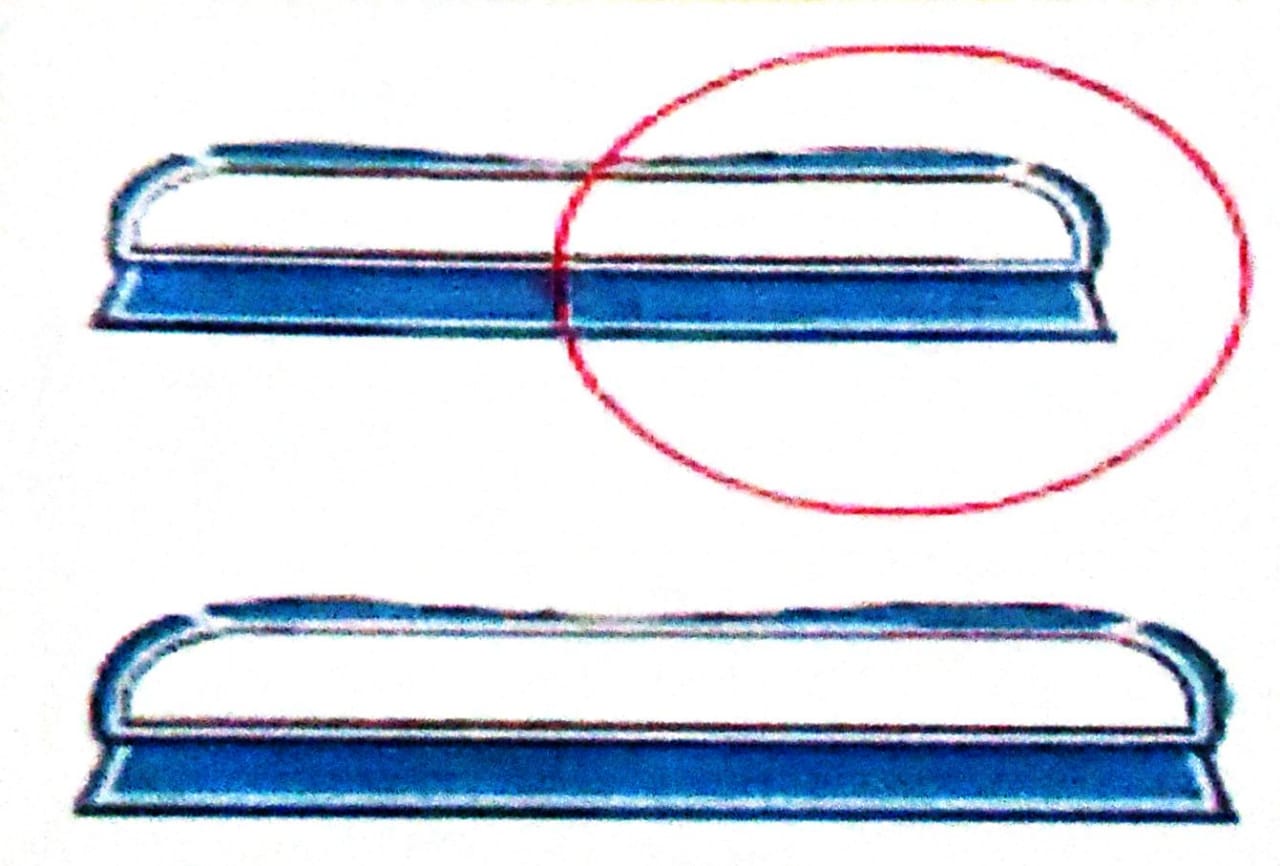
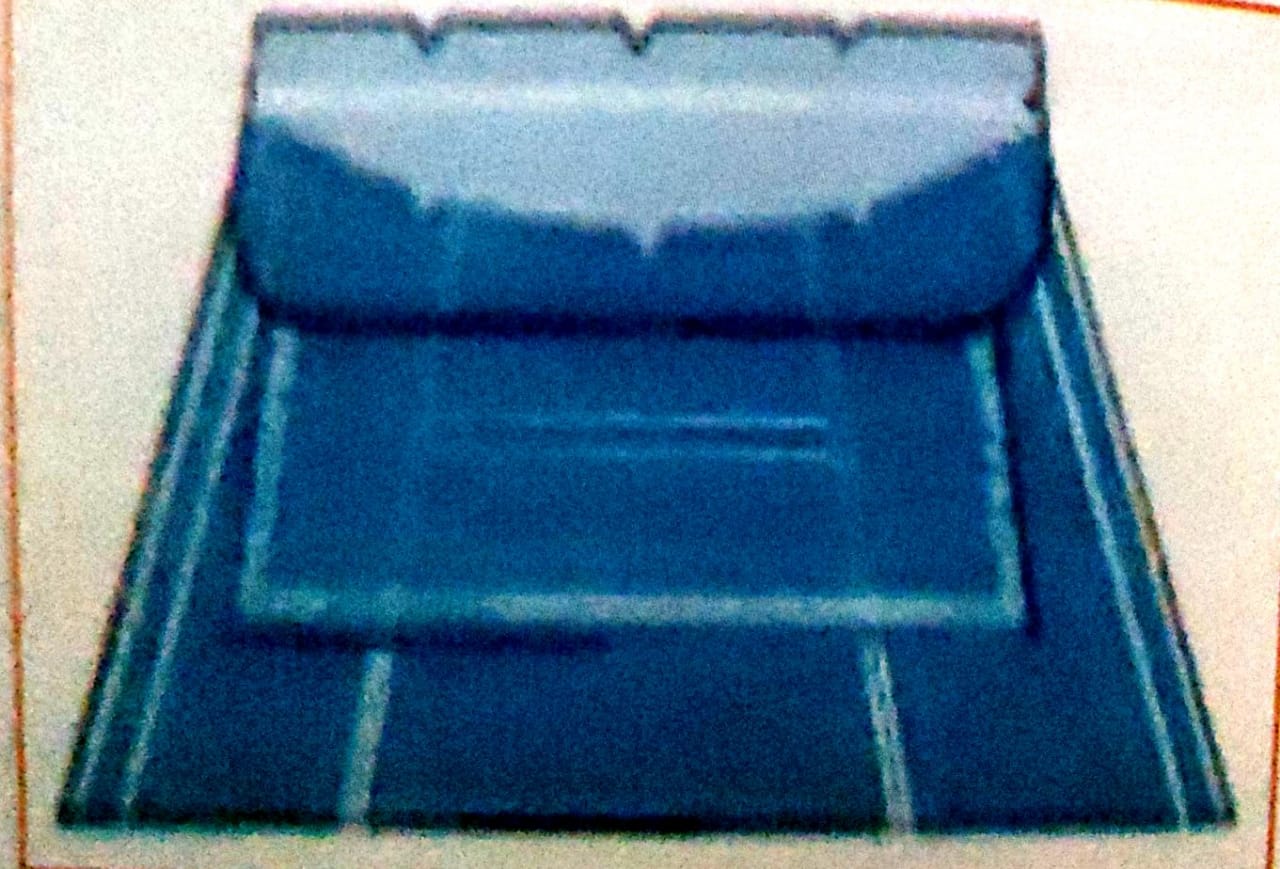
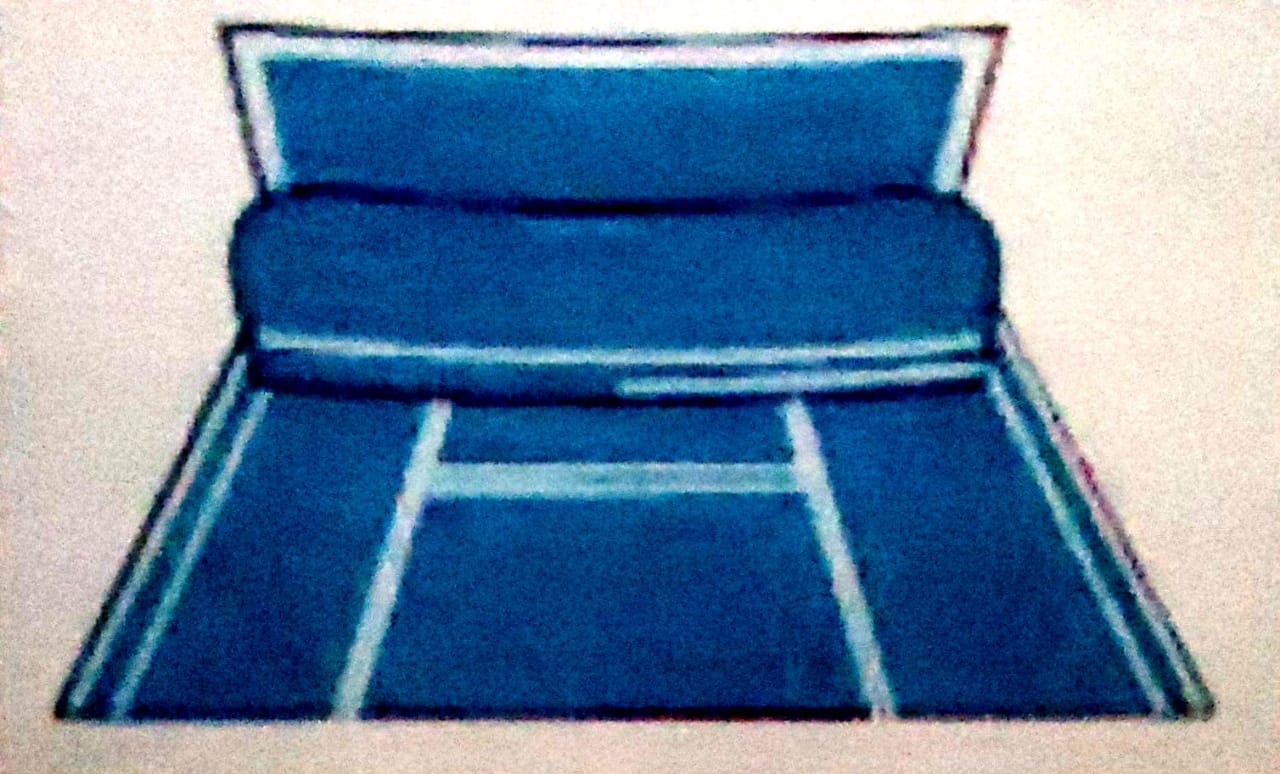
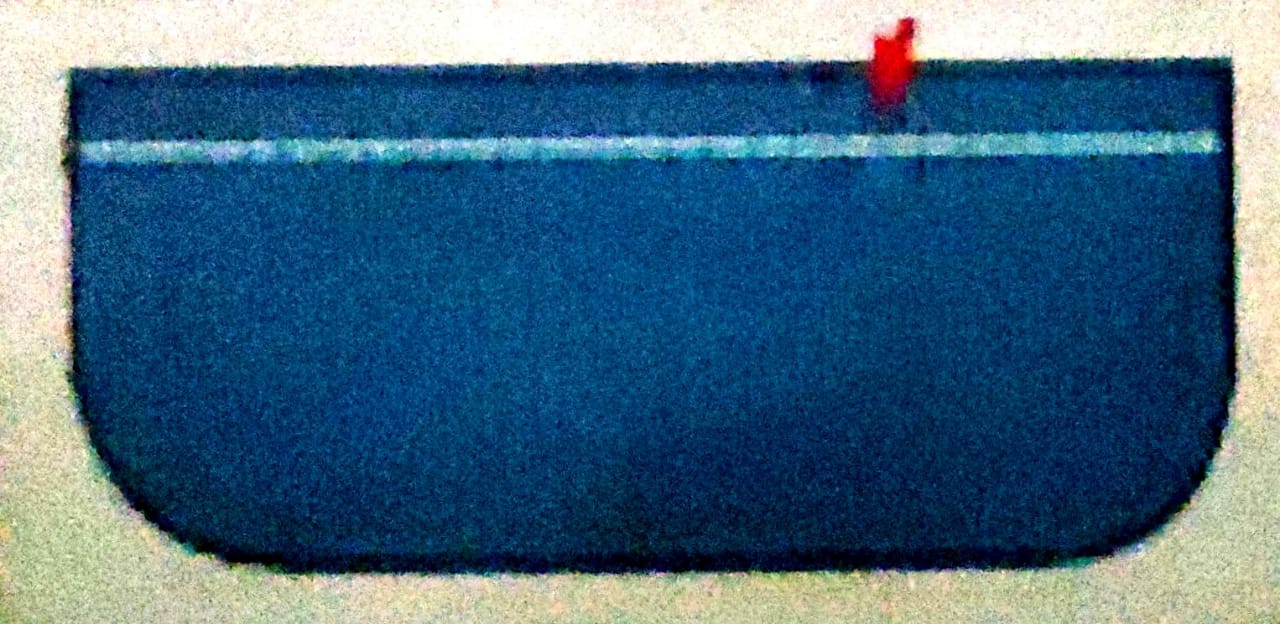
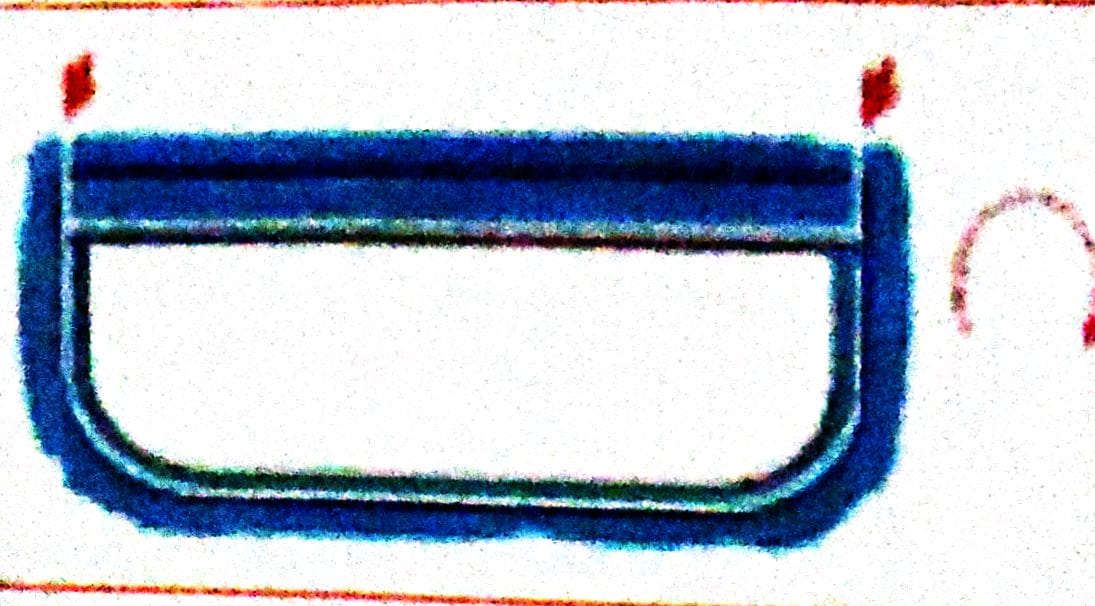
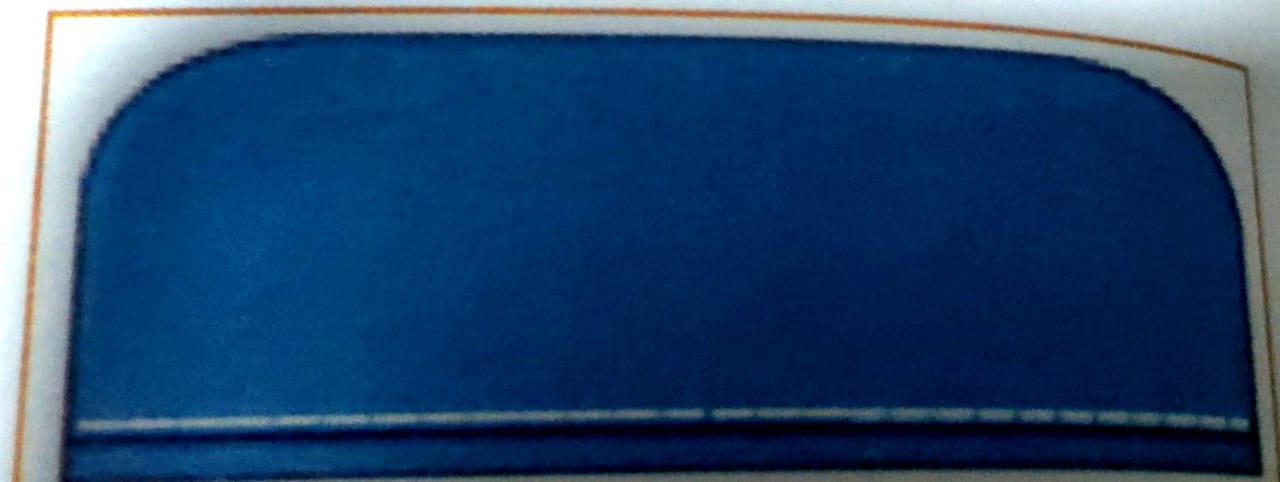
Step 10: Put a 4 mm stitch on all three sides of the collar. Keep the lower fabric stretched to avoid wrinkles.
Step 11: Put a 2 mm stitch on the open side of the collar.
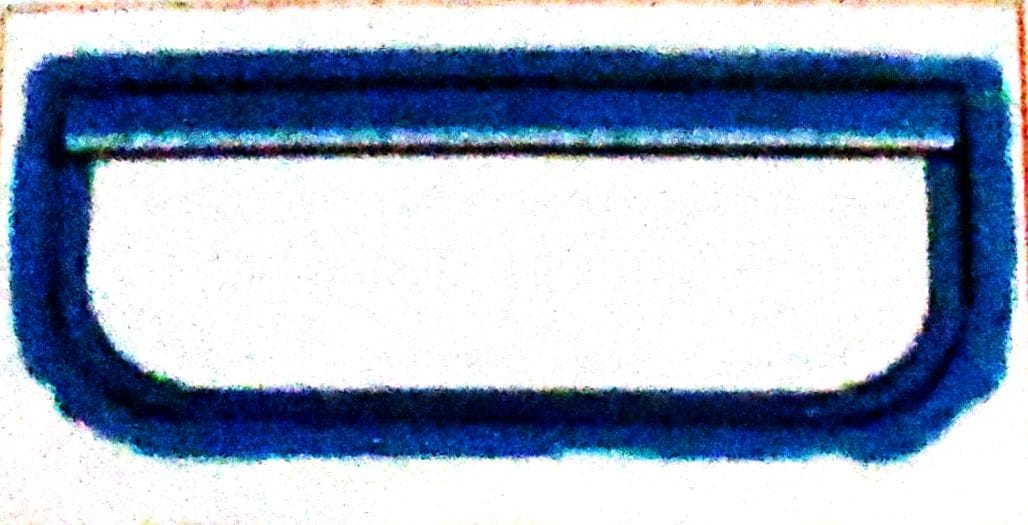
Step 12: Put edge stitch on the three sides of the collar.
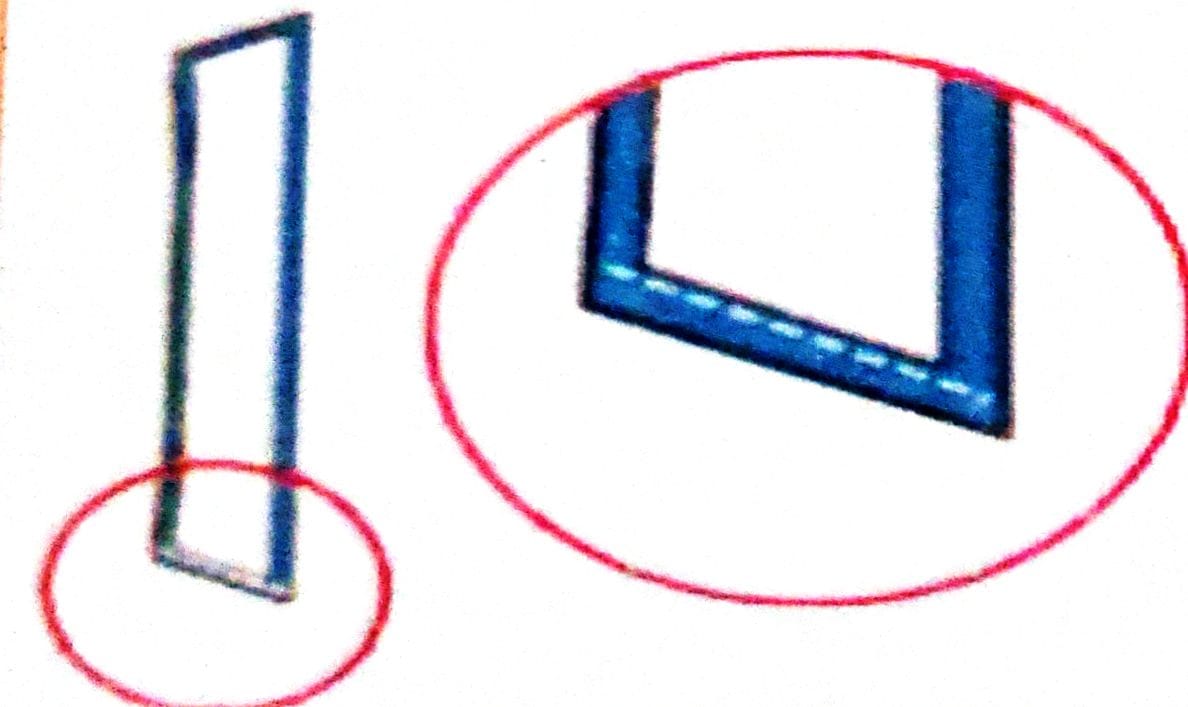
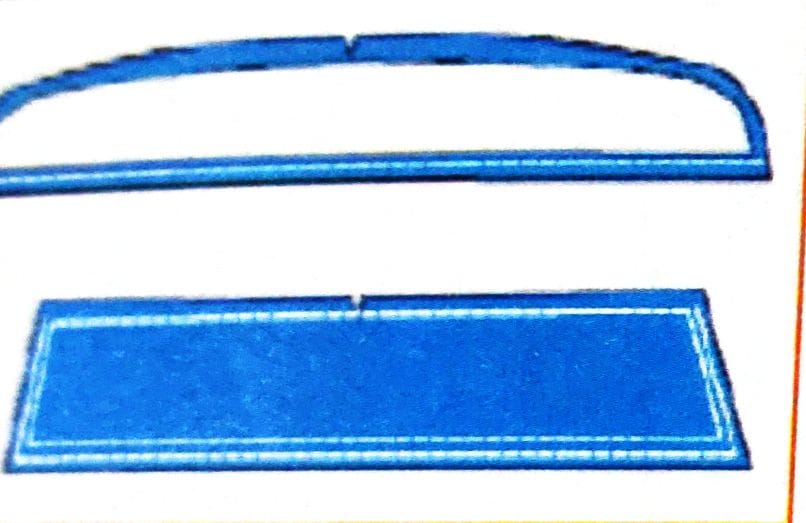
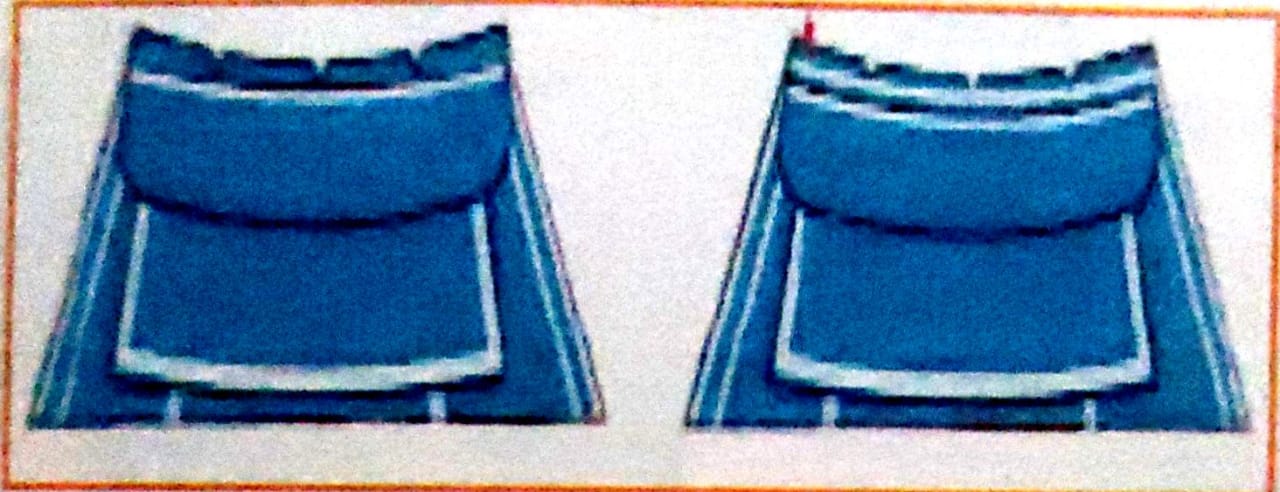
Step 13: Fold the collar and put a notch mark at the centre.
Side Seam
Step 1: Place the neckband and collar face to face.

Step 2: Align the notch and the band of the collar.
Step 3: Start stitching from the notch point leaving a gap of 1 mm Repeat this stitch from the notch point to both ends.
Step 4: Take the other neckband piece without fusing. Place it below the ready neckband collar piece.
Step 5: Now start stitching from the neckband bottom portion, tilll the other end.
Step 6: Turn the neckband piece
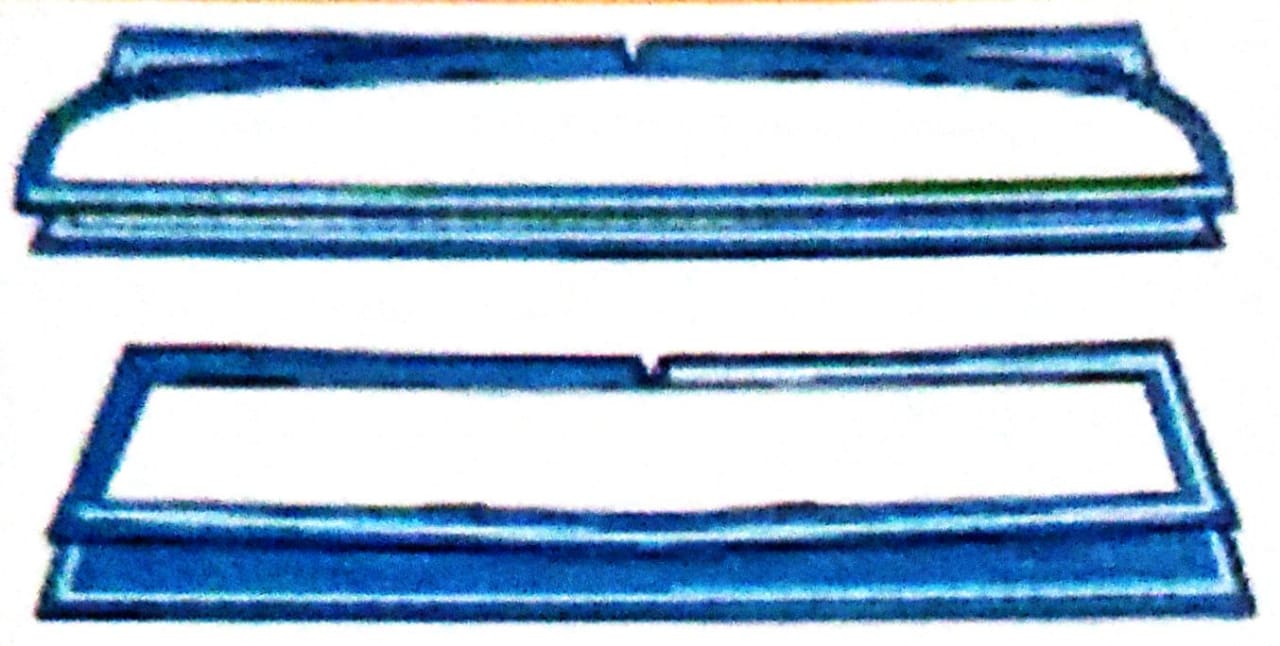
Step 7: Fold the piece and put a notch at the centre. The folded part is now refolded and another notch is put.
Collar Attachment to Body
Step 1: Match the three notches on the neckband with the two shoulder seams of the body and the centre notch.
Step 2:Keep the left hand side with face up on the Fig. Match the edge of the front placket with the edge of the collar band.
Step 3: Put the stitch just below the fused portion of the band till the end.
Step 4: Starting from the neckband’s centre put edge stitch towards the right side.
Step 5: Turn and continue to put edge stitch tilll the other end.
Cuff Preparation
Step 1: Fold the fabric edges on the straight side of the cuff and iron it.
Step 2: Put a 4 mm top-stitch.
Step 3: Take the unfused piece of the cuff and place it below the fused cuff
Step 4: Stitch the two curved and one straight side by leaving a 1 mm gap.
Step 5: Turn the cuff .
Step 6: The unfused cuff fabric should be 1 mm extra.