Upper Sleeve Placket Preparation
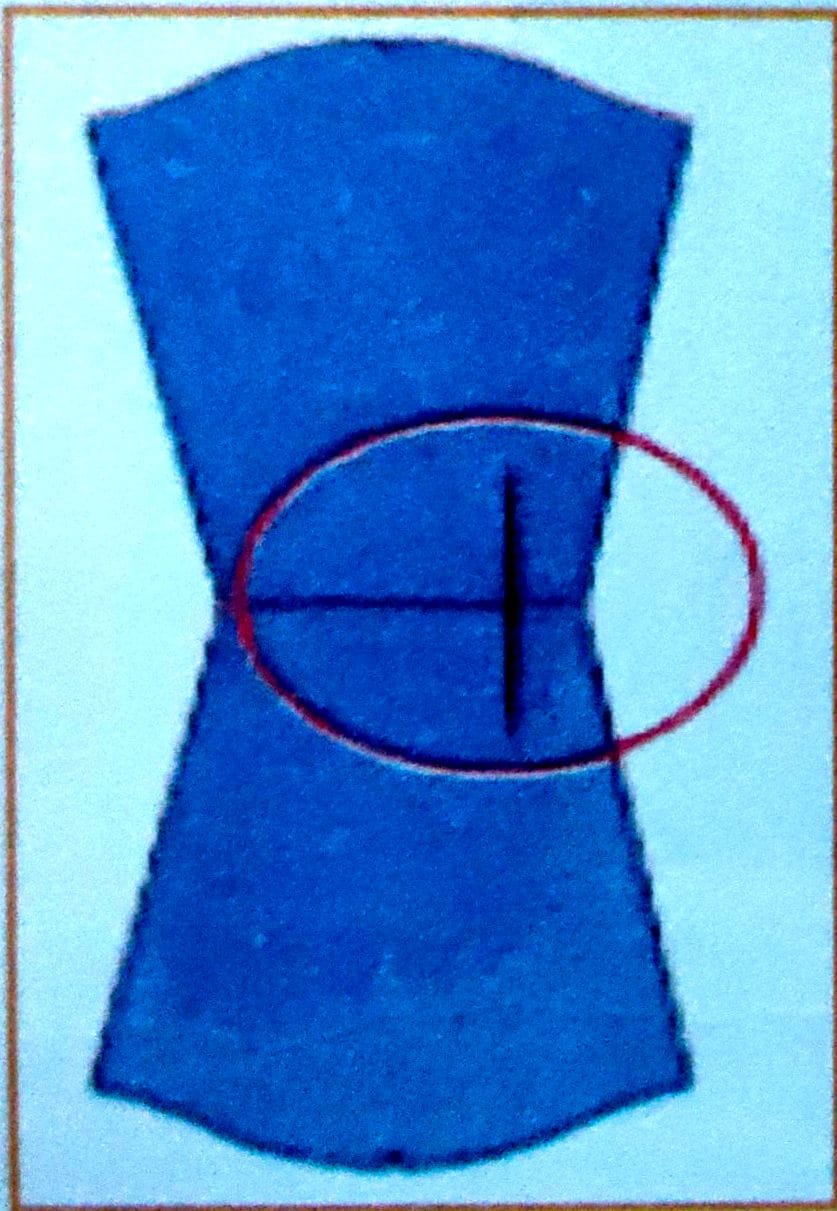
Step 1: Take the two sleeve pieces and identify the notch marks on the armhole side in each one of them.
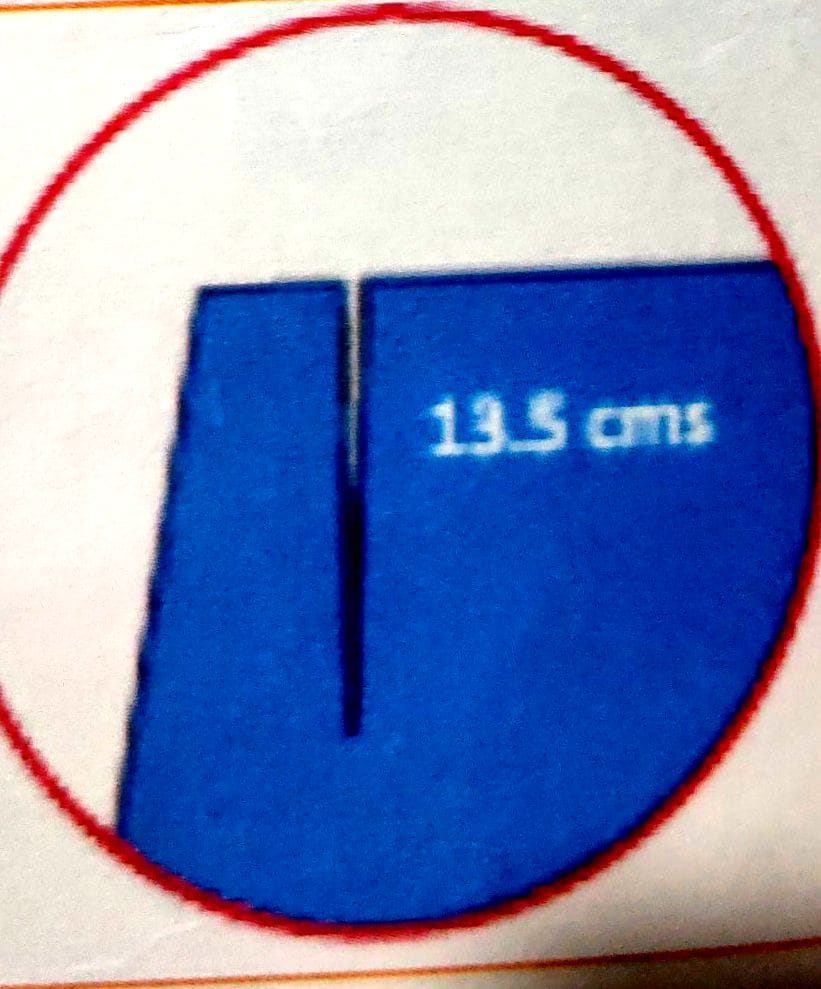
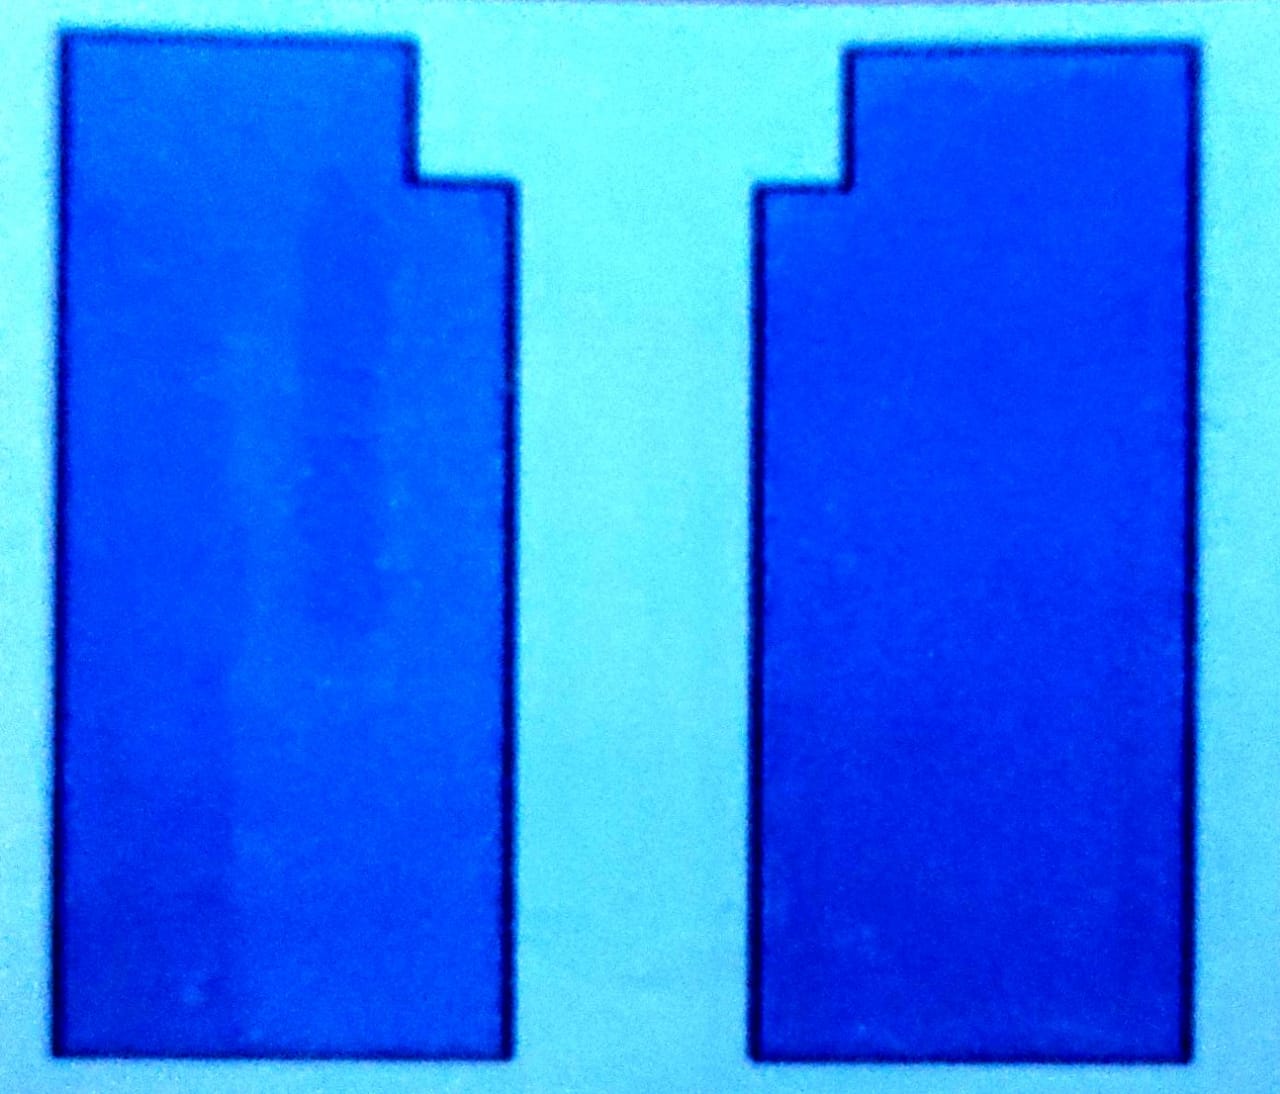
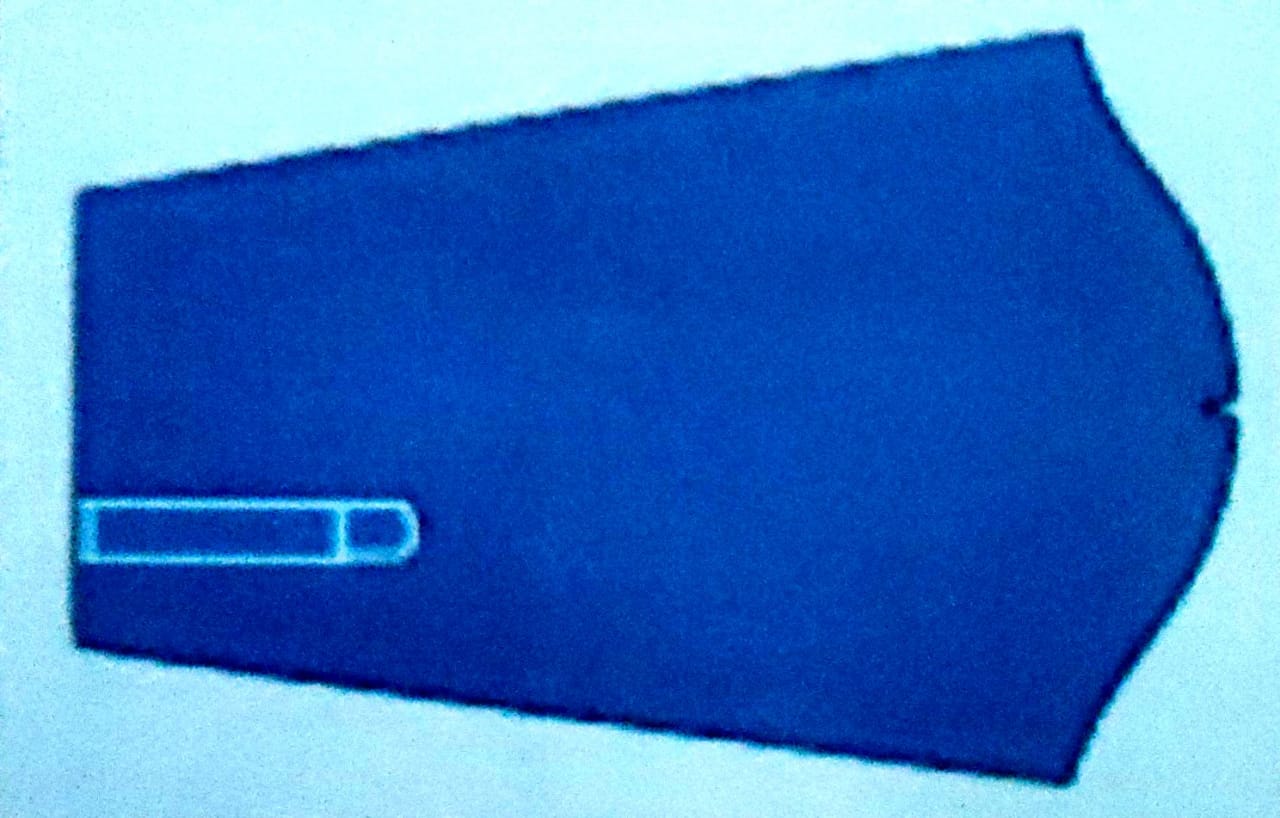
Step 2: Look at the reverse side of the sleeve and ensure that there is a cut of 13 cms or 5 inches at the bottom.
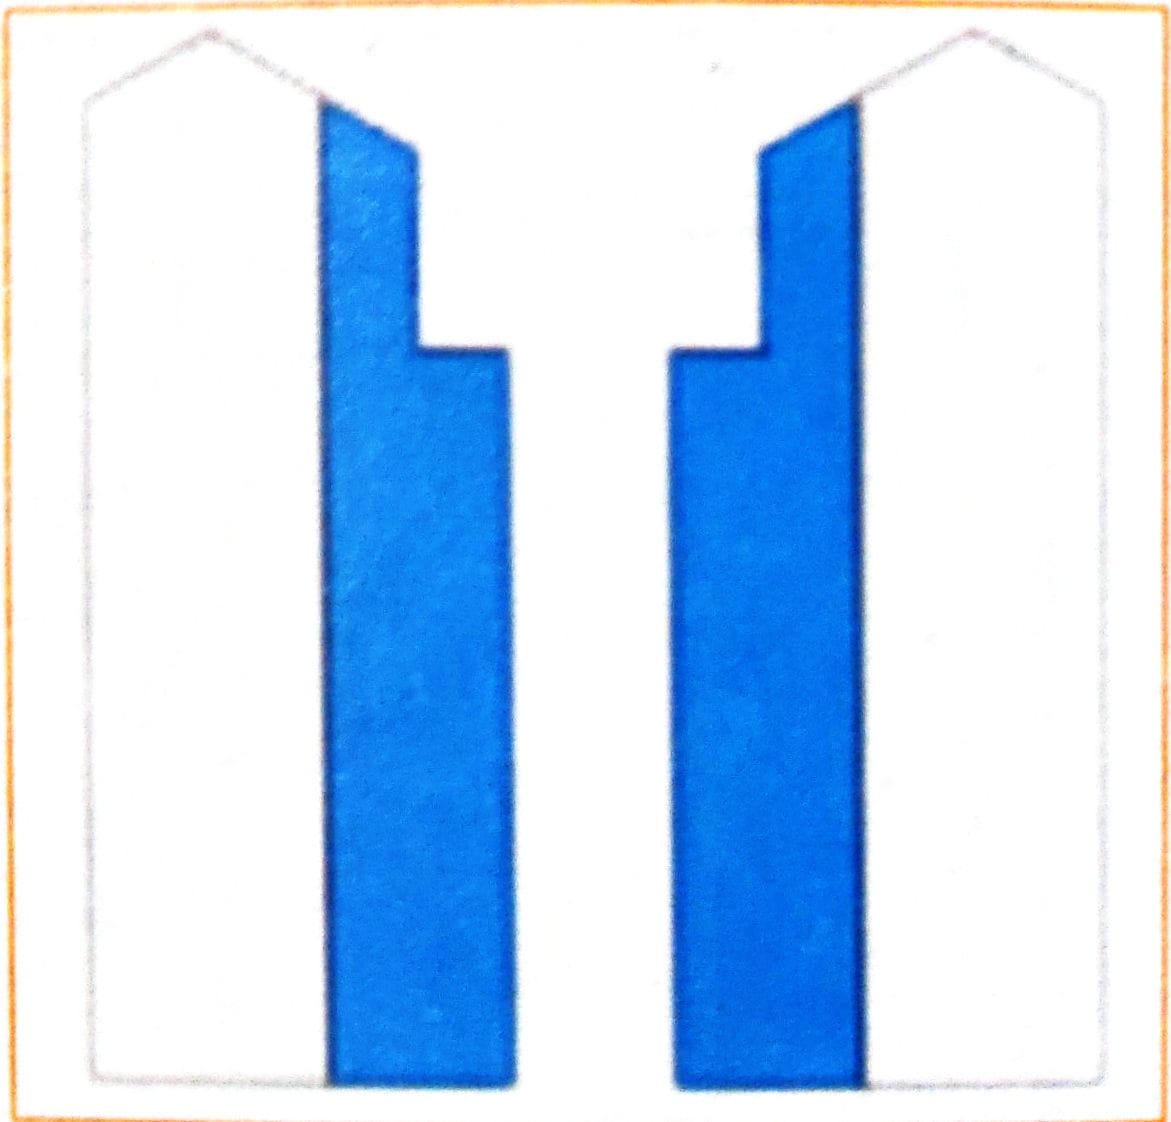
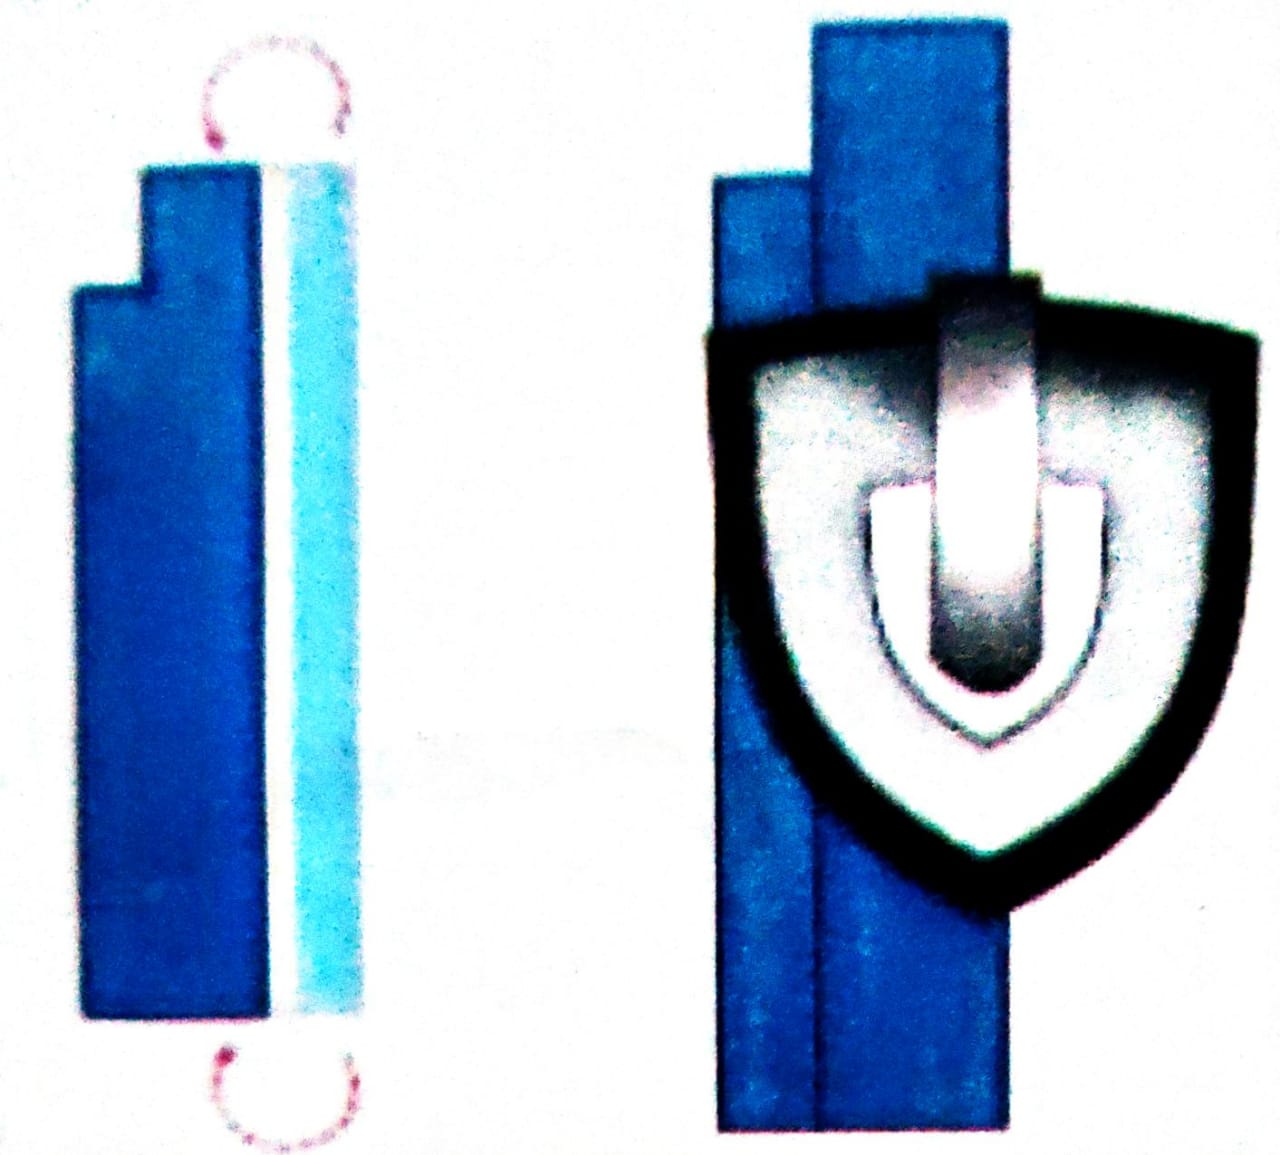
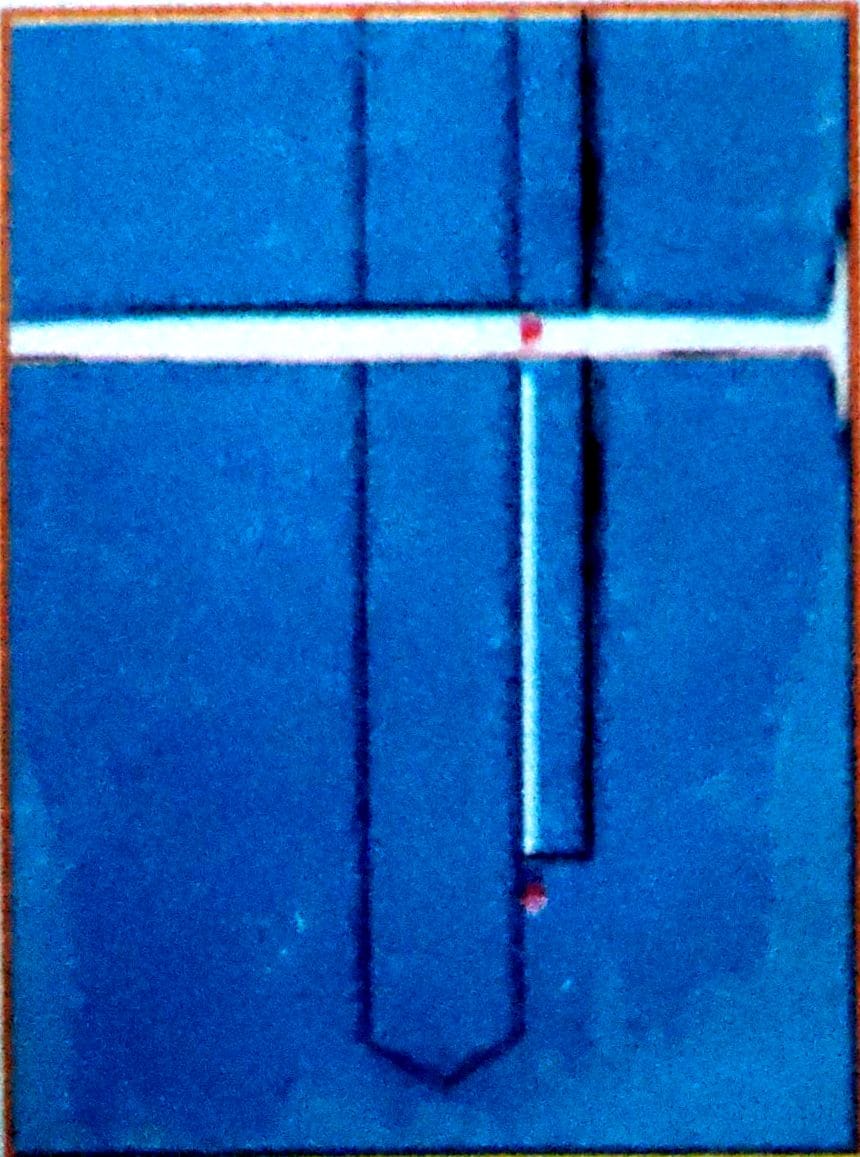
Step 3: Keep the two sleeve plackets with their straight sides facing each other.
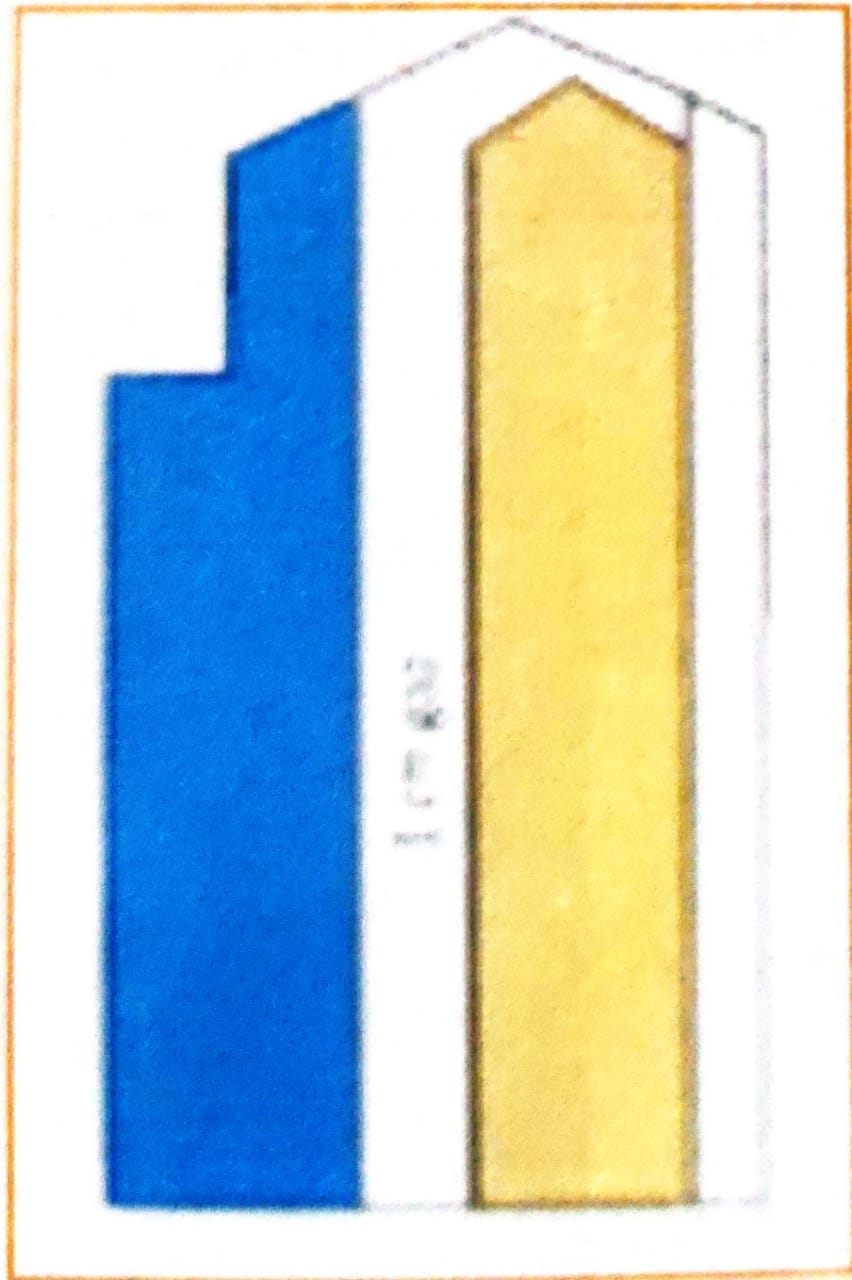
Step 4: Take the ready pattern. Leave a gap of 1 cm and place it over the longer side of the placket.
Step 5: Use the pattern and fold the longer side of theplacket 1 cm and iron it.
Step 6: Again,using the pattern, fold the longer side 3.5 cm and iron it.
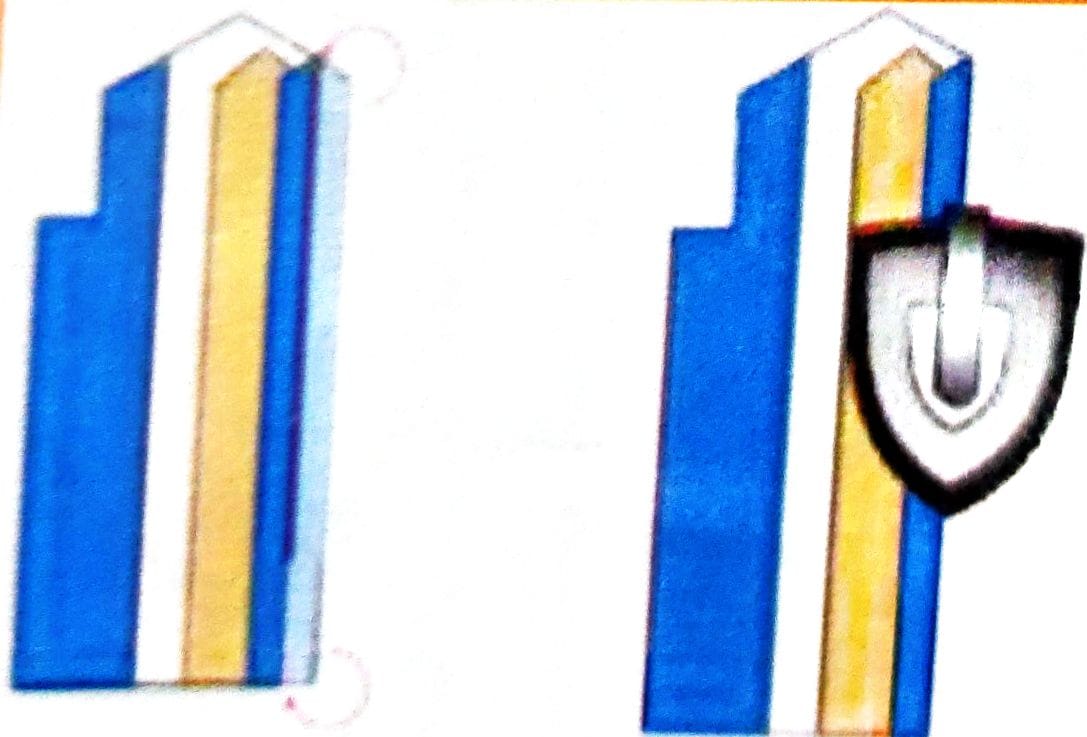
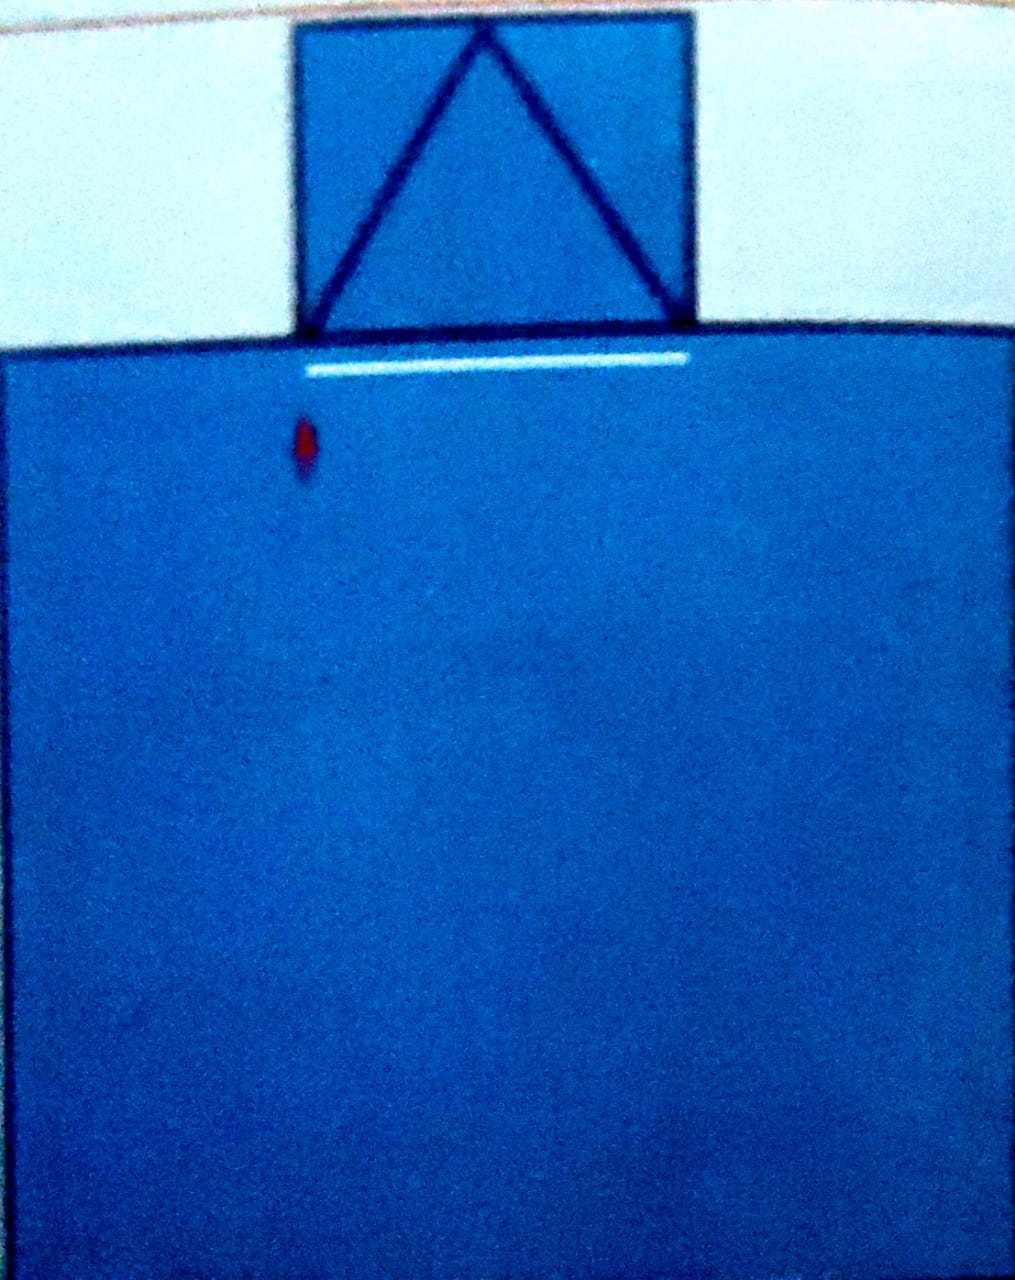
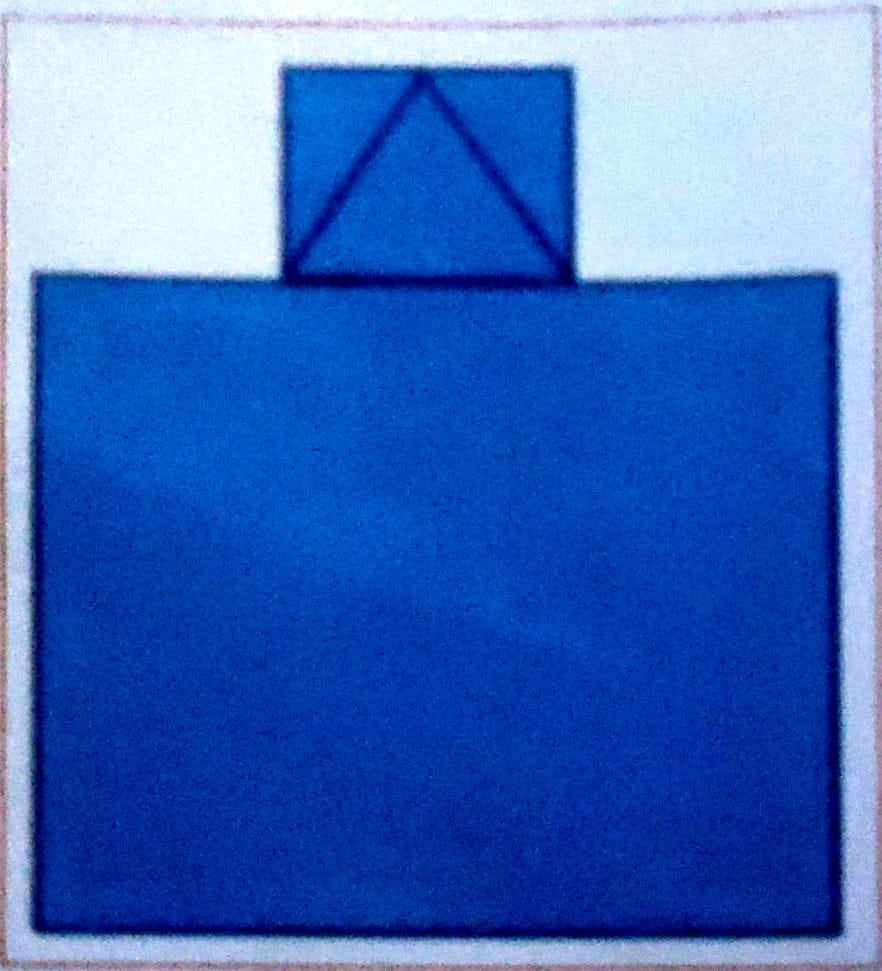
Step 7: Use the pattern and fold the upper portion of the placket in a V-shape Iron it well to form crease.
Step 8: Use the pattern and fold the upper portion of the placket in a V- shape Iron it well to form crease.
Lower Sleeve Placket Preparation
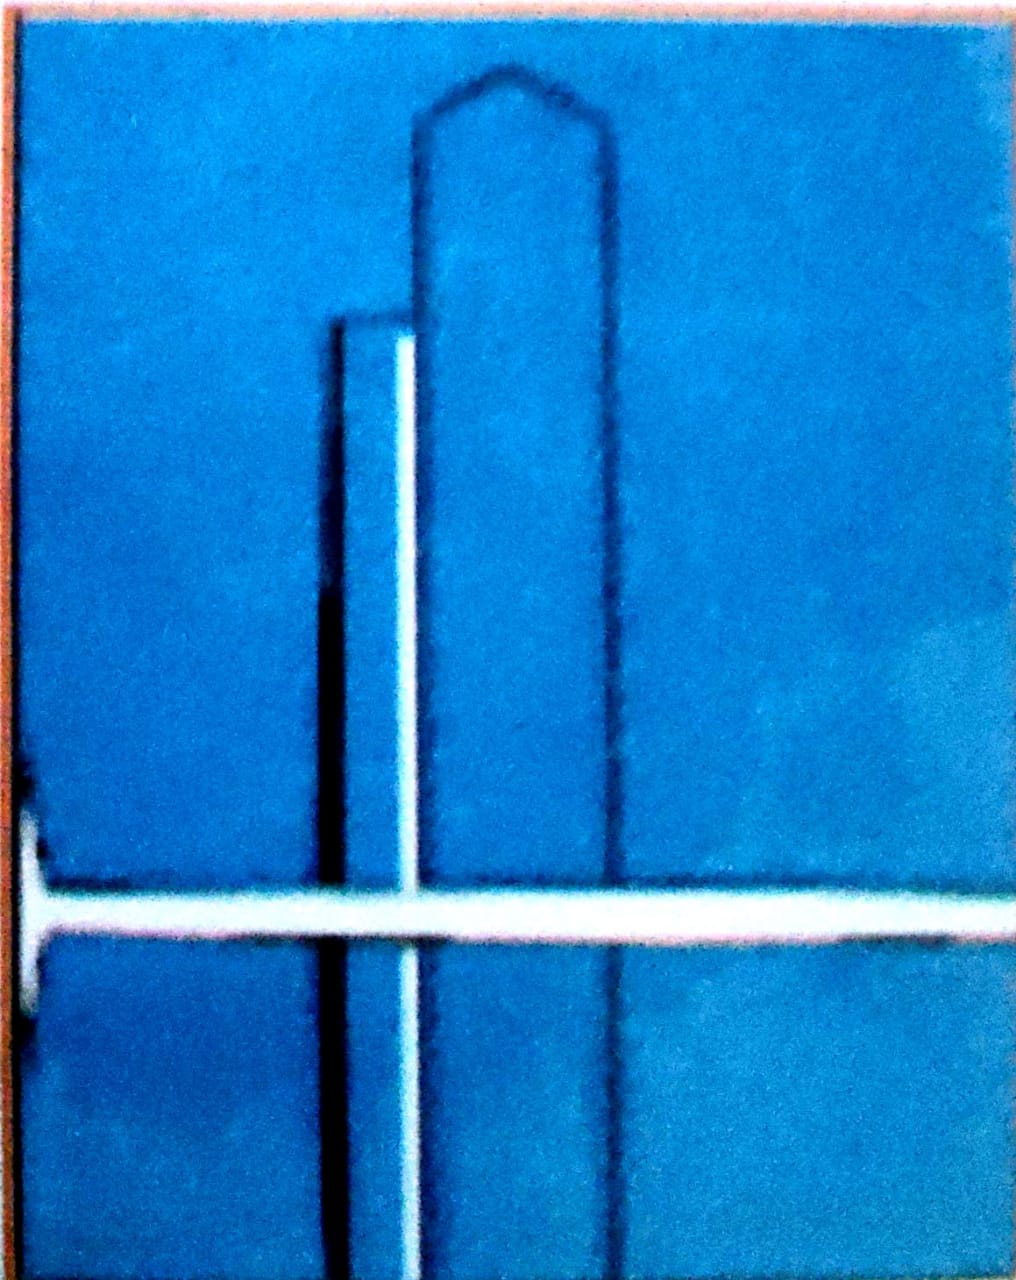
Step 1: Keep both the lower sleeve plackets on the Fig.
They are unfused and shorten in length than upper sleeve plackets.

Step 2: Place the ready pattern on the placket.

Step 3: Use the pattern and fold 1 cm Use the iron to crease it.
Step 4: Again, use the pattern and fold 2 cm Use the ironto crease it.
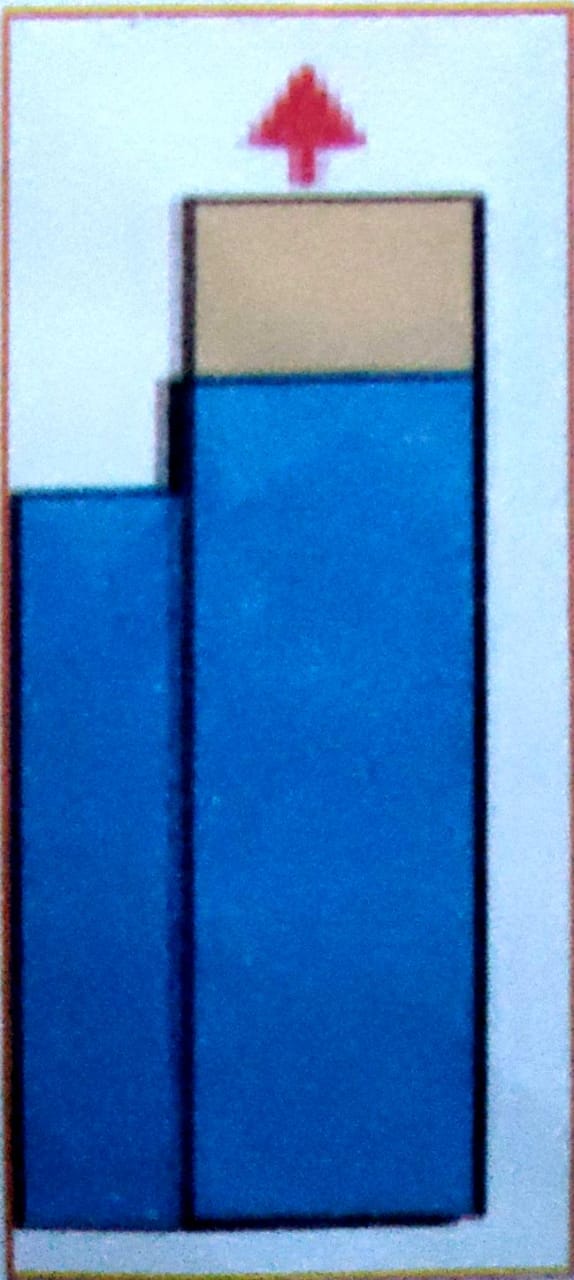
Step 5: Remove the ready pattern.
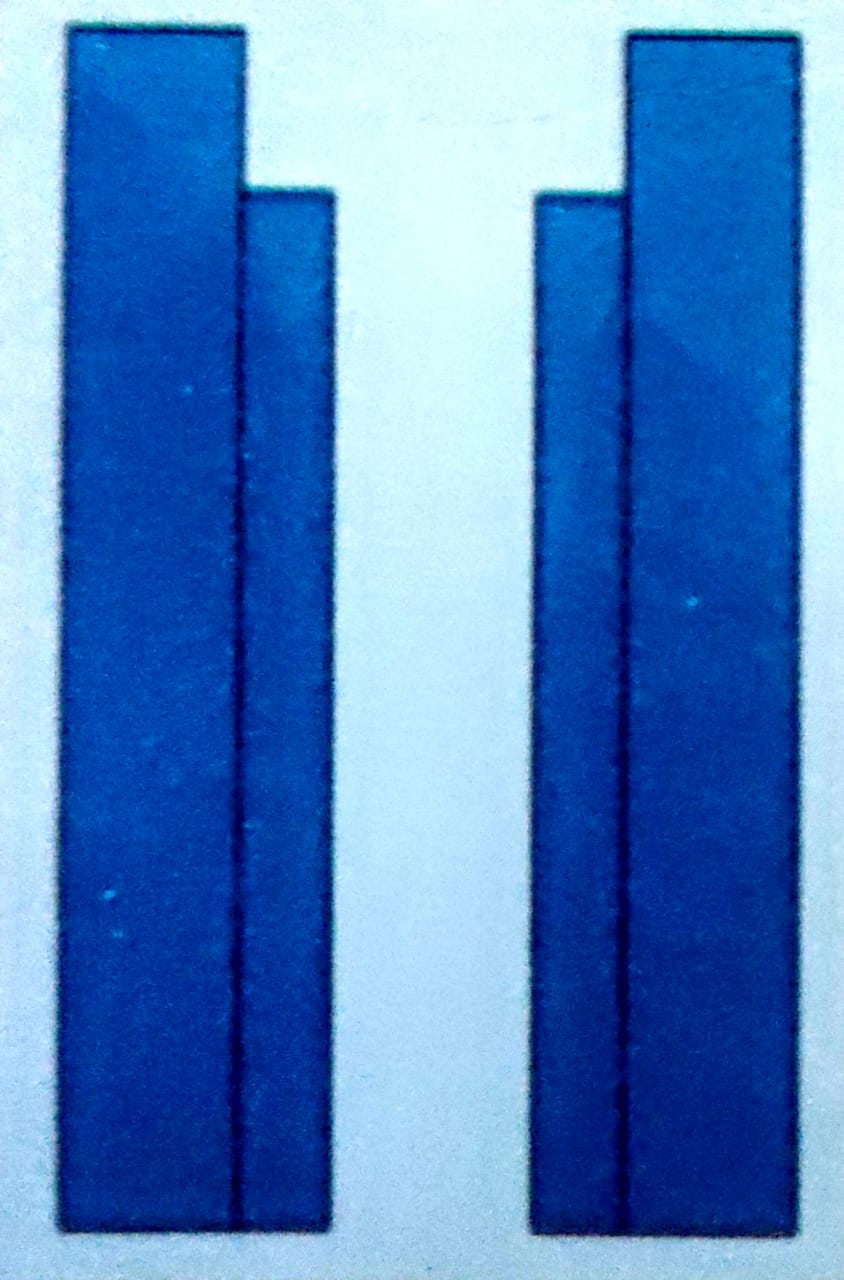
Step 6: Repeat Steps 2 to 5 for the other placket .
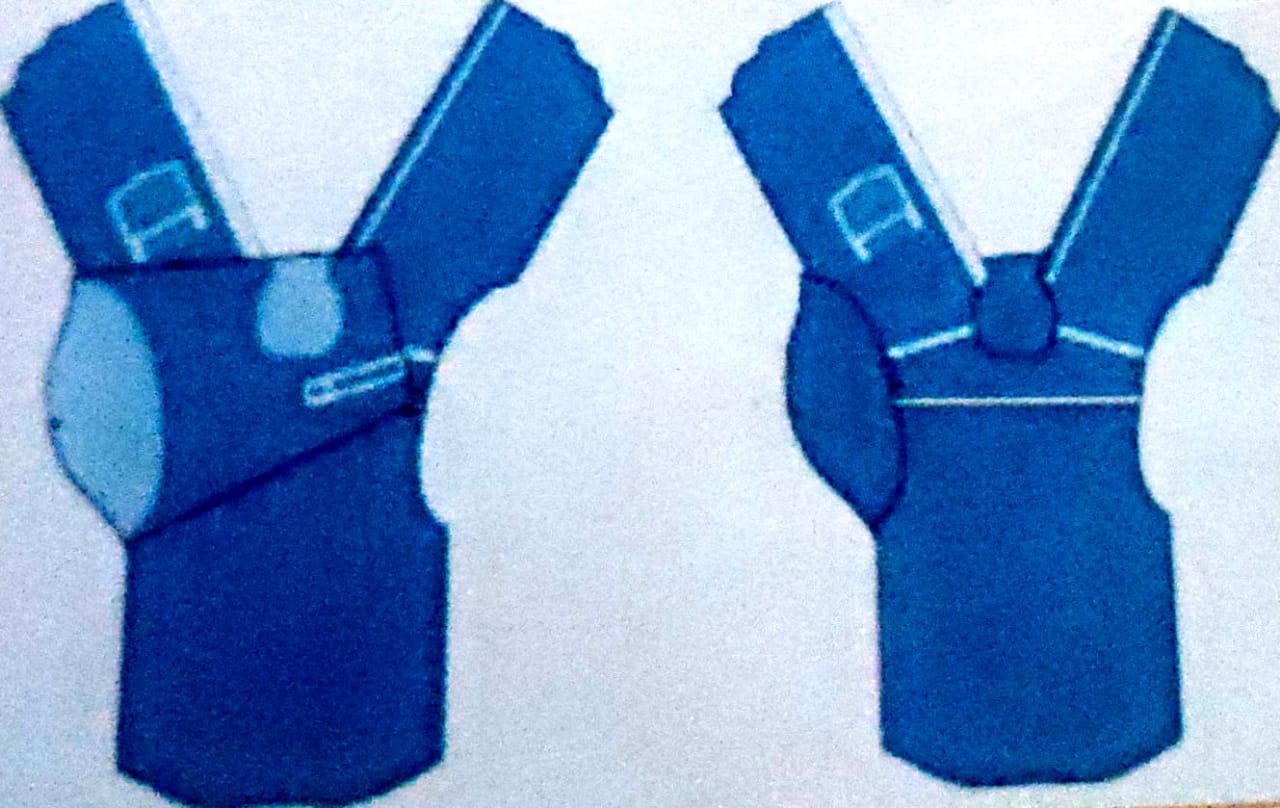
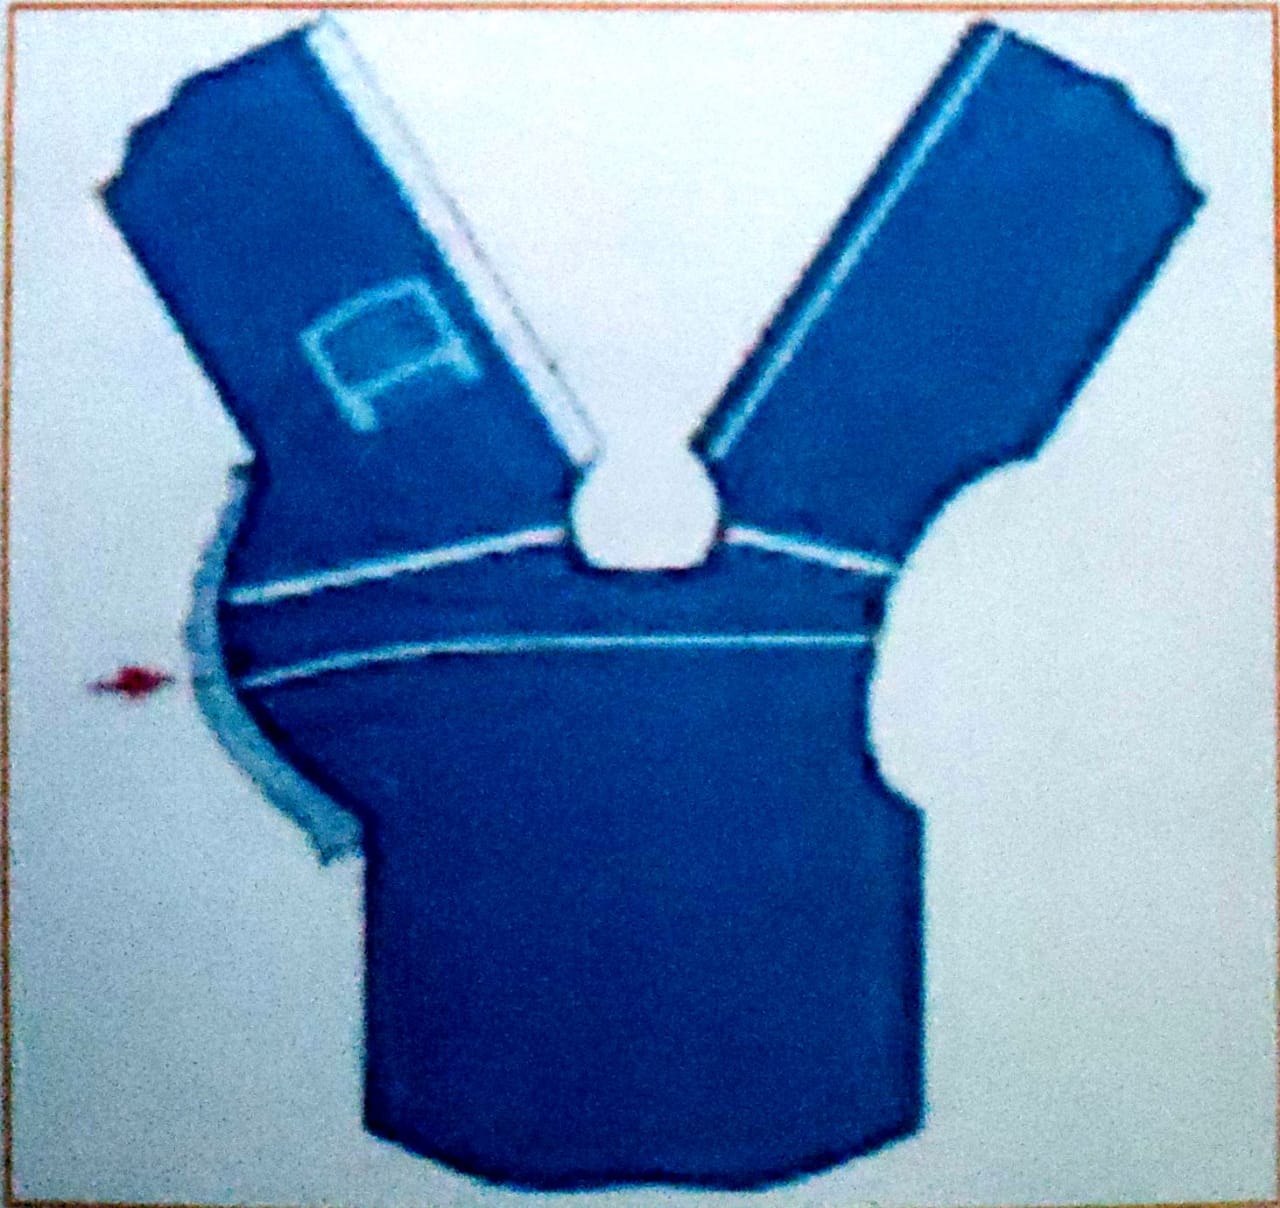
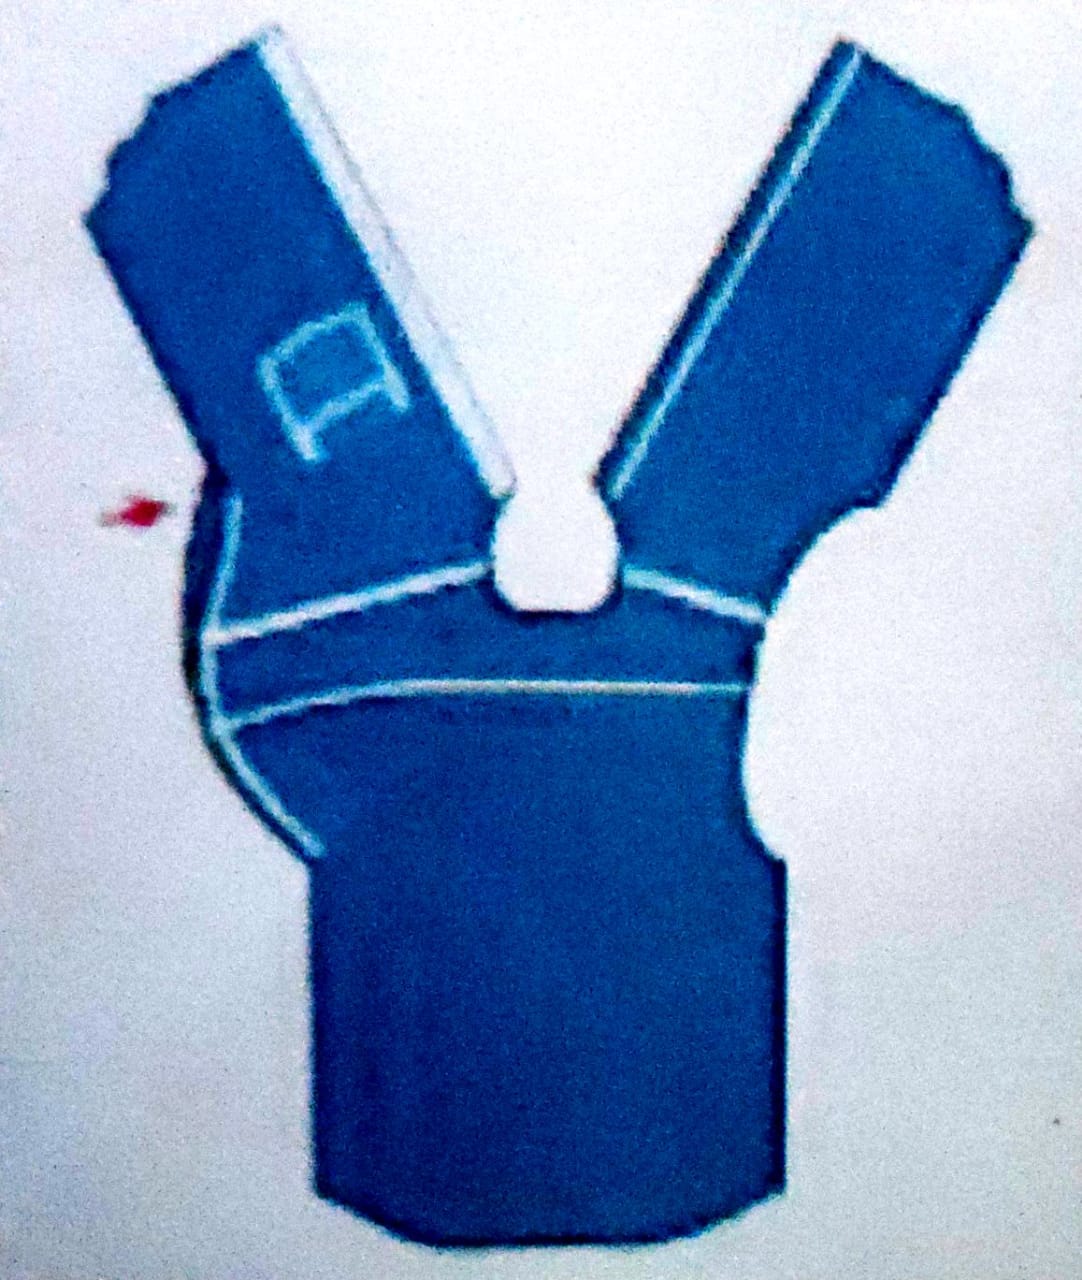
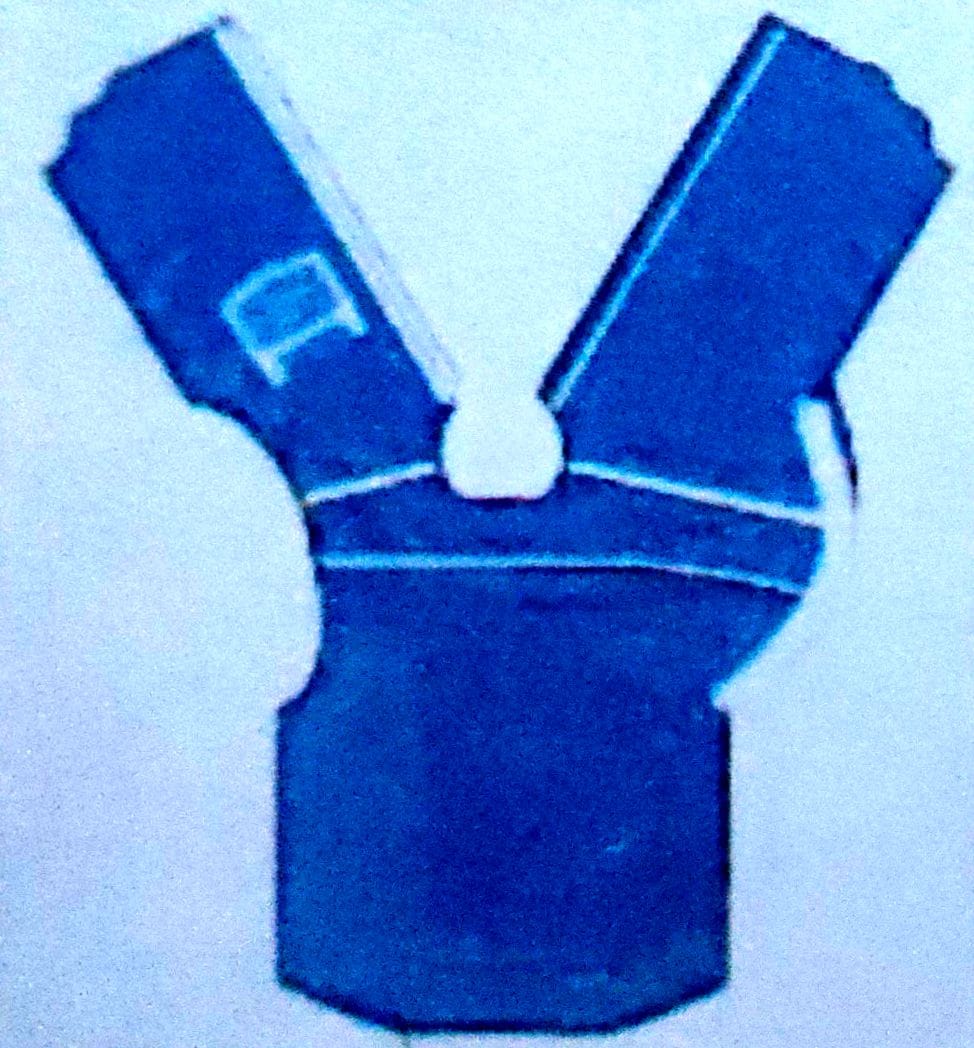
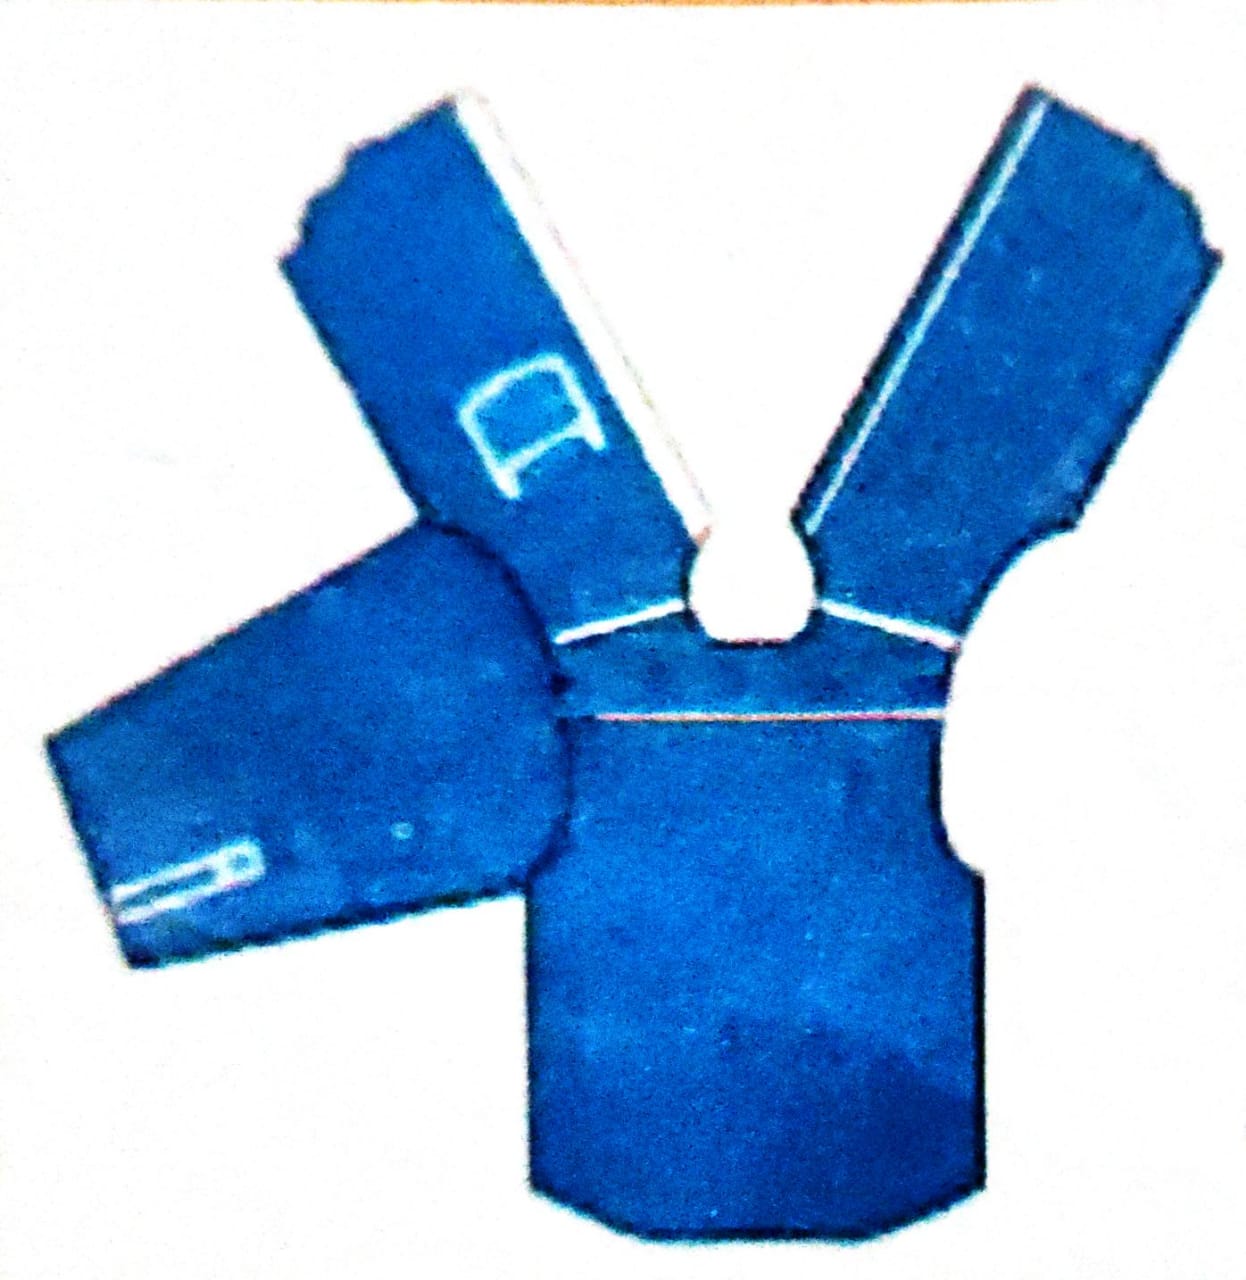
Attaching Plackets to the Sleeve
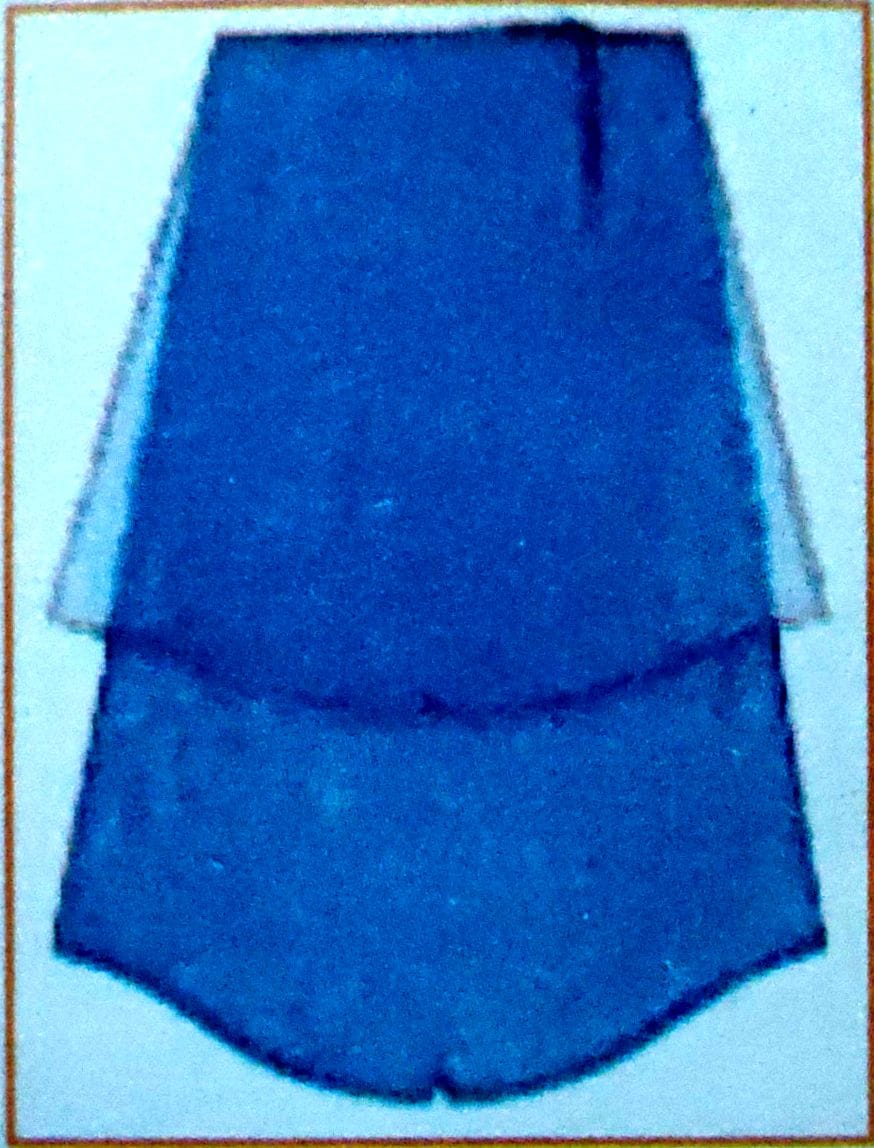
Step 1: Place the two sleeves on top of each other and align the cut sides.
Step 2: Take the two upper sleeve plackets and place them on the longer cut side of the sleeves. Ensure that the folded side is on top

Step 3: Take a set of sleeve placket and sleeve Align the edges of the sleeve placket with the longer cut part of the sleeve
Step 4: stitch the placket edge. Take the other set of sleeve and sleeve placket Sch the placket eden

Step 5: Turn the fabric such that the cut part of it faces you.
Step 6: Now, place the lower placket on the shorter cut part of the fabric and stitch the edge along the length.
Repeat step 3 and step 6 for the other set of sleeve plackets and sleeves.
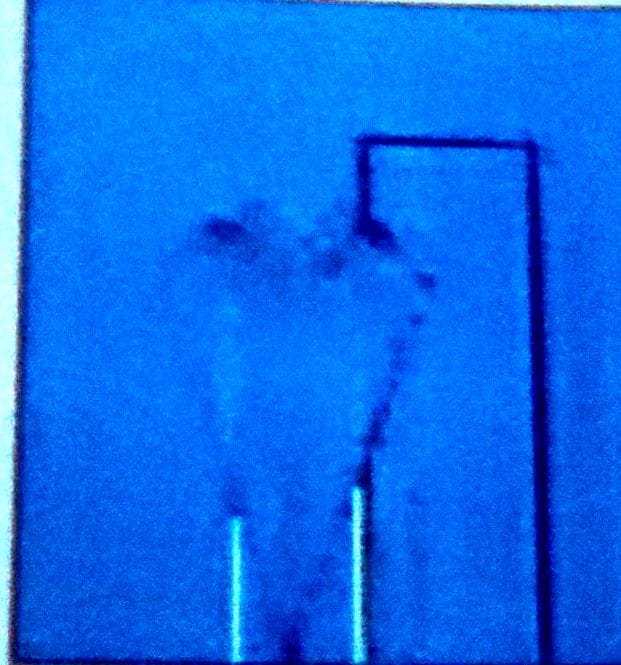
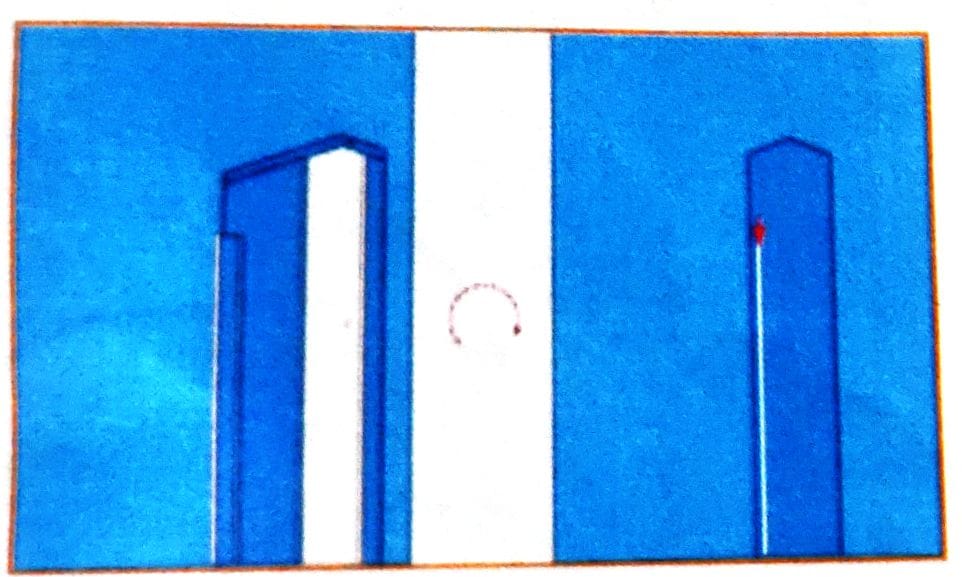
Step 7: Make two v -shape cuts on the top part of the placket- stitch.

Step 8: Smoothen the lower placket and turn it to the reverse side.
Stitch the edged side of the lower placket till the end.
Turn the v- shaped cut to the upper side.
Step 9: Place the placket on top of the v-shaped cut.
Step 10: Hold the placket and the cut, together and put a stitch at the bottom of the cut.
Step 11: Turn the upper placket over and put an edged stitch till the end.

Turn the fabric clockwise. Align the upper and lower plackets.
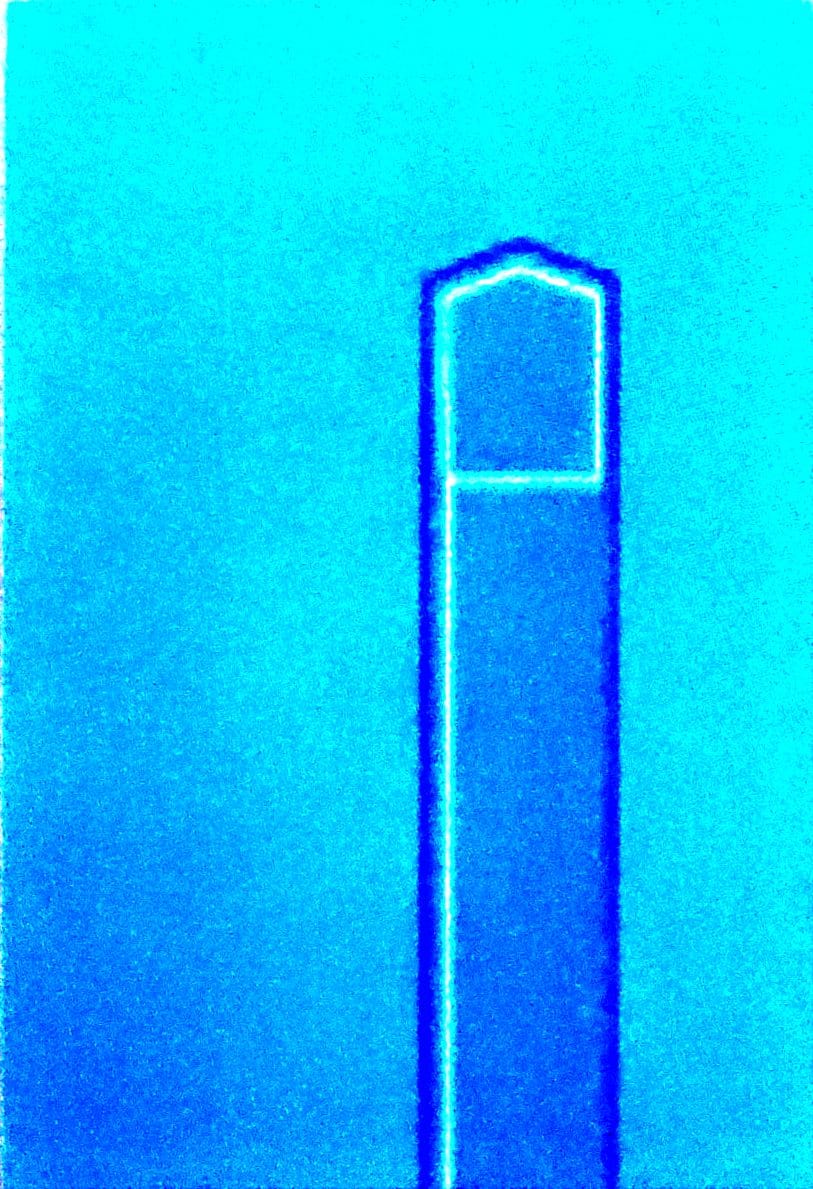
Step 12: Stitch till the end of the plackets.
Step 13: Turn the fabric counter-clockwise Put an edge stitch on all the edges of the box of the placket.
Repeat Step 9 to Steps 7- 13 for the other sleeve plackets.
Attaching the Sleeve
Step 1: Take the sleeve piece. Ensure the armhole faces you Also the longer cut edge should be on the right hand side The sleeve should be attached to the left hand side armhole.
Step 2: Match the left front piece with the armhole. Placethe shirt front above and the sleeve piece below.
Step 3: Attach the left front with the left sleeve with a 1 cm stitch.
Step 4: Take the right sleeve and place it on the machine. Ensure that the longer cut portion is to the left and facing away from you.

Step 5: Match the notch marks and attach the sleeve armhole with the body armhole by putting a 1 cm switch.
Step 6: Put an over tock stitch at both the armhole. top-stitch is required on the armhole the sleeve should be kept up and the body part of the should be kept down while putting the over-lock stitch in case top- stitch is not required; the body part of the shirt should be kept up and the sleeve down.
Step 7: While putting top stitch, keep the margin towards the body Put an edge stitch followed by a 4 mm top-stitch.
Repeat the above steps for the other sleeve