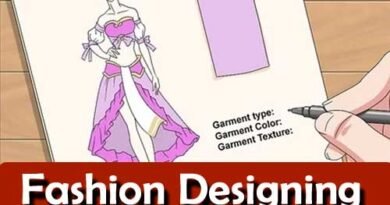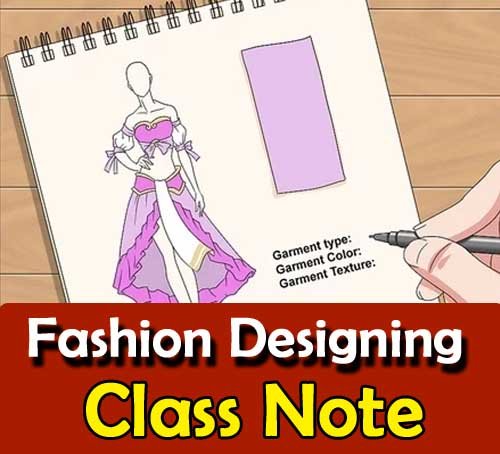
Fashion Design Sketches
Fashion designing begins with a fashion drawing. Fashion drawings are the blueprint for a design, and can vary in style and amount of detail.
- A flat sketch is usually used to outline the shape and silhouette of a garment.
- Fashion drawings can also be three-dimensional fashion figures with texture, shading, and movement lines for fabric draping.
- A fashion illustration is a more detailed type of fashion drawing that might include color and accessories—and the fashion figure might have a detailed face or hairstyle to showcase a head-to-toe look.
Meet One of Your New Instructors
GET STARTED
Why Are Fashion Drawings Important?
Fashion drawings help communicate the technical elements of a design, such as length and fit, to a patternmaker. Fashion drawings can also serve as a mood board, illustrating the emotional language of a design.
- Fashion designers can use drawings to convey their own style through different kinds of poses or drawing tools.
- For example, fashion designer Karl Lagerfeld’s fashion sketches are distinctive because of the designer’s use of pencil and crayon.
- The atelier Dolce & Gabbana includes embellishment details in fashion drawings, like individual sequins on garments.
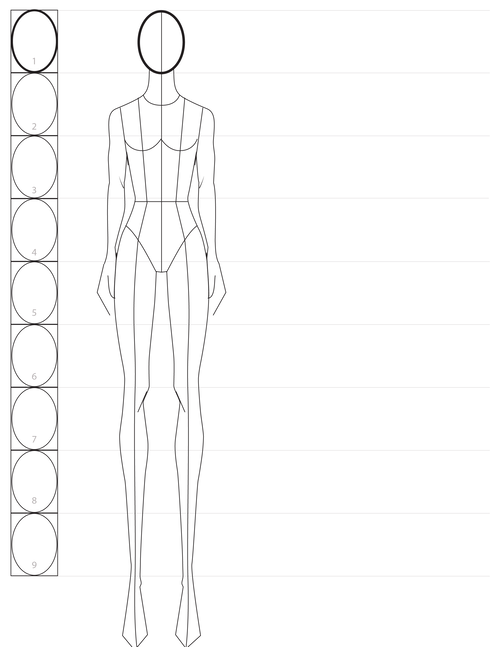
What Is a Croquis?
The first step in fashion figure drawing is to create a fashion croquis. A croquis is a quick sketch outlining the proportions of the fashion figure. A croquis is almost like a paper doll—it is a template and can be placed under a piece of paper for drawing garments. If it’s your first time creating a figure drawing, try crafting the croquis on a pre-made fashion croquis template. Learn more about croquis here.
What Do You Need for Fashion Drawing?
If you would like to try your hand at building your own croquis, or fashion figure template, here is what you will need:
- An 8.5×11 inch paper
- A hard pencil
- A ruler
- An eraser
Learn How to Draw Fashion Figure In 10 Steps
The body proportions of a fashion figure are not proportional to the human body. Generally, a fashion figure follows the industry standard of the “nine head” length: this means the length of a fashion figure is approximately nine times the size of the drawing’s head. These elongated fashion figures help to showcase garments, particularly dresses and skirts.
Here is a step-by-step guide to completing a fashion drawing:
- Draw a vertical line down the center of the paper. This line, which stretches from the head to the feet, will be the fashion figure’s center of balance.
- Separate the paper into nine equal sections. The nine sections will include the fashion figure’s head, bust, waist, hips, thigh, calves, ankles, and feet. You can draw horizontal lines, approximately an inch and one-eighth each, to separate the nine sections.
- Draw the pelvic area. In the middle of the balance line, draw a square for the fashion figure’s pelvis. This can be angled in different directions to create different poses.
- Draw the torso and shoulders. Draw two lines upward from the top of the pelvic square to create the torso. The lines curve inward and outward again to create the waist. The shoulders should be approximately the same width as the pelvis, but the shoulder lines can be angled to create a pose that is rounded forward.
- Draw the neck and head. The neck should be one-third of the shoulder width, and half the length of the head. Draw a circle for the head in proportion to the body.
- Draw the legs. The figure’s legs should be approximately four times the length of the head drawn. The legs are portioned into two sections: the thighs and the calves. The top of the thighs should span the same length as the head. Taper the line down to the knee, and again to the ankle so that the ankles are approximately one fourth the size of the head.
- Draw the arms. Create the arms with tapered lines to the elbow and then again to the wrist. The arms can be positioned alongside the figure’s body, or posed on the hips. Finish with the hands and fingers.
- Draw the feet. The feet should be approximately the length of the head.
- Create your fashion design. Now that the fashion figure is sketched, you can begin to build your design creations on top of the figure.
- Illustrate your design. Shade the design to show the movement of the fabric or to highlight where material gathers on the garment. Color in the fashion drawing to add dimension. Add embellishments to the fabric to demonstrate your own style. Add facial details or a hairstyle to complete the look.
Fashion Sketching: a Step-by-step Guide to Drawing the Basic Fashion Croquis with 9 Heads Proportions | For Beginners
Drawing the fashion figure doesn’t have to be challenging. In this tutorial, you will learn a simple method to create a professional croquis, one step at a time!
I’ve broken this tutorial into sections:
Part 1: Creating guidelines
Part 2: Drawing the croquis skeleton
Part 3: Adding shape
What is a fashion Croquis?
A Croquis is a drawing of a fashion model that you trace over to design clothing. You can also call it a fashion figure or template.
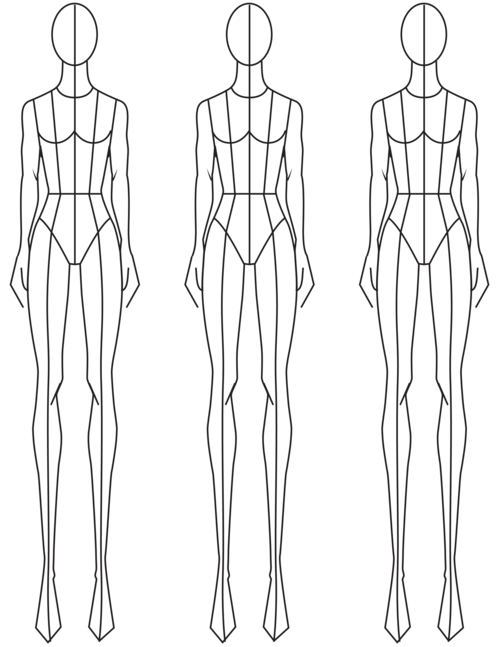
Fashion croquis can be all different shapes, sizes, and styles. It all depends on the end use of your design and the demographic you are designing for. I’ve used different croquis throughout my career. Some were more stylized while others were super simple.
(P.S. If you want to take the pressure off of creating your own croquis and start designing right away, check out this 9-heads female figure Croquis Kit I made.)
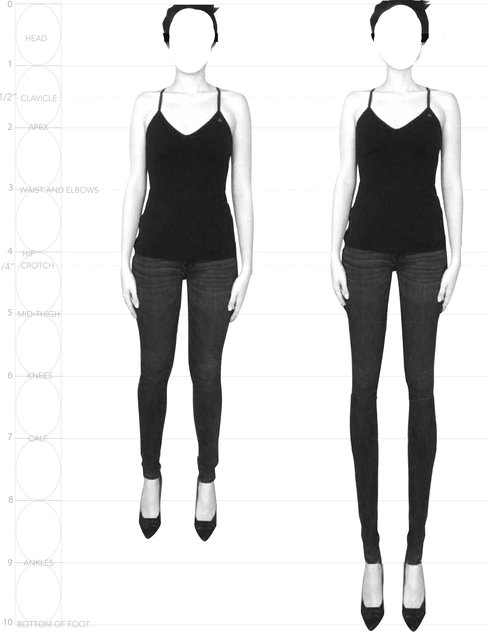
The above image illustrates the difference between a realistic body (left) and a fashion croquis with 9 heads proportion (right)
What are the Proportions of a Fashion Croquis?
I will demonstrate how to draw a ”9 heads” croquis. The croquis is 9 heads tall from the top of the head to the ankles, which is much more elongated than the average woman. (The feet are excluded from the equation since they can vary in height depending on the type of shoes and heel height.)
A 9 heads model exaggerates the proportions of a fashion model to display clothes in an elongated and dramatic scale.
However, fashion models can, and should, have diverse body proportions, so I encourage you to evolve your croquis to be any shape and size.
This tutorial will teach you how to create the 9-heads croquis (with the proportions taught in fashion colleges) but you can adjust the proportions later to best fit your target demographic.
What Does “9 heads” Tall Mean?
The height and width of the head is used as an index for the dimensions of the rest of the body.
In this image, you can see how the body is broken up into 9 equal sections from the top of the head to the ankle bone. The feet are excluded because they can vary in height depending on the type of shoes and heel height.
It’s helpful to use the head as a point of measure instead of an actual measurement because your paper size can vary. From a tiny piece of paper to a billboard, you can map out the size and proportions of your figure by drawing 9 heads first.
If you are working with an 8.5 x 11 piece of paper, you can have each head be roughly 1” tall but this measurement will change depending on your paper size.
Let’s Begin the Tutorial!
Before we begin, you will need paper, a pencil, and a ruler (or any straight edge.) Tracing paper would be helpful but isn’t necessary. Draw lightly with pencil so you can erase easily.
Part 1: Creating Guidelines
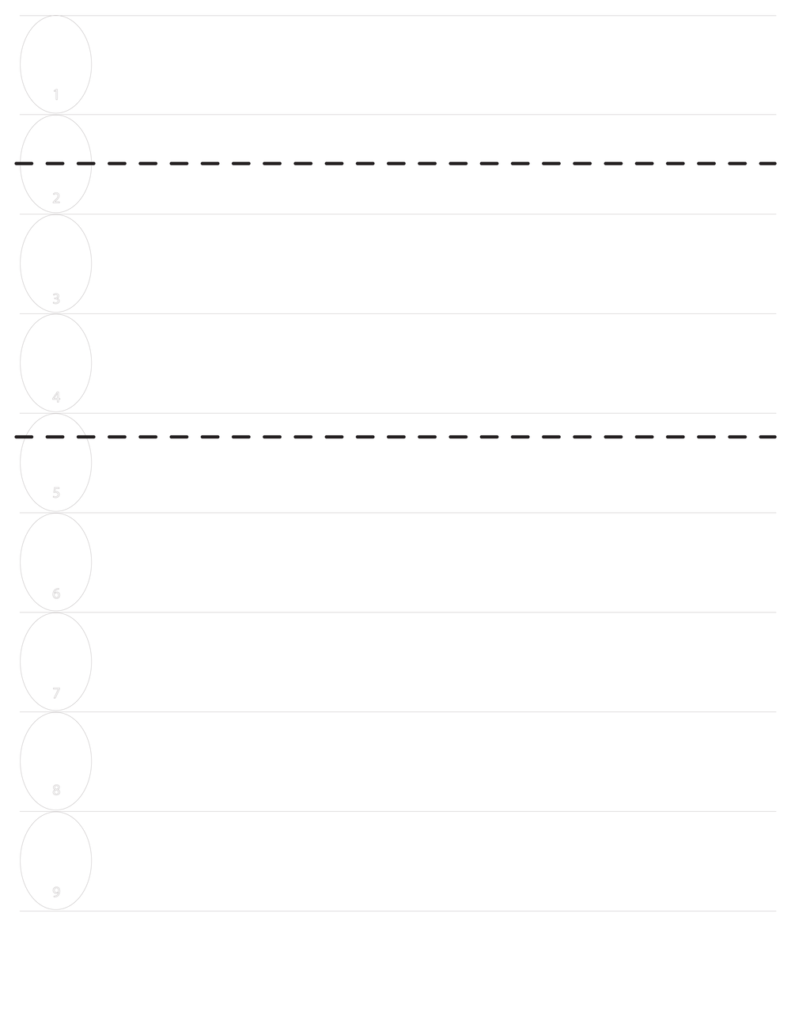
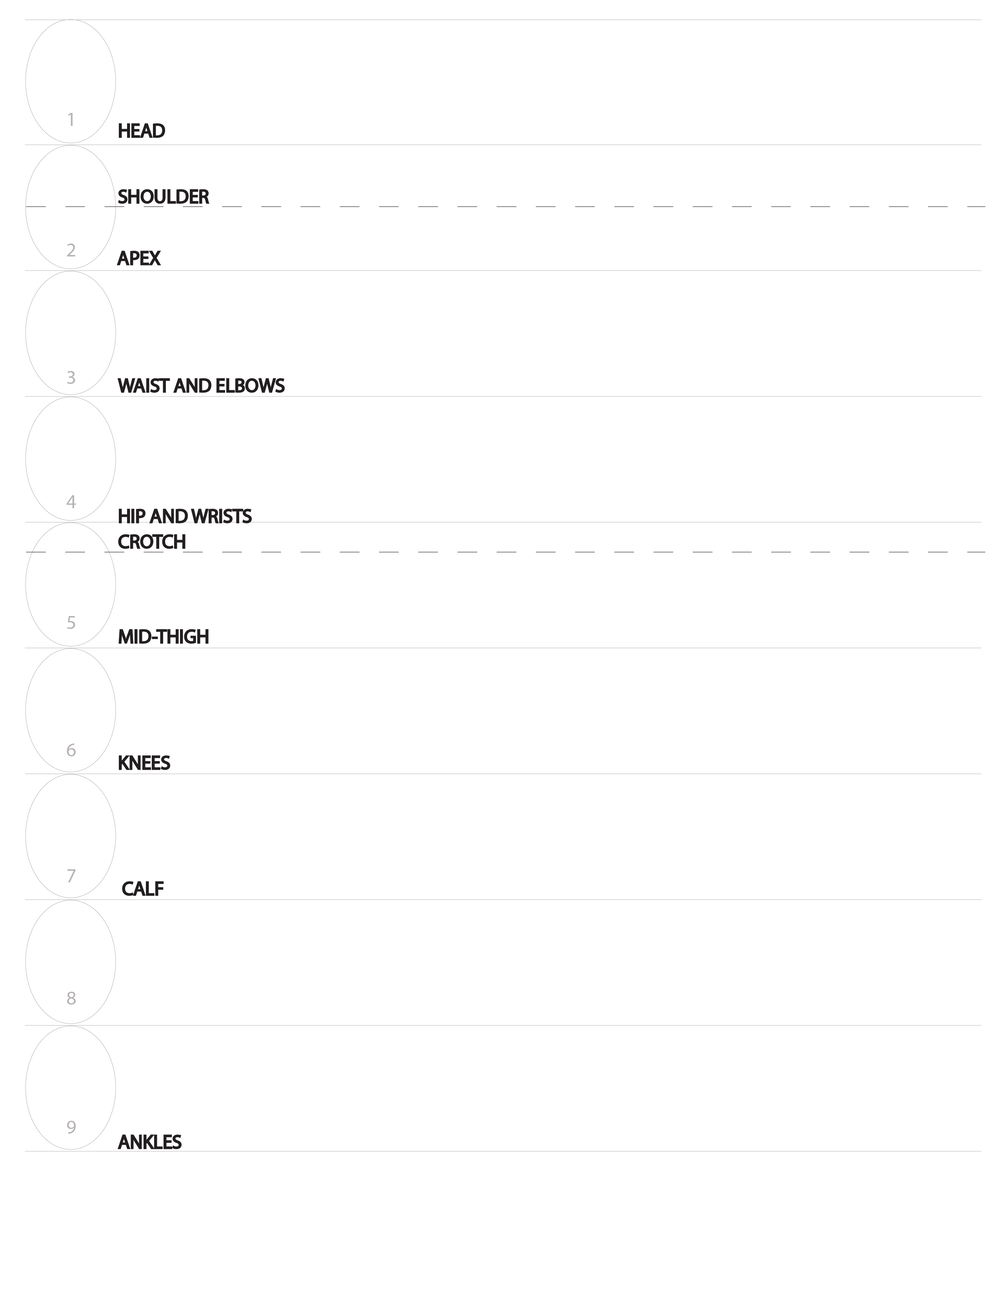
Step 1: Draw 9 heads that are roughly the same shape and size and label 1-9 (leave some space at the bottom of the page for the feet.)
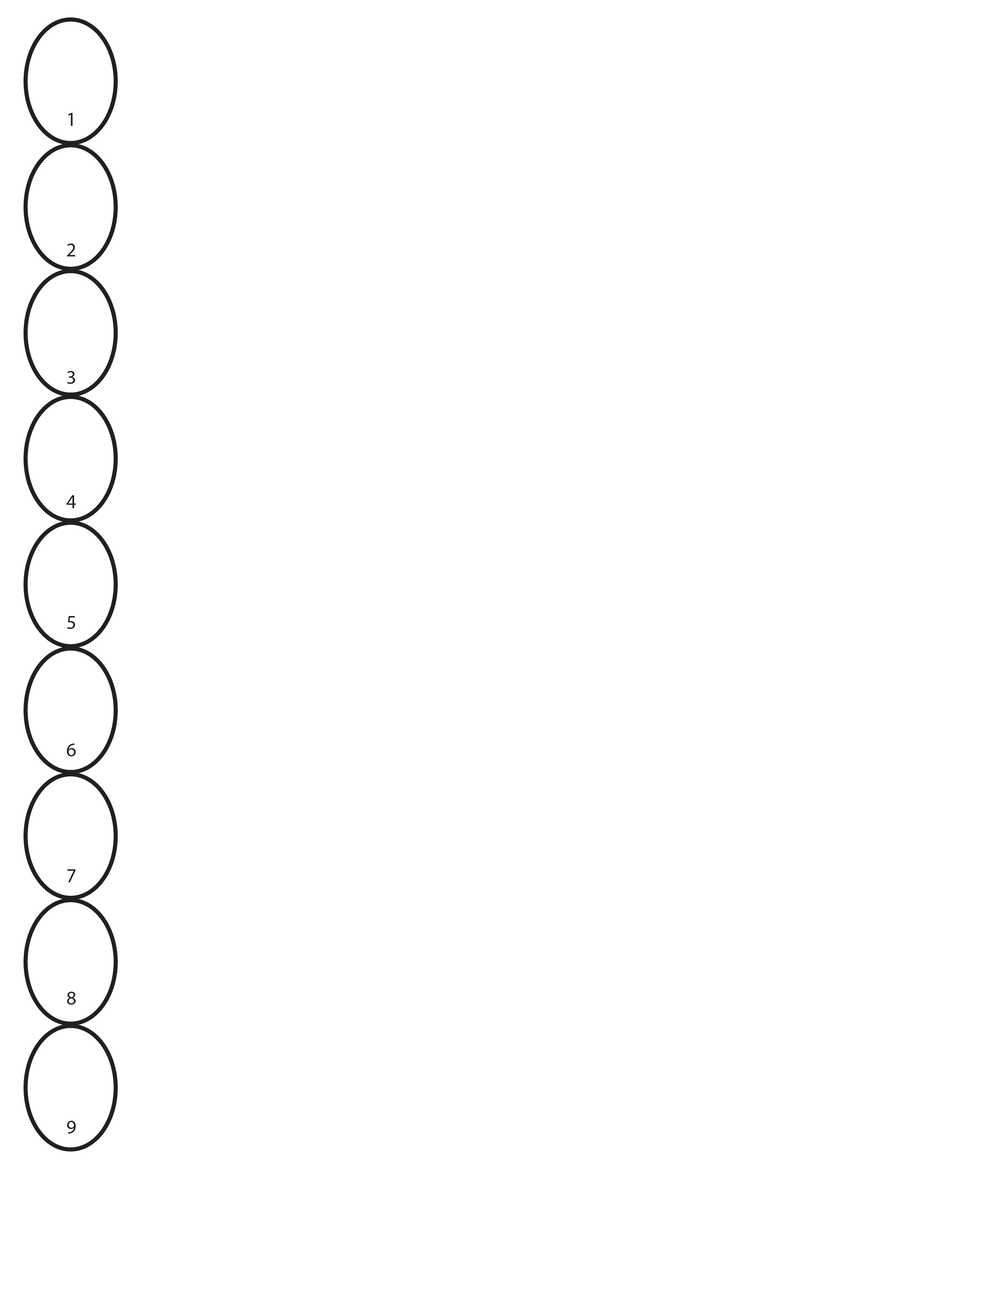
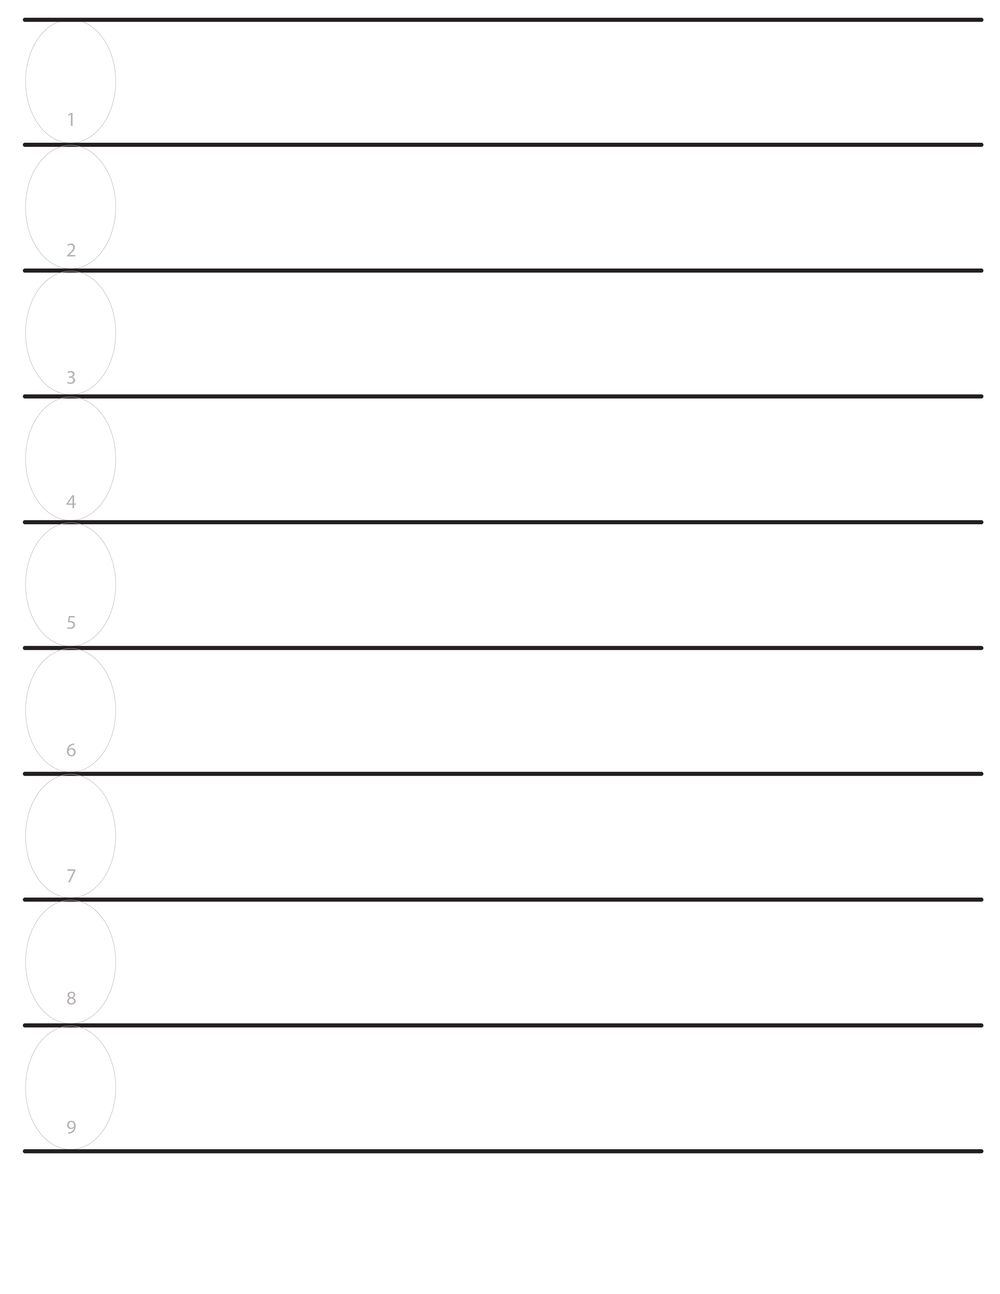
Step 2: Draw horizontal lines between each head (make sure they are straight)
Step 3: Add a dashed line at roughly 1 1/2” and 4 1/4” heads
Step 4: Label anatomy as marked on this page
Part 2—Drawing the Croquis Skeleton
Step 1: Draw a vertical line, perpendicular to the horizontal guidelines. This will be the center line
Step 2: Draw an oval for the head
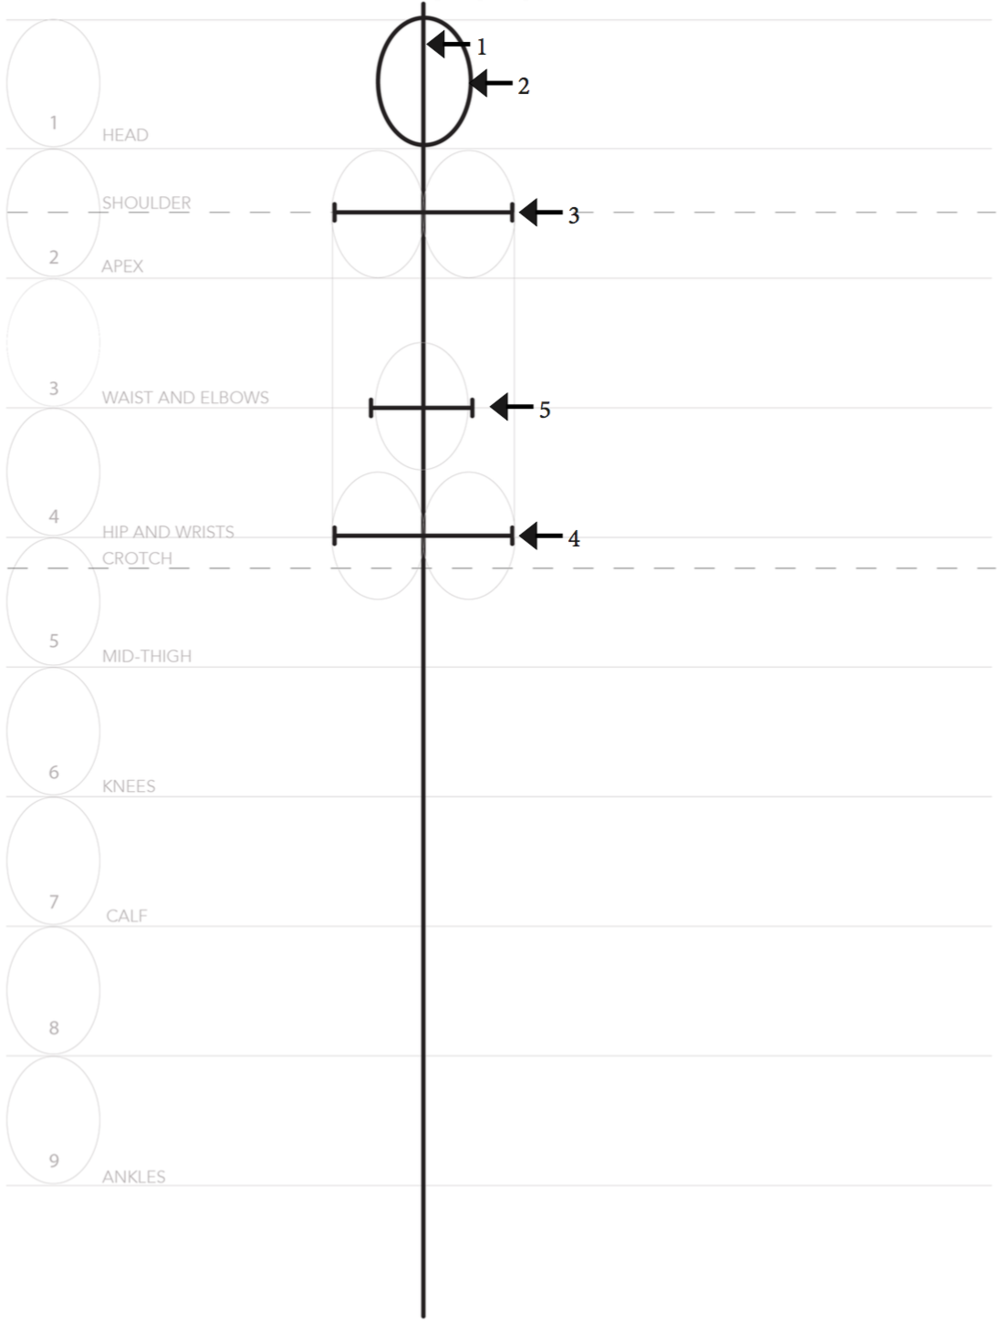
Step 3: Draw a horizontal line for the shoulders (roughly 2” heads wide)

Step 4: Repeat step 3 for the hips (the hips and shoulders are the same width)
Step 5: Draw a horizontal line for the waist (roughly 1 head width)
Step 6: Connect the shoulder, waist and hips
Step 7: Draw a guideline for the arms as pictured
Step 8: Draw a vertical line from the waist down
Step 9: Draw a cylinder for the neck
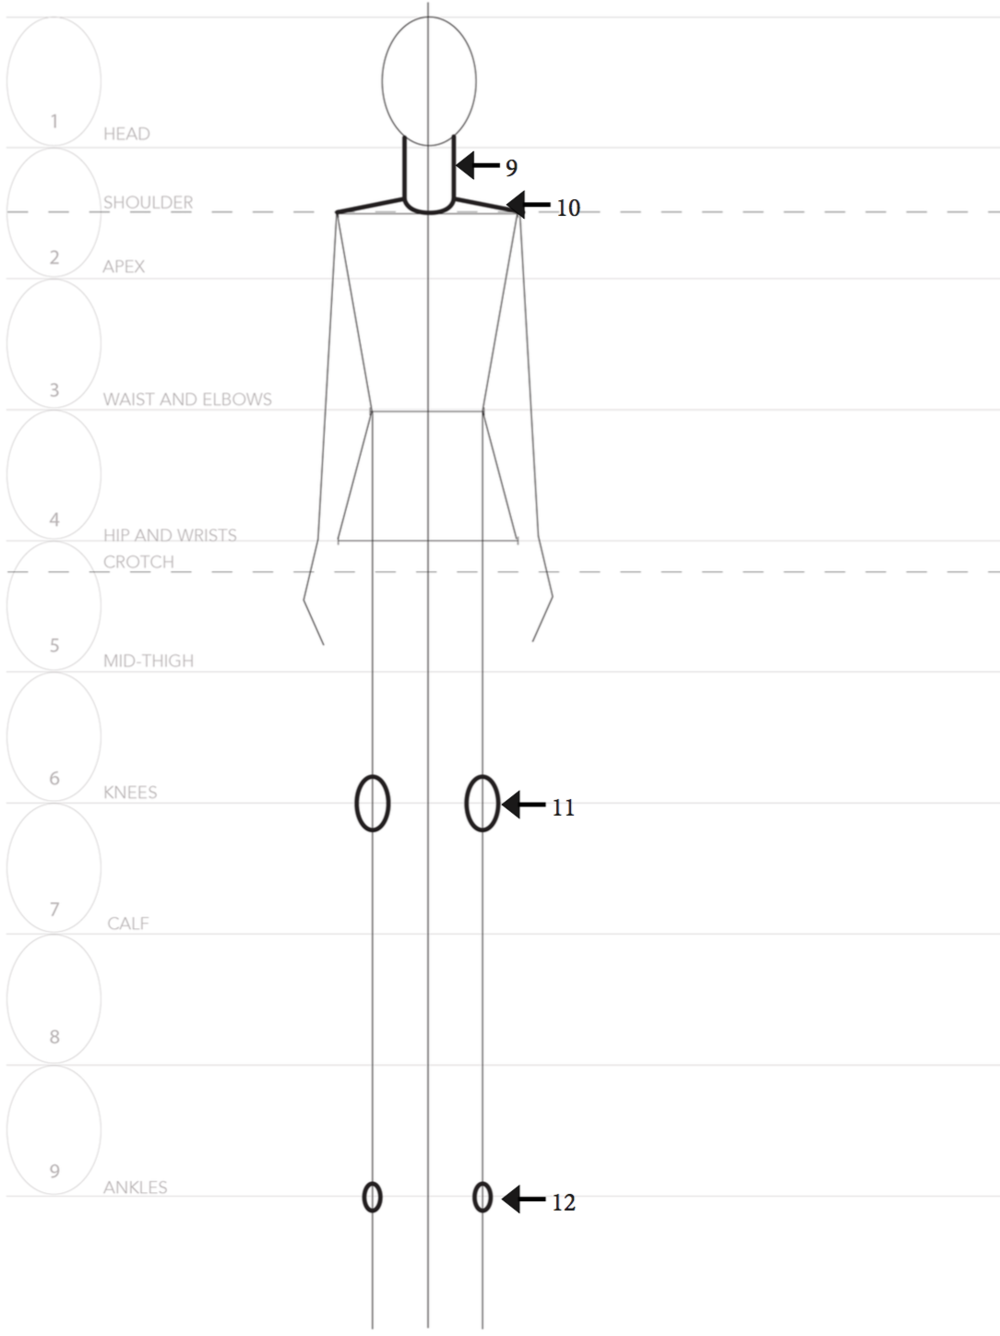
Step 10: Connect the neck to the shoulder
Step 11: Draw small ovals for the knees
Step 12: Draw small ovals for the ankles
Part 3—Adding Shape
After the skeleton of the croquis is established, we can add muscular structure and shape. Take your time and draw lightly so you can erase easily.
Step 1: Draw ovals for the shoulder, bicep, and lower arm