
Cuff Attachment to Sleeve
Cuff Attachment to Sleeve
Step 1: First, check that there are 4 notches for sleeve plesatsand one notch at the centre of sleeve bottom.
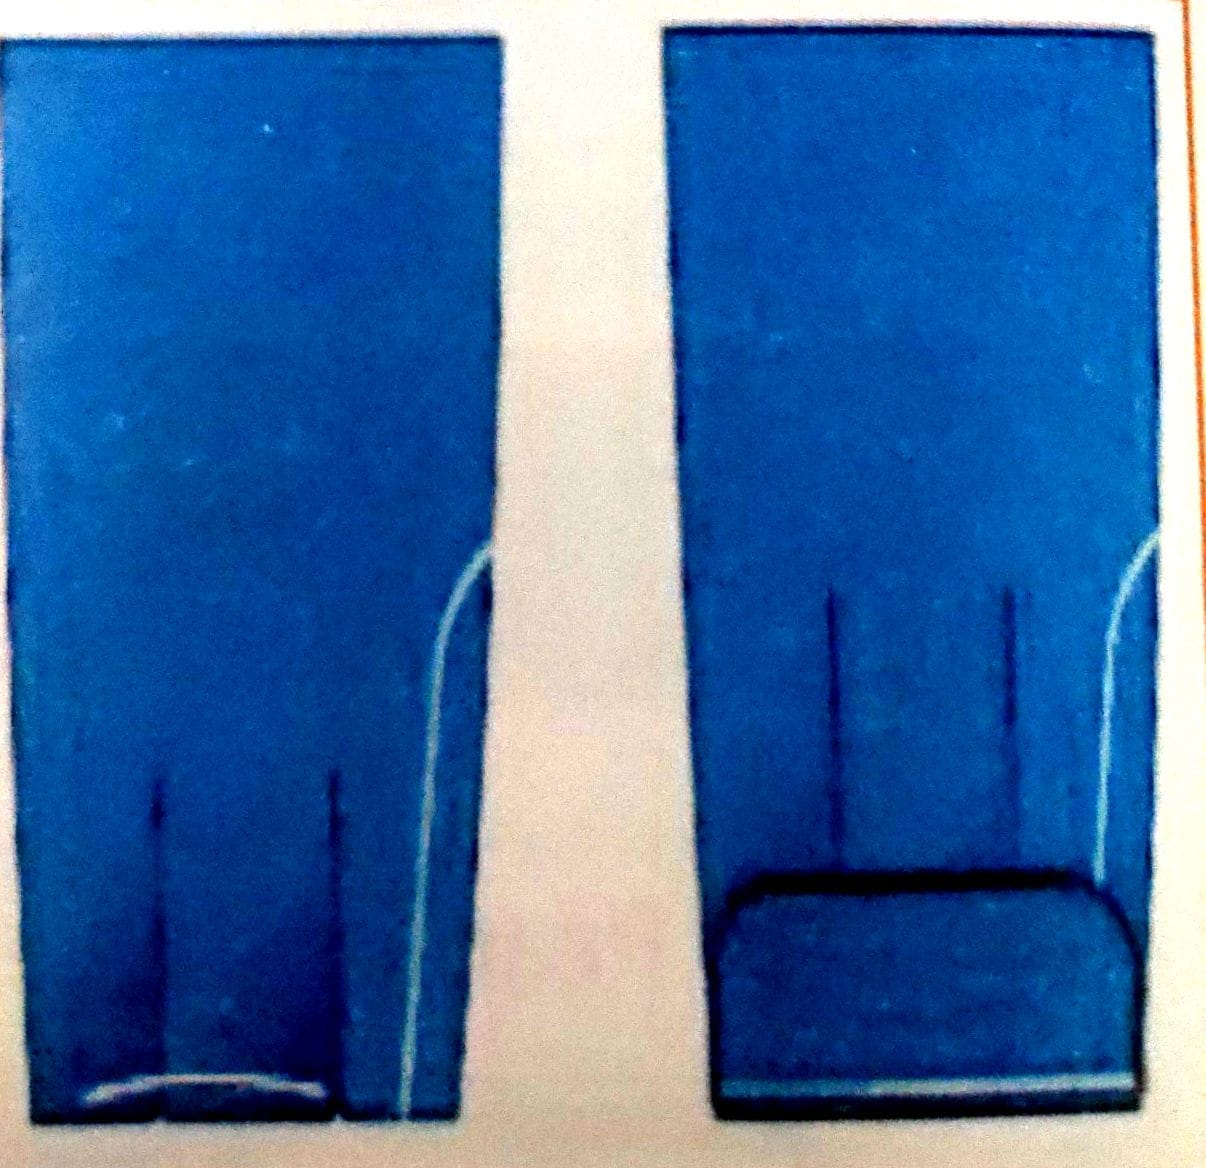
Step 2: Make sleeve pleats by overlapping the notches and stitching it in such a way that the pleats remain open from the edges,.

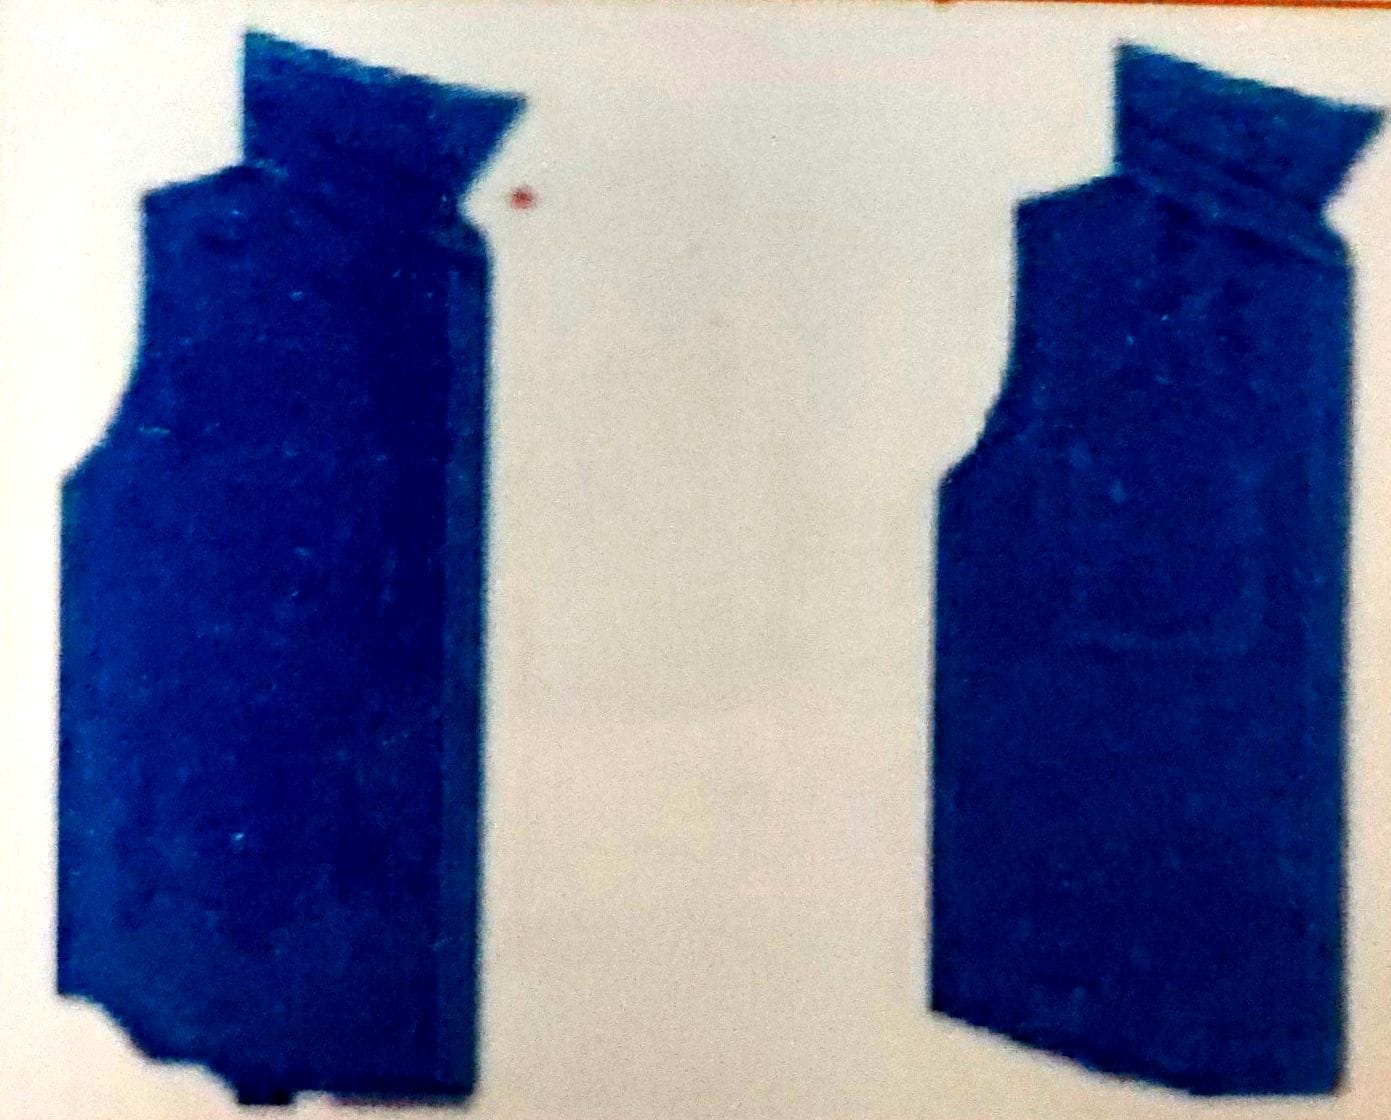
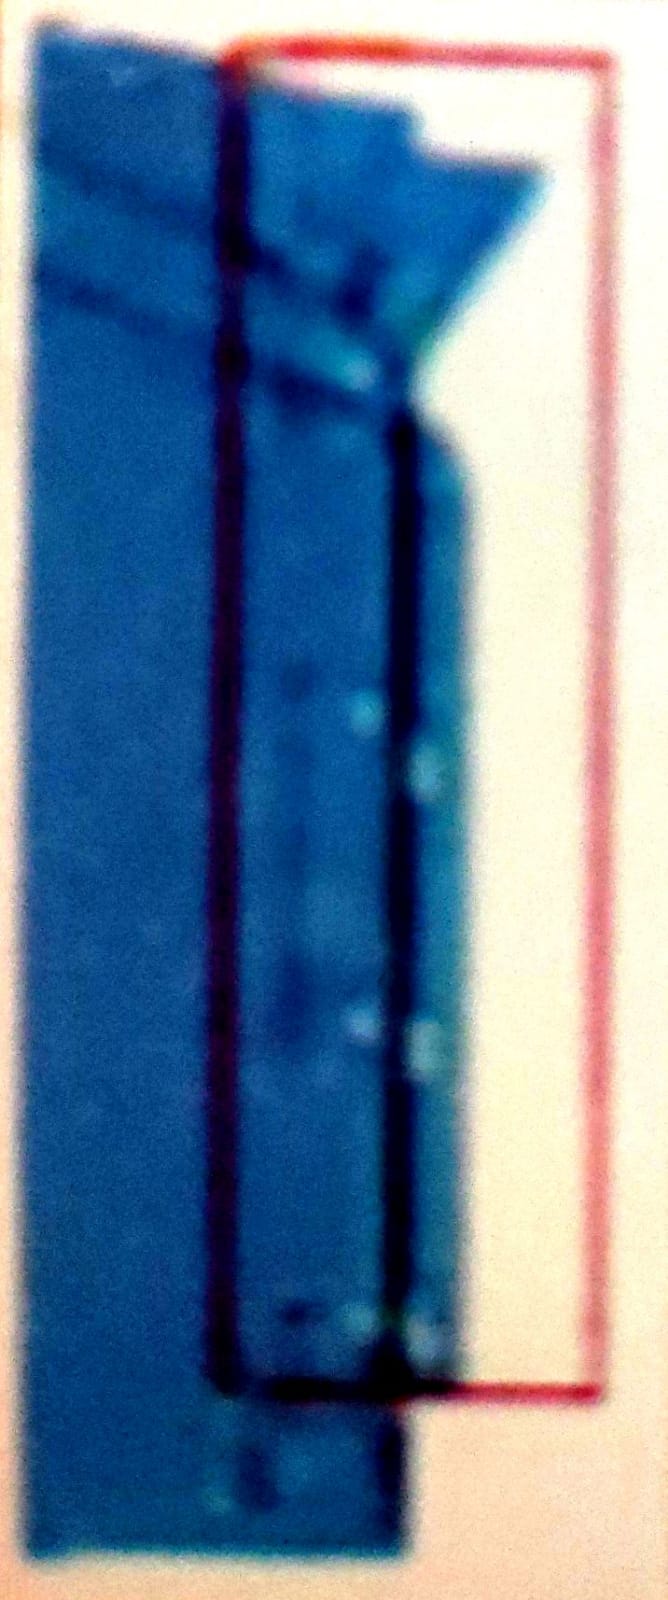
Step 3 : Place the cuff with fused side up on the inner side of the sleeves.
Stitch just below the edge of the cuff.

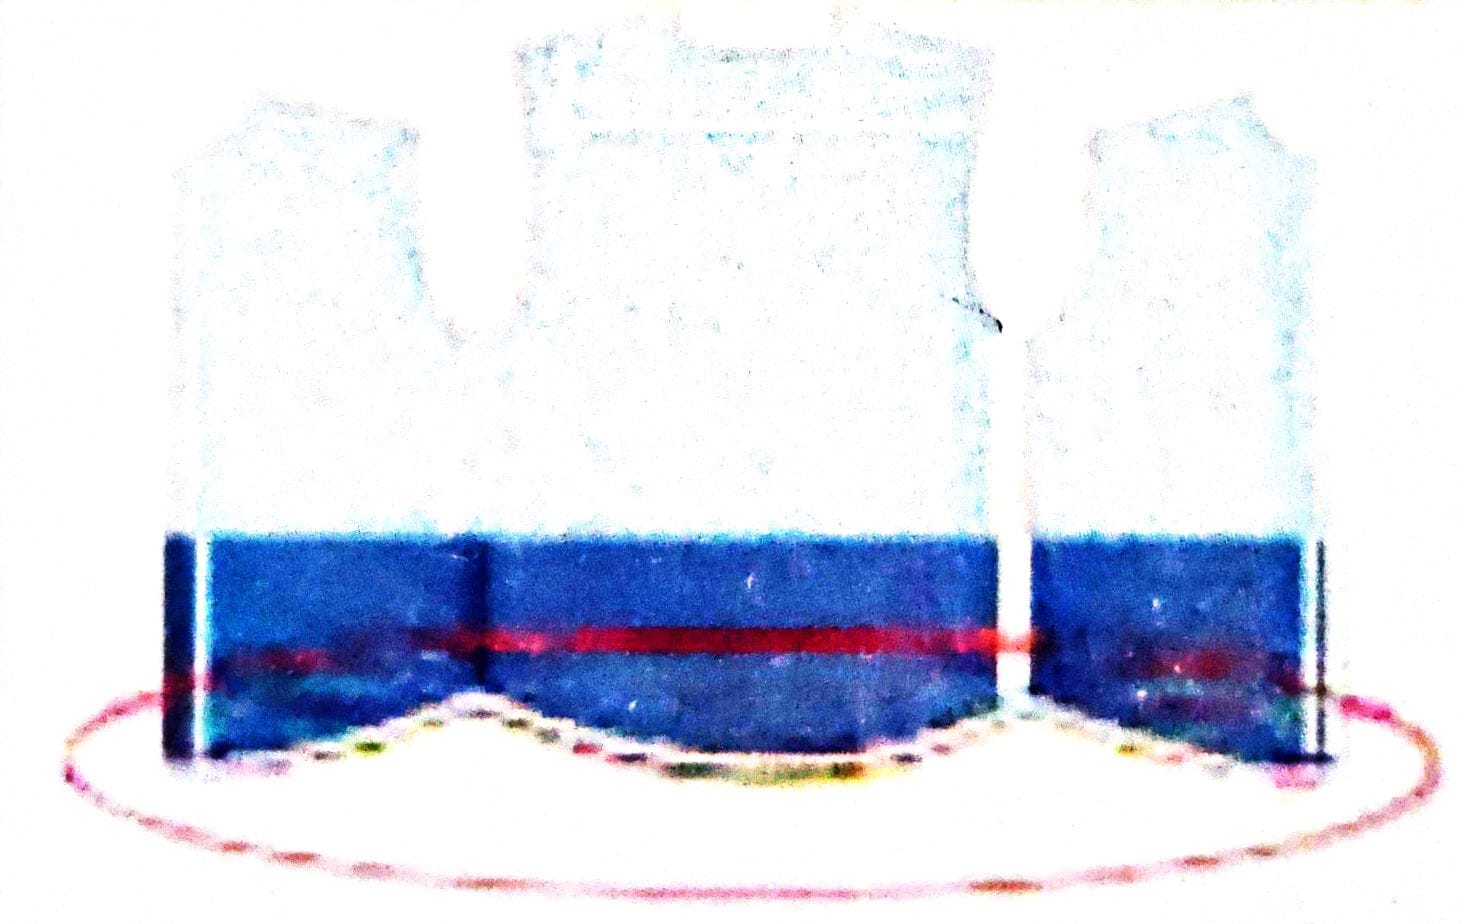
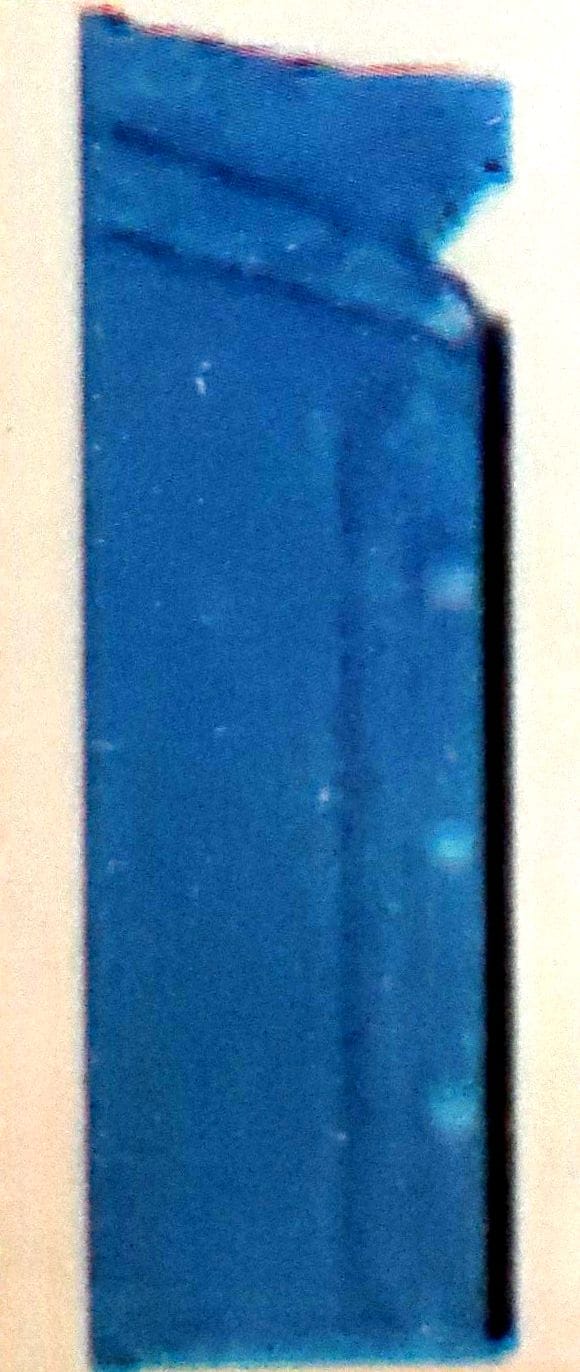
Step 4: Straighten the cuff. Put the excess fabric inside the cuff and put stitches at the edge.

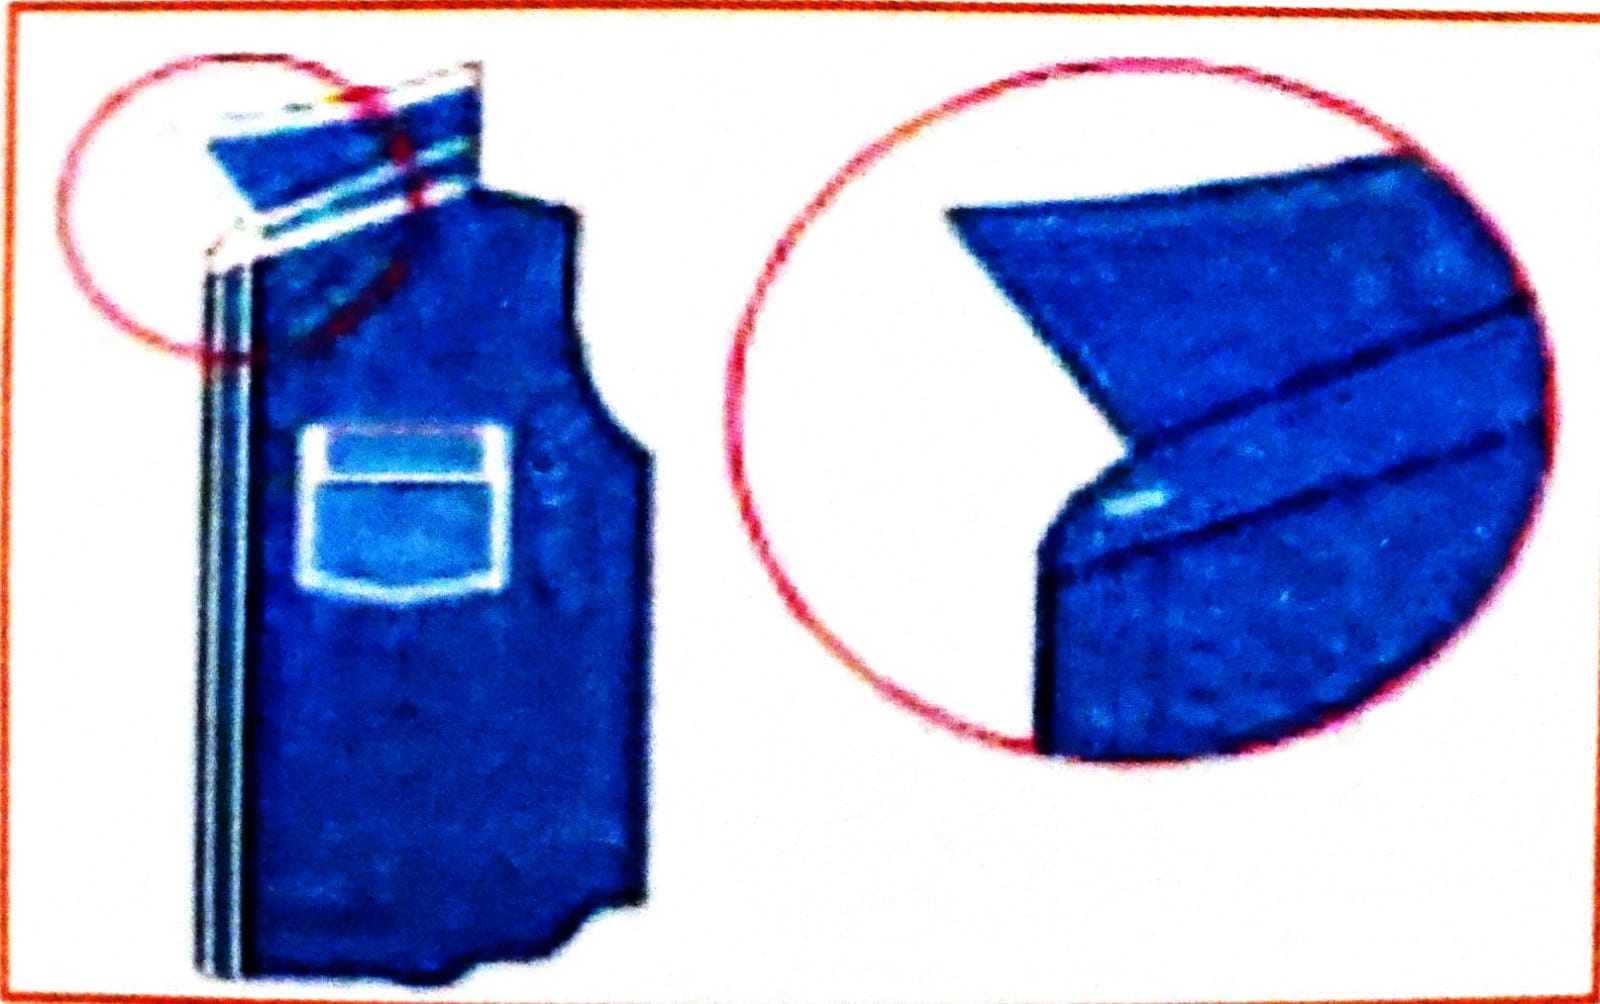
Step 5: Now put the edge stitch throughout the cuff.
Step 6: Now put 4 mm stitch throughout the cuff Repeat Steps 1 to 7 for the second cuff.
Bottom Hemming
Step 1: Match the collar band tip to bottom.
Step 2: Fold the bottom (as per requirement) and put edge stitch from the left front side to the right side.
. Close the two ends.
Button-holing
Step 1: Take the left hand side placket.
.Make one button hole on collar band parallel to the band at the centre and about 1 cm from the edge.

Step 2: Along the centre of the placket width mark the button holes at a distance of 9 cm from each other from the collar band button hole.
.In case of cuff, mark button hole at the centre of the cuff on upper placket side.
.Make button holes using buttonhole machine Themarking should come in the middle of the buttonhole.
Button Attaching

Step 1: Keep the left hand and right hand plackets on top of each other. They should be properly aligned.
Step 2: Put a mark at the centre of the bottom hole using a chalk.
Step 3: Attach buttons at the marked position using the button sew machine.
Step 4: Repeat the same procedure for the cuff.