Prosthetic Makeup (II)
Prosthetic makeup is an intricate art form that involves the creation and application of prosthetic appliances to transform an individual’s appearance. Whether you’re a budding makeup artist or a seasoned professional, mastering the techniques of prosthetic makeup requires a combination of creativity, technical skill, and attention to detail. In this class note, we will explore the step-by-step process of creating and applying prosthetic makeup, along with tips and tricks to achieve stunning and realistic results.
Step 1: Concept Development Before diving into the practical aspects of prosthetic makeup, it’s essential to start with a clear concept. Consider the character you’re creating, their backstory, personality, and physical attributes. Gather visual references, sketches, and mood boards to inform your design. Whether you’re transforming an actor into a fantastical creature or aging them for a historical role, a well-defined concept will guide your creative decisions throughout the process.
Step 2: Lifecasting Lifecasting is the process of creating a mold of the actor’s face or body part to ensure a perfect fit for the prosthetic appliance. Begin by prepping the actor’s skin with a barrier cream to protect against the mold-making materials. Then, apply a layer of alginate or silicone to capture the contours of the face. Once the mold has set, carefully remove it from the actor’s skin and reinforce it with plaster or fiberglass for stability.
Step 3: Sculpting With the lifecast in hand, it’s time to bring your design to life through sculpting. Use oil-based clay to sculpt the desired features directly onto the lifecast, building up layers to create depth and dimension. Pay close attention to anatomical details and facial proportions to ensure a realistic result. Don’t be afraid to experiment and refine your sculpt until you’re satisfied with the overall look.
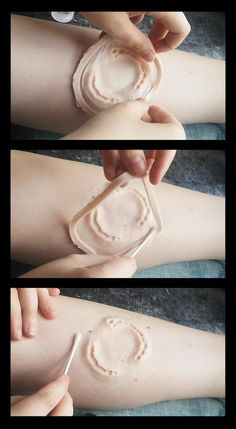
Step 4: Mold Making Once the sculpting is complete, it’s time to make a mold of your prosthetic appliance. Apply a release agent to the sculpt to prevent the mold-making material from sticking. Then, pour a layer of silicone or plaster over the sculpt, making sure to cover all the details. Allow the mold to cure fully before carefully removing the sculpt to reveal the negative space inside.
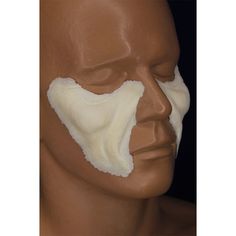
Step 5: Casting Now that you have a mold of your prosthetic appliance, it’s time to cast it in the desired material. Silicone rubber and foam latex are commonly used for their flexibility and realism. Mix the casting material according to the manufacturer’s instructions and carefully pour it into the mold. Allow the appliance to cure fully before demolding and trimming any excess material.
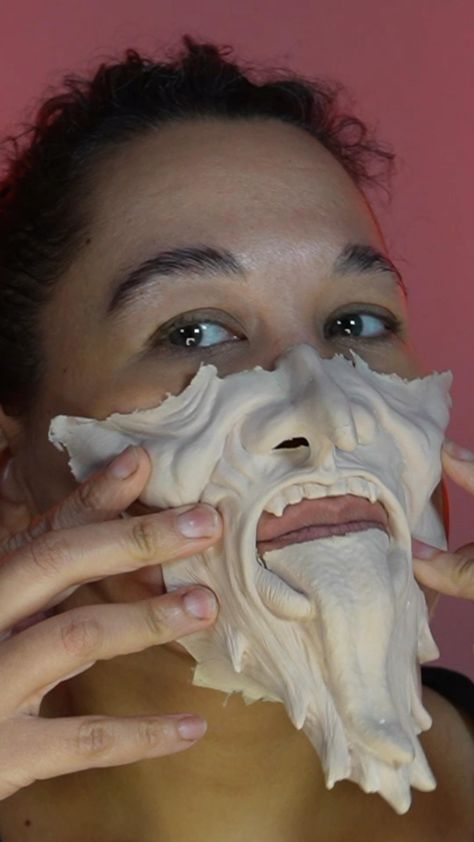
Step 6: Application With your prosthetic appliance ready, it’s time to apply it to the actor’s skin. Begin by prepping the skin with a skin-safe adhesive remover to ensure a clean surface. Then, apply a thin layer of prosthetic adhesive to both the appliance and the actor’s skin, taking care to cover all the edges. Once the adhesive has become tacky, carefully position the appliance onto the skin, pressing down firmly to ensure a secure bond.
Step 7: Blending and Makeup Once the prosthetic appliance is in place, it’s time to blend it seamlessly with the actor’s skin. Use a combination of alcohol-activated makeup, cream colors, and translucent powders to match the prosthetic to the actor’s natural skin tone. Pay attention to shading, highlighting, and texture to create a realistic transition between the appliance and the skin. Experiment with different brushes and blending techniques to achieve a flawless finish.
Step 8: Detailing and Texturing To enhance the realism of your prosthetic makeup, add details and textures to bring your character to life. Use stipple sponges, texture stamps, and fine brushes to create wrinkles, scars, and other imperfections. Don’t be afraid to layer different colors and materials to achieve depth and dimension. Remember to reference your original concept and character backstory to inform your detailing choices.
Step 9: Finishing Touches Once you’re satisfied with the overall look of your prosthetic makeup, it’s time for the finishing touches. Seal the makeup with a setting spray or powder to ensure longevity and durability. Consider adding additional elements such as hairpieces, contact lenses, or costume accessories to complete the transformation. Take a step back and assess your work from different angles, making any final adjustments as needed.
Conclusion: Mastering the art of prosthetic makeup requires patience, practice, and a keen eye for detail. By following these step-by-step techniques and tips, you can create stunning and realistic transformations that bring characters to life on screen and stage. Remember to embrace experimentation, continue learning, and always strive for excellence in your craft. With dedication and perseverance, you’ll be able to achieve remarkable results and captivate audiences with your prosthetic makeup creations.