Hotel Management Class Notes 19
How to Mop a Floor
Sweeping and vacuuming may keep your hardwood floors fairly clean, but you’ll eventually need to mop them to remove stubborn dirt and grime. Though the process may seem intimidating if you’ve never done it before, mopping a floor is actually quite easy and requires very little skill.
Method – 1
Preparing to Mop :-

1 ) Mop no more than once a week. If your floors get particularly dirty thanks to children, pets, or lots of foot traffic, you may need to mop them every week. However, for most houses, try to mop your hardwood floors around twice a month.[1]
- Mopping too often can create a sticky floor residue that traps in dirt and debris.

2
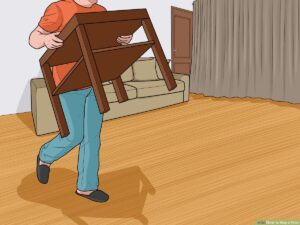
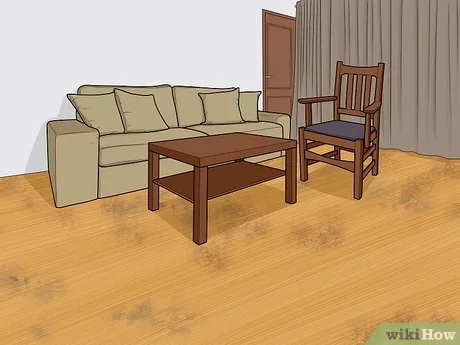
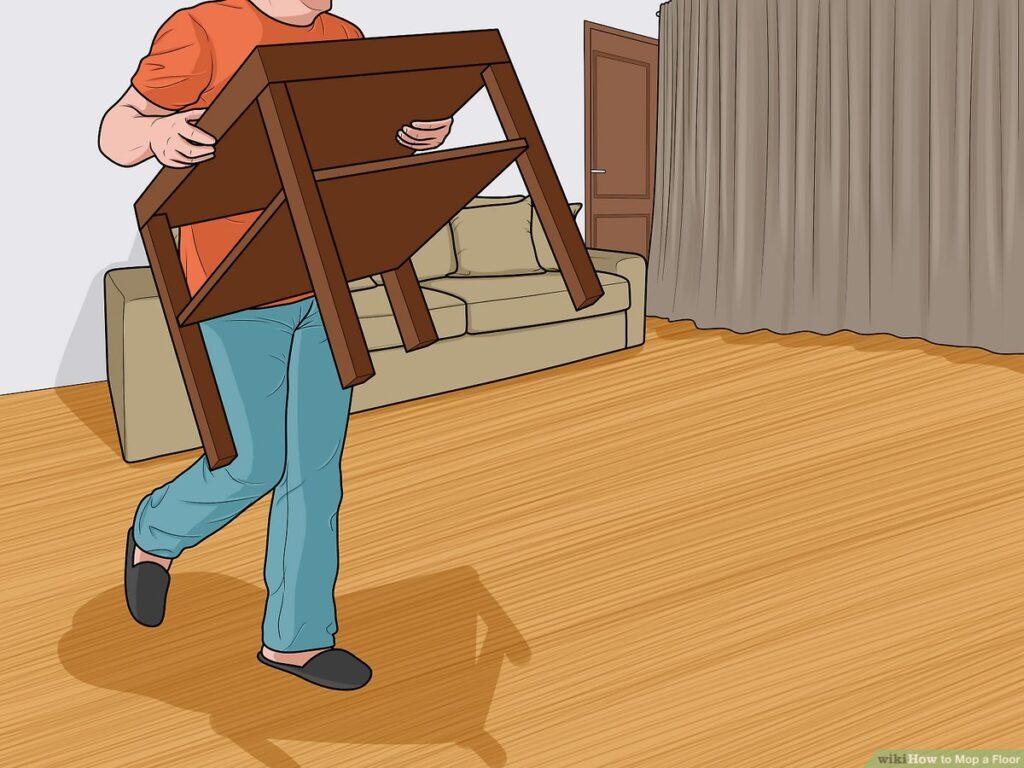
Clear the area of furniture. Before mopping, remove any tables, chairs, throw rugs, and similar objects from the area you intend to clean. You do not need to move large furniture items like couches or bookshelves unless you plan to mop under or behind them.[2]
- If you need to clean any of these items, do so before you move them. That way, if dust or debris falls on the floor, you can clean it up before you start mopping.
- Avoid dragging furniture like tables and chairs so you don’t scratch up the floor.
- If you have roommates, tell them what area you’ll be mopping so they know to stay away for a bit. If you have any animals, move them to a separate room until you’re completely finished.

3
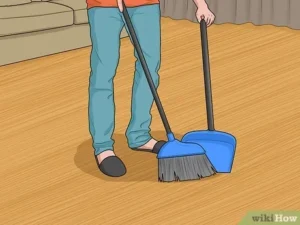
Sweep or vacuum the floor before mopping. Most mops do a poor job of picking up crumbs, hair, and other forms of solid debris. As such, you’ll need to use a broom, hardwood floor vacuum, or handheld vacuum to clean up the floor before mopping it.[3]
- Solid debris can leave scratches on the floor if you fail to remove it before mopping.
Method – 2
Using a Traditional String Mop

1
Mix warm water and a standard cleaning product. Grab a bucket and pour in enough water to completely submerge your mop head. Then, mix in a small amount of dish soap, apple cider vinegar, bleach, ammonia, or a similar cleaning product. As a general rule, use no more than 1⁄2 c (120 ml) of cleaning product per 1 US gal (3.8 L) of water.[4]
- Before using a specific cleaning product, check its label to make sure it’s suitable for your type of floor.
- Though not all do, check your cleaning product’s container to see if it lists a recommended dilution ratio.

2
Dip your mop into the cleaning solution. Place your mop in the bucket and let it soak up the cleaning solution. If your mop is particularly stiff, it may need to soak for a few minutes to loosen up.
- You can purchase string mops at most big-box and cleaning supply stores.

3
Lift the mop and let the excess water drip off. Once you’ve given it plenty of time to soak, lift your mop and hold it above the bucket. Mops often absorb way more water than they need, so hold your mop up for 2 to 3 seconds to let excess liquid fall back into the bucket.
- If you’d prefer, you can wring your mop out to remove the excess water.
- Wring out as much water as possible for hardwood floors. Any excess water can damage the wood.

4
Mop your floor in small sections. In order to get as much grime up as you can, focus on a single 4 to 6 in (10 to 15 cm) section at a time. This will allow you to cover as much of the floor with cleaning solution as possible.[6]
- For polyurethaned hardwood floors, move the mop with the grain of the wood.[7]
- For textured floors, move the mop in small figure 8 patterns.

5
Work your way toward a door. This will ensure that you’re not stepping on parts of the floor you’ve already cleaned. If you still end up stepping on a wet area, run the mop back over it to clean up your tracks.
- In narrow stretches like corridors and hallways, mop the sides first and the center of the floor last.

6
Wring the mop out when you’re done cleaning. Once you’ve mopped the floor thoroughly, hold your mop over the cleaning bucket and squeeze the mop head with your hands. Keep squeezing until the mop has little to no water left in it.[8]
- Some mops and buckets come with an integrated wringing tool that you can use instead of your hands.

7
Run your mop over the floor to wipe up dirty water. Run your mop over each cleaned section 3 to 4 times. If you run the mop over more times than this, you’ll simply start spreading the dirty water around. Between each section, wring out your mop to get rid of the absorbed water.[9]
- You may need to repeat this process multiple times to completely dry the area.
Method – 3
Cleaning with a Cloth Mop

1
Dampen your mop’s cleaning pad with water. Grab a fresh cloth cleaning pad that’s large enough to fit on your mop. Then, rinse the pad with warm water to dampen it. If you accidentally soak the pad, wring it out to remove excess water.[10]
- If you’re using a Swiffer Sweeper or similar product, purchase pre-dampened cleaning pads instead.

2
Attach the pad to your mop handle. Place your pad on the floor with the fibrous side facing down. Then, press the tip of your mop handle to the exposed side of the pad until the 2 latch onto each other.[11]
- For Swiffer WetJets and similar products, you can attach the pad by pressing it to the mop handle with your fingers.

3
Spray your floor with a cleaning solution. Grab a spray bottle and fill it with a solution made of warm water and a cleaning product like dish soap, bleach, ammonia, or apple cider vinegar. Then, lightly spray the area of the floor you want to clean.[12]
- Unless the back of their container states otherwise, put in 1 to 2 capfuls of cleaning product for every 16 to 20 fl oz (470 to 590 ml) of water.
- Check the back of your chosen cleaning product’s container to make sure it’s suitable for your floor.

4
Rub the mop along the floor. Press your mop onto the floor and scrub it using simple back and forth motions. Plan to go over each spot multiple times to clean up as much grime as possible.[13]
- If your floor starts to streak, switch to a figure 8 pattern.
- It’s easier to work your way towards a door, that way you don’t have to step over any areas you’ve mopped.

5
Change your mop pad as necessary. Unlike with traditional string mops, you’ll need to replace your cloth mop’s pad multiple times during the cleaning process. You’ll know it’s time for a new pad when your current 1 starts to leave behind dirt and other forms of residue.[14]
- If you’re using a non-disposable pad, you can simply remove your current mop pad, rinse it with warm water, and reattach it to your mop.
Method – 4
1
Clean and put away your mopping supplies. If you used a cloth mop, remove your cleaning pad and either throw it away or wash it in hot water with detergent. If you used a traditional string mop, dump your dirty water into a toilet and hang your mop from a hook so it can dry.
- Though not required, it’s a good idea to rinse a string mop with clean water and wring it thoroughly before hanging it up.

Let the mopped area dry. When you’re finished cleaning, give the floor between 30 minutes and 1 hour to air dry. If you’d like, you can open up the room’s doors and windows to speed up the drying process.
- If your floor starts to streak, soak up the remaining water using fresh towels.

3
Replace any furnishings you removed from the area. Once the floor dries completely, replace any objects you removed earlier. If necessary, clean the bottoms of your chairs, tables, and similar furniture items with a wet paper towel to avoid tracking in dirt and dust.[15]
- Replace the objects as carefully as possible to avoid scuffing or scratching the floor..


