
DRAPING DRESS FORM & MUSLIN BASICS
There’s no need to muddle through painfully long and technical slideshows and videos in order to heighten your sewing skills. In this tutorial we will cover the fundamental, must-know draping basics, which is the first in a series. Grab your dress form, style tape, and muslin—Let’s get started!
Prep Your Work Space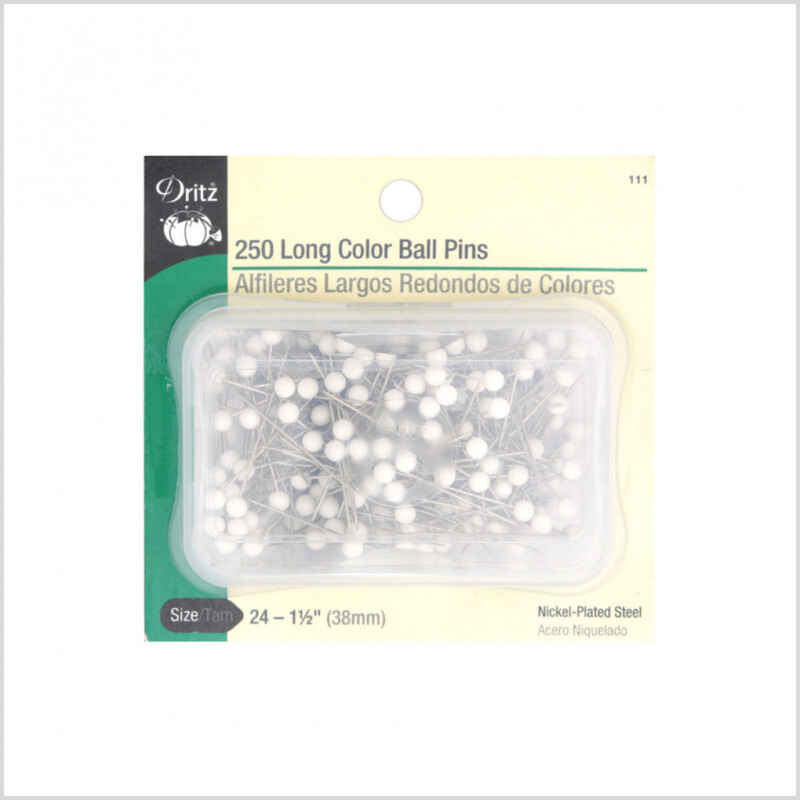
Purchase tools we use:
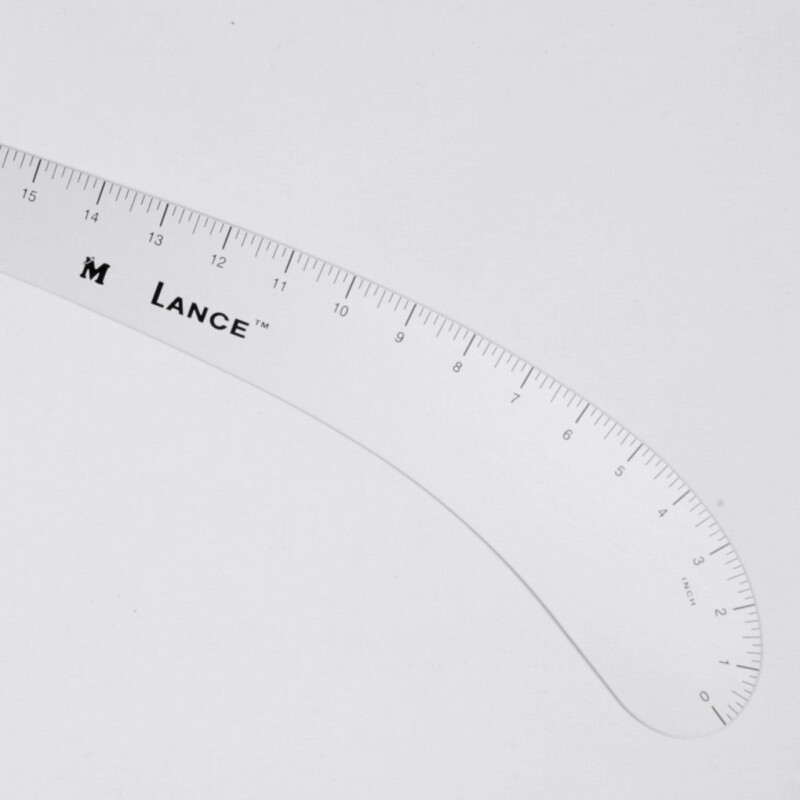
- Lance 24″ French Curve (for later steps)
- Blue Dritz Mark-B-Gone
- Muslin (choose a weight closest to the fabric you intend to work with)
- Bias tape (for marking the outline the fabric will follow)
- Draping Tape
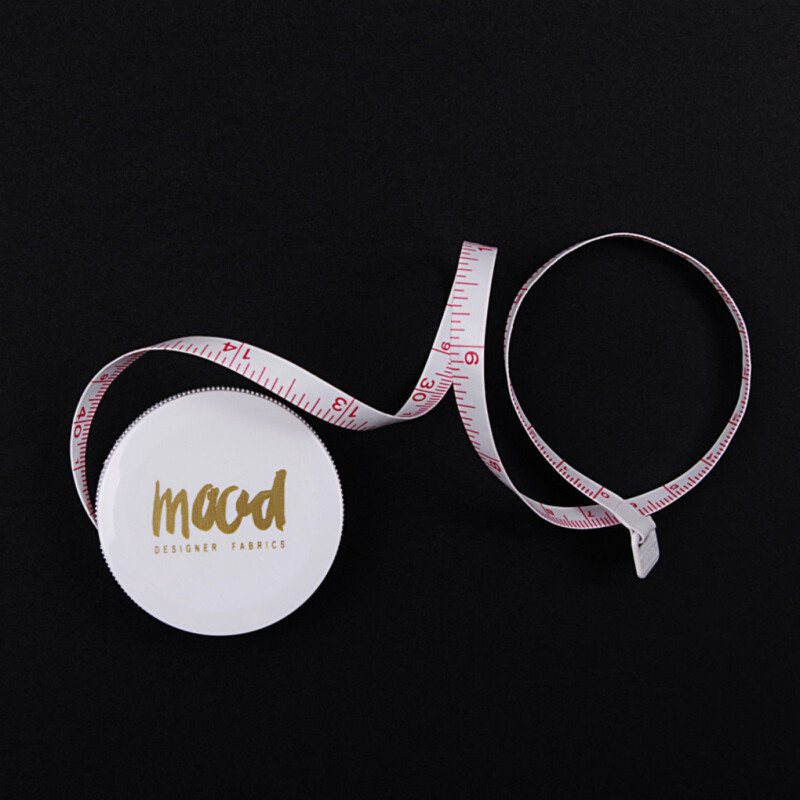
- White Mood Tape Measure
- Long Ball Pins
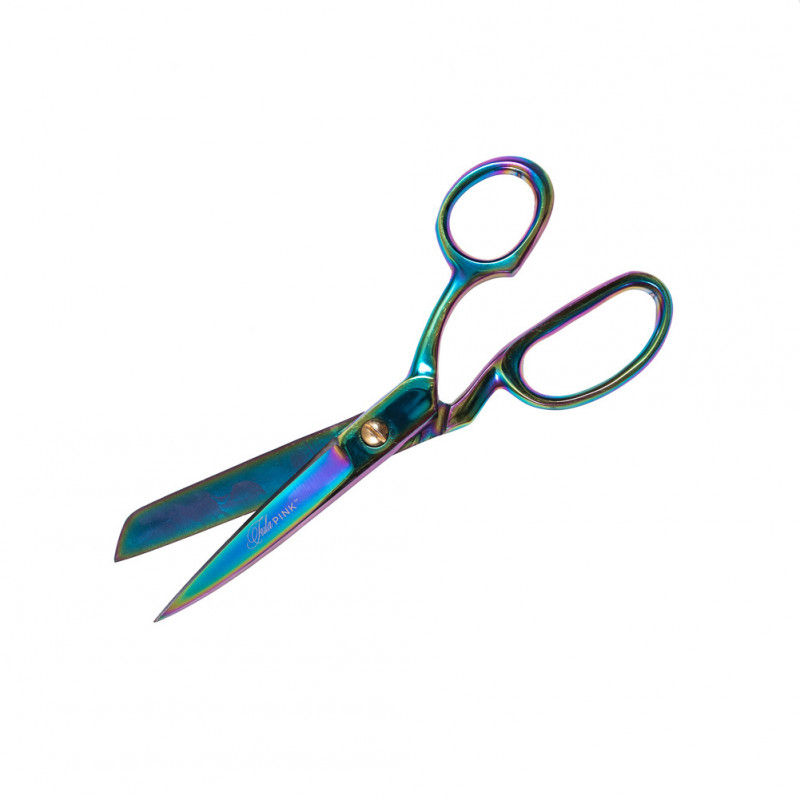
- Tula Pink 8″ Shears (also available in Lefty!)
- Transparent Ruler
- Pressing Tools
What is Draping?
Draping is a technique used to make a 3-dimensional dress pattern with the aid of a dress form figure by pinning and placing fabric against the form to create a garment. Typically designers use muslin, which is cost-efficient and offered in a variety of weights.
Why is Draping Useful?
Draping is used to achieve the desired pattern through the first-hand manipulation of fabric, providing the opportunity to sculpt and create one-of-a-kind designs, which is why draping is a technique used primarily when making couture and high-end pieces.
Draping Terms to Know
Mannequin marking terms:
- SH-shoulder line
- NB-neck band
- Armhole/Armscye
- PL-princess line
- Apex/BP-bust point
- BL-bust line
- CF-center front
- SS-side seam
- WL-waistline
- HBL-Horizontal balance line
Apex: the highest point of the bust and a reference point for establishing the cross grain for the front bodice
Center Front: vertical line that marks the middle front of the garment
Center back: vertical line that marks the middle back of a garment
Seam: two or more edges of fabric held together by stitches
Bias: A diagonal line across the grain of the fabric to showcasing maximum stretch
Cross grain: section of fabric that runs perpendicular to the lengthwise grain that runs from selvage to selvage
Dart: a design feature that aids in fitting garments around and to curves
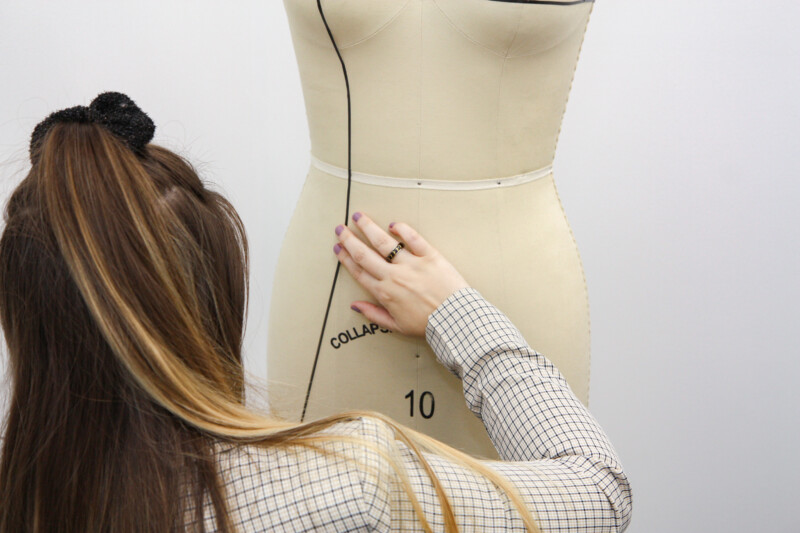
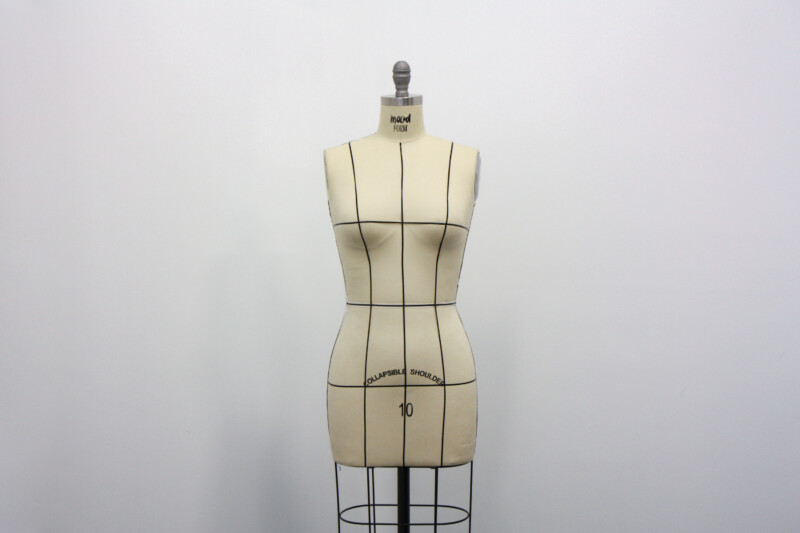
Prep Your Dress Form
Mark all major points and seams to create guidelines for your garment, using the terminology we learned earlier in the post as a guide, which will keep your draping even. Mimicking your desired design and other seams using the bias tape will provide a jump-start in bringing your garment to life.
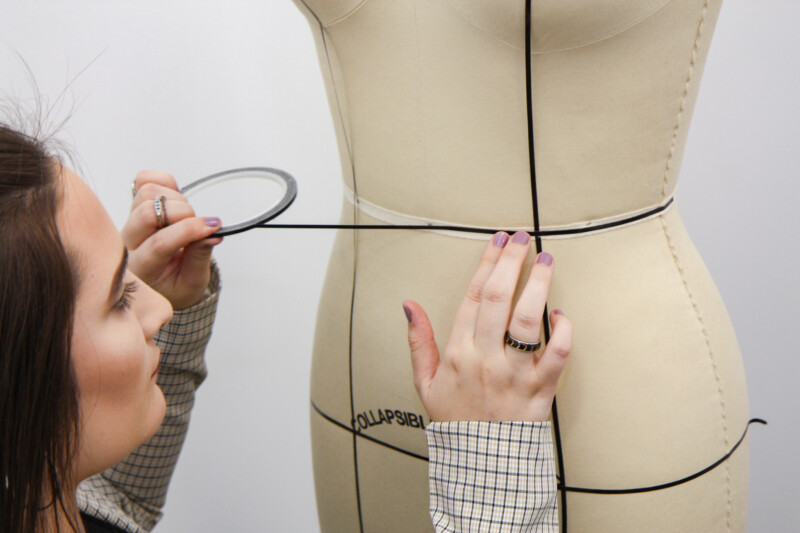
Apply style tape to the fullest point of the bust, starting at the center front to the side seam. Repeat with the smallest part of the waist and widest hip point.
Along the backside, style tape should be placed horizontally at shoulder blade level (this should be ¼ the distance between the neckline and waistline) reaching from CB to the armhole ridge.
Measure Your Dress Form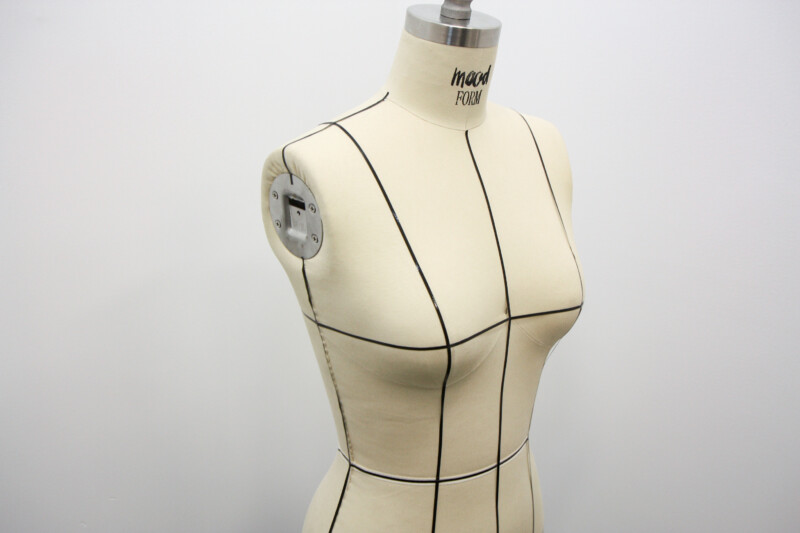
Front Measurements:
- To gather measurements for your front bodice muslin block width, measure the style tape placed on the front of the dress form and add 4” *note that we are currently working with ½ of the front bodice*
- To gather measurements for your front bodice muslin block length, measure the distance vertically from the top of the neckband to the waistline, then add 3”.
Back Measurements:
- To gather measurements for your back bodice muslin block width, measure about 2” under the arm plate, at the broadest point of the back, from the center back to the side seam, then add 4”.
To gather measurements for your back bodice muslin block length, measure the distance vertically from the top of the neckband to the waistline, then add 2”.
Prep Your Muslin
- Grab your muslin that mimics the weight of the fabric you want to work with.
- Iron your muslin to make handling and marking easy and accurate.
- Notch your muslin block using your measuring tape and ruler and tear along the grain for a perfectly squared off block.
- Use the cutting and marking tools that we gathered from above to mark grain line and other important points of reference.
- Tear your muslin to determine the grain and use the measurements from above to cut out your front and back bodice blocks. **Note: grains should each form right angles creating the block shape.**
- Turn your muslin to its backside or “wrong side” and iron the lengthwise grain
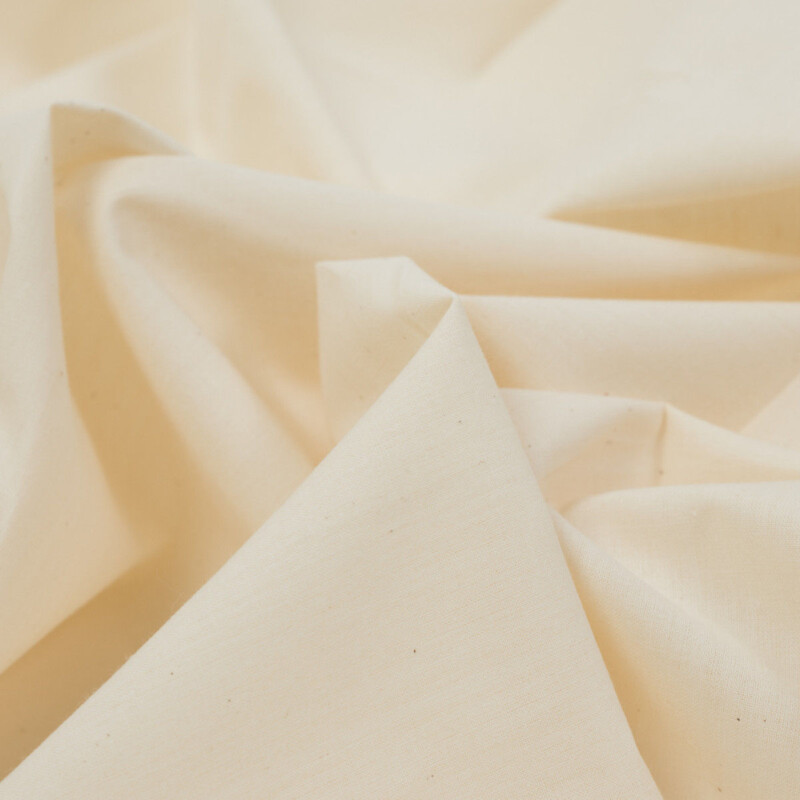
When prepping your muslin keep in mind that there are different weights of muslin. Choose muslin that is similar to the weight of your final project.
Note: Pictured on top is our basic, lightweight muslin, and the bottom is a stiffer heavyweight muslin.
Prep Your Muslin Blocks
Front Block (lay bodice down lengthwise)
- Measure from the top of the neck band to the bust line level and make your vertical guide line here
- Measure from the apex (fullest point of the bust) to the center front, then add ⅛” for seam allowance
- Go to bodice block and measure 1” from top lengthwise edge and make a horizontal line which will represent your CF
- Reference your neckline to apex measurement and drop down that amount making a horizontal line there to represent your bust guideline
- Reference your total apex to side seam measurement from step 2 and make a horizontal line to represent your side seam
- Divide the number above and draw a horizontal line which will represent your balance guideline
Back block (lay bodice down lengthwise)
- Use your center back to armhole ridge measurement and add 4” for ease to create a vertical guideline to your block
- At the bottom of your muslin block measure in 1” from the bottom edge to make your CB guideline.
- Measure 3” from the left side of the muslin block and place a small mark to represent your CB neckline
- From the CB neckline point measure down your down your shoulder blade level and make a guideline
- Make a make to represent your entire CB to armhole ridge measurement, including the ¼” for added ease
- Measure 1 1/4 “ from your CB to armhole ridge marking to make a guideline to represent your back balance guideline
- Fold your CB and CF guidelines
- Iron the blocks
- Fold the CB and CF guidelines using your fingers as a finger press (using an iron for this will stretch the grain)
Now you know the purpose of draping and its meaning, you’ve got your materials gathered and prepped, so give yourself a round of applause for getting to the end of this post. Stay tuned for our next tutorial in this series where we map out how to drape a basic bodice. You’ll want to hang onto your prepared muslin block and dress form and also gather a marking pen, sewing pins, and shears to learn how to take your muslin block to a draped bodice.