Computer Class 5 Notes
what is zip file ?
A zip file, also known as a “ZIP archive” or simply “ZIP,” is a popular file format used for compressing and archiving one or more files and folders. The primary purposes of creating zip files are to reduce the overall file size, making it easier to transfer or store multiple files, and to bundle multiple files or directories into a single compressed package.
Here are some key characteristics of ZIP files:
- Compression: ZIP files use compression algorithms to reduce the size of the files they contain. This compression can significantly decrease the file size, making it more efficient for storage and transmission. When you extract or unzip a ZIP file, the original files are restored to their original size and format.
- File and Folder Structure: ZIP archives can store multiple files and folders while preserving their directory structure. This means you can organize files into folders within a ZIP archive, and when you extract the archive, the files will be placed back into their respective folders.
- Cross-Platform Compatibility: ZIP is a widely supported format and can be used on various operating systems, including Windows, macOS, Linux, and more. Most operating systems have built-in tools or third-party software for creating and extracting ZIP files.
- Password Protection: You can add a password to a ZIP file to secure its contents. Password protection helps prevent unauthorized access to the files within the archive.
- Compression Levels: ZIP compression often allows you to choose different compression levels. Higher compression levels result in smaller file sizes but may require more processing time.
- Archive Extensions: ZIP files typically have the “.zip” file extension. For example, a ZIP archive might be named “example.zip.”
ZIP files are commonly used for various purposes, such as packaging files for distribution, reducing the size of large files for email attachments, and creating backups of important data. They are also often used to bundle files for software distribution, as many software downloads are provided in ZIP format to simplify the downloading process.
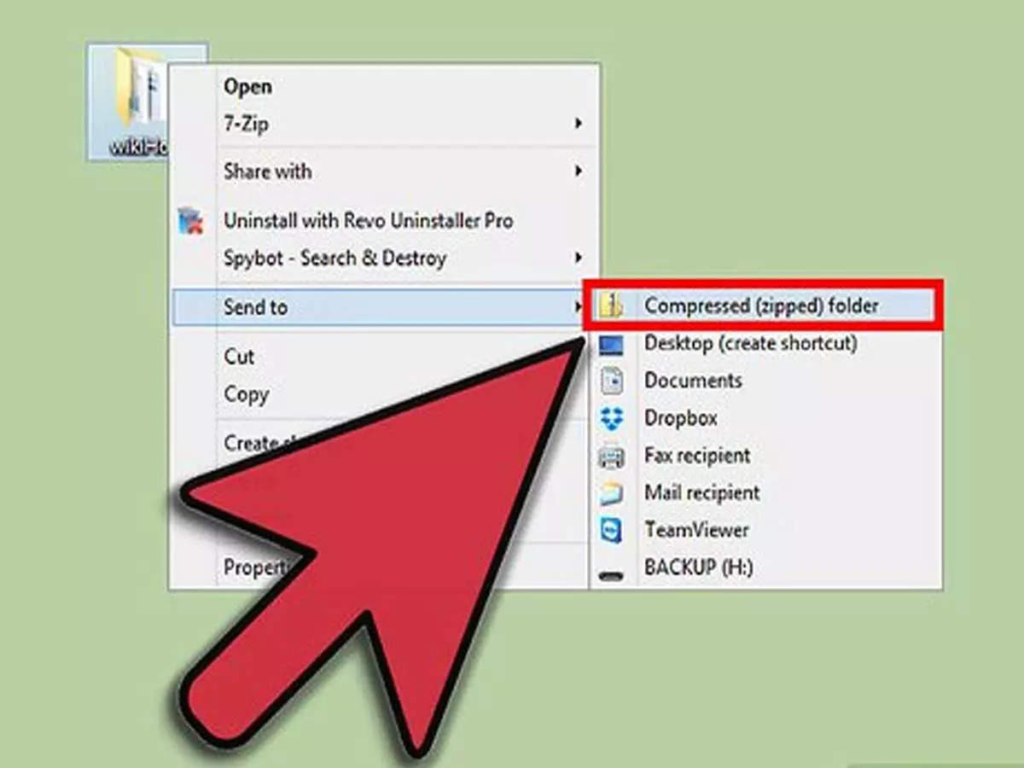
To work with ZIP files, you can use built-in tools like File Explorer in Windows, Finder in macOS, or command-line utilities in Linux. Additionally, there are many third-party software applications and online services available for creating and extracting ZIP archives with advanced features.
Installing software on a computer typically involves several steps, and the specific process may vary depending on the operating system (e.g., Windows, macOS, Linux) and the software you’re trying to install. Here are the general steps for installing software:
- Download the Software:

- Visit the official website of the software or use a trusted source to download the installation file. Be cautious of downloading software from unverified or suspicious websites, as they may contain malware.
- Locate the Installation File:
- After downloading, the installation file is usually located in your computer’s “Downloads” folder by default. You can also find it in the folder you specified during the download process.
- Run the Installation File:
- Double-click the installation file (often with a “.exe” extension on Windows, “.dmg” on macOS, or “.deb” or “.rpm” on Linux) to initiate the installation process.
- Follow the Installation Wizard:
- Most software installations provide a step-by-step wizard that guides you through the installation process. Follow the on-screen instructions carefully. You may be asked to agree to the software’s terms and conditions, select installation options, or specify the installation directory.
- Choose Installation Options:
- Some software installations allow you to customize options, such as where the software is installed, whether shortcuts are created, and whether additional components or features are installed. Make your selections as needed.
- Wait for Installation:
- The installation process may take a few moments or several minutes, depending on the software’s size and complexity. Be patient and let the installer do its work.
- Complete the Installation:
- Once the installation is complete, you’ll typically see a message indicating that the software has been successfully installed. You may also be prompted to launch the software immediately.
- Launch and Configure:
- After installation, you can usually launch the software from the Start Menu (Windows), Applications folder (macOS), or application launcher (Linux). Depending on the software, you may need to perform initial configuration, such as creating an account or setting preferences.
- Check for Updates:
- It’s a good practice to check for software updates regularly. Software developers often release updates to fix bugs, add new features, or improve security. Check for updates within the software or on the developer’s website.
- Register or Activate (if necessary):
- Some software may require registration or activation with a license key or account. Follow the provided instructions to activate the software if required.
- Uninstall (if necessary):
- If you ever want to remove the software from your computer, you can typically use the operating system’s uninstallation feature or a dedicated uninstaller provided by the software developer.
Remember that these steps can vary depending on the software and the operating system you’re using. Always refer to the software’s documentation or the developer’s instructions for specific installation details. Additionally, exercise caution when downloading and installing software to ensure you’re using trusted sources and avoiding potentially harmful software.